As posted on Lambretta Club USA in the "Show us your Lambretta" forum titled "1962 TV175 S3 (pre-mod) resto". Click
here to see.
Please note that this a "modern restoration" to create a beautiful daily rider. Anoraks will not be impressed.
Below I copied and pasted what I posted on LCUSA. I apologize in advance, because as a blogger, this is the absolute worst way to post this information. Each date below should have its own entry, but life has gotten the best of me and I have not posted in almost a year and I have now had the bike for a super long time. Maybe someday in the future I will break up this post as it should be.
Posted
31 March 2015 - 01:44 AM
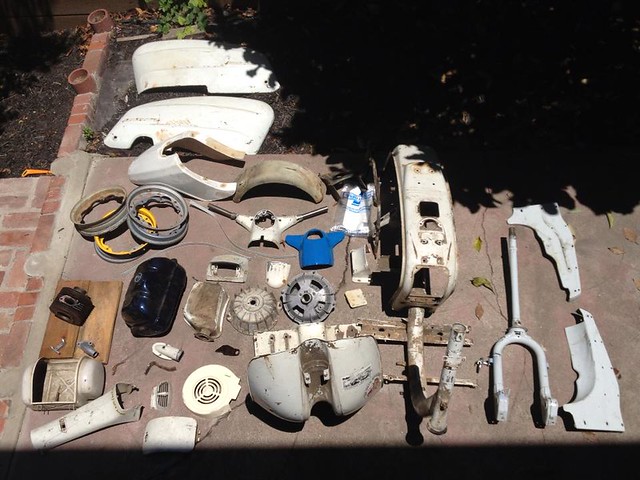
About a decade ago I bought a TV175 S3 in a box. Much of it was
there, but a few items took me years to find and acquire as I was new
the Lambretta world. But once my network began to grow so many of you
helped me out. I am truly indebted to LCUSA and can't express my thanks
enough.
Life happened . . . career change, child #1 born, bi-coastal move,
child #2 born and the only scooter completed was the 1967 SS180 I
restored for my wife. Two working parents with kids . . . something had
to give. I set a goal to have this bike complete and back on the road
by the time I turned 40. I realized I needed to make a decision and
that was is it more important to have bragging rights that I built my
bike or to ride it. I chose to ride it. I hired Josh Snow to paint my
bike and Mike Anhalt to build it.
This is how it began:
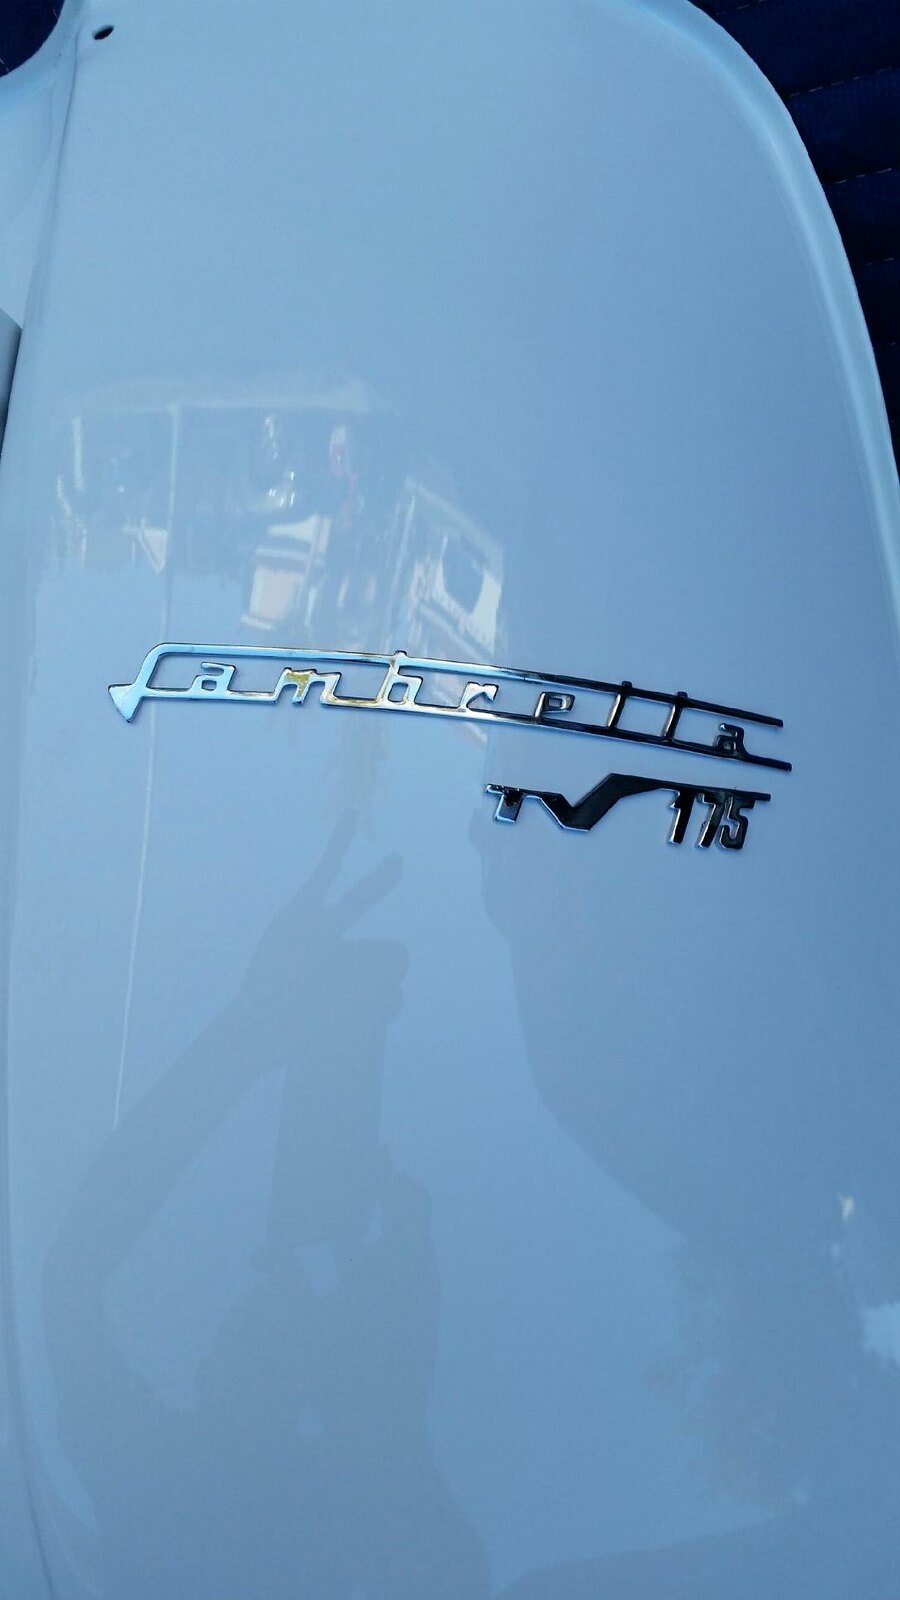
 1962 Lambretta TV175
 by
jeremyjsutton, on Flickr
(yes one of the benefits to this buy was it came with two TV175 cases)
There were some piece meal parts.
 1962 Lambretta TV175 in parts 2/3
 by
jeremyjsutton, on Flickr
But most of the critical parts were there. The hardest one to find and buy was the complete disc brake.
 1962 Lambretta TV175 in parts 1/3
 by
jeremyjsutton, on Flickr
I would have been open to preserving the paint and keeping the
stickers, but the parts were mismatched in paint. Looking back, I wish I
had known about the option to scan and reproduce the original stickers.
That would have been cool. I like details like that.
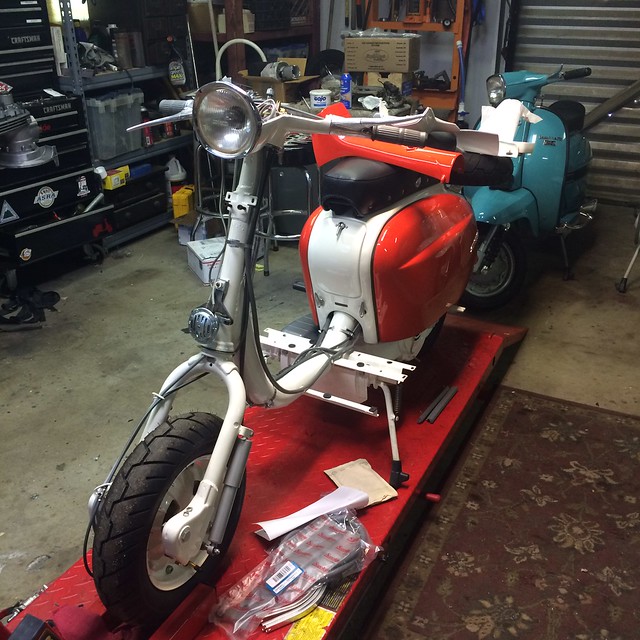
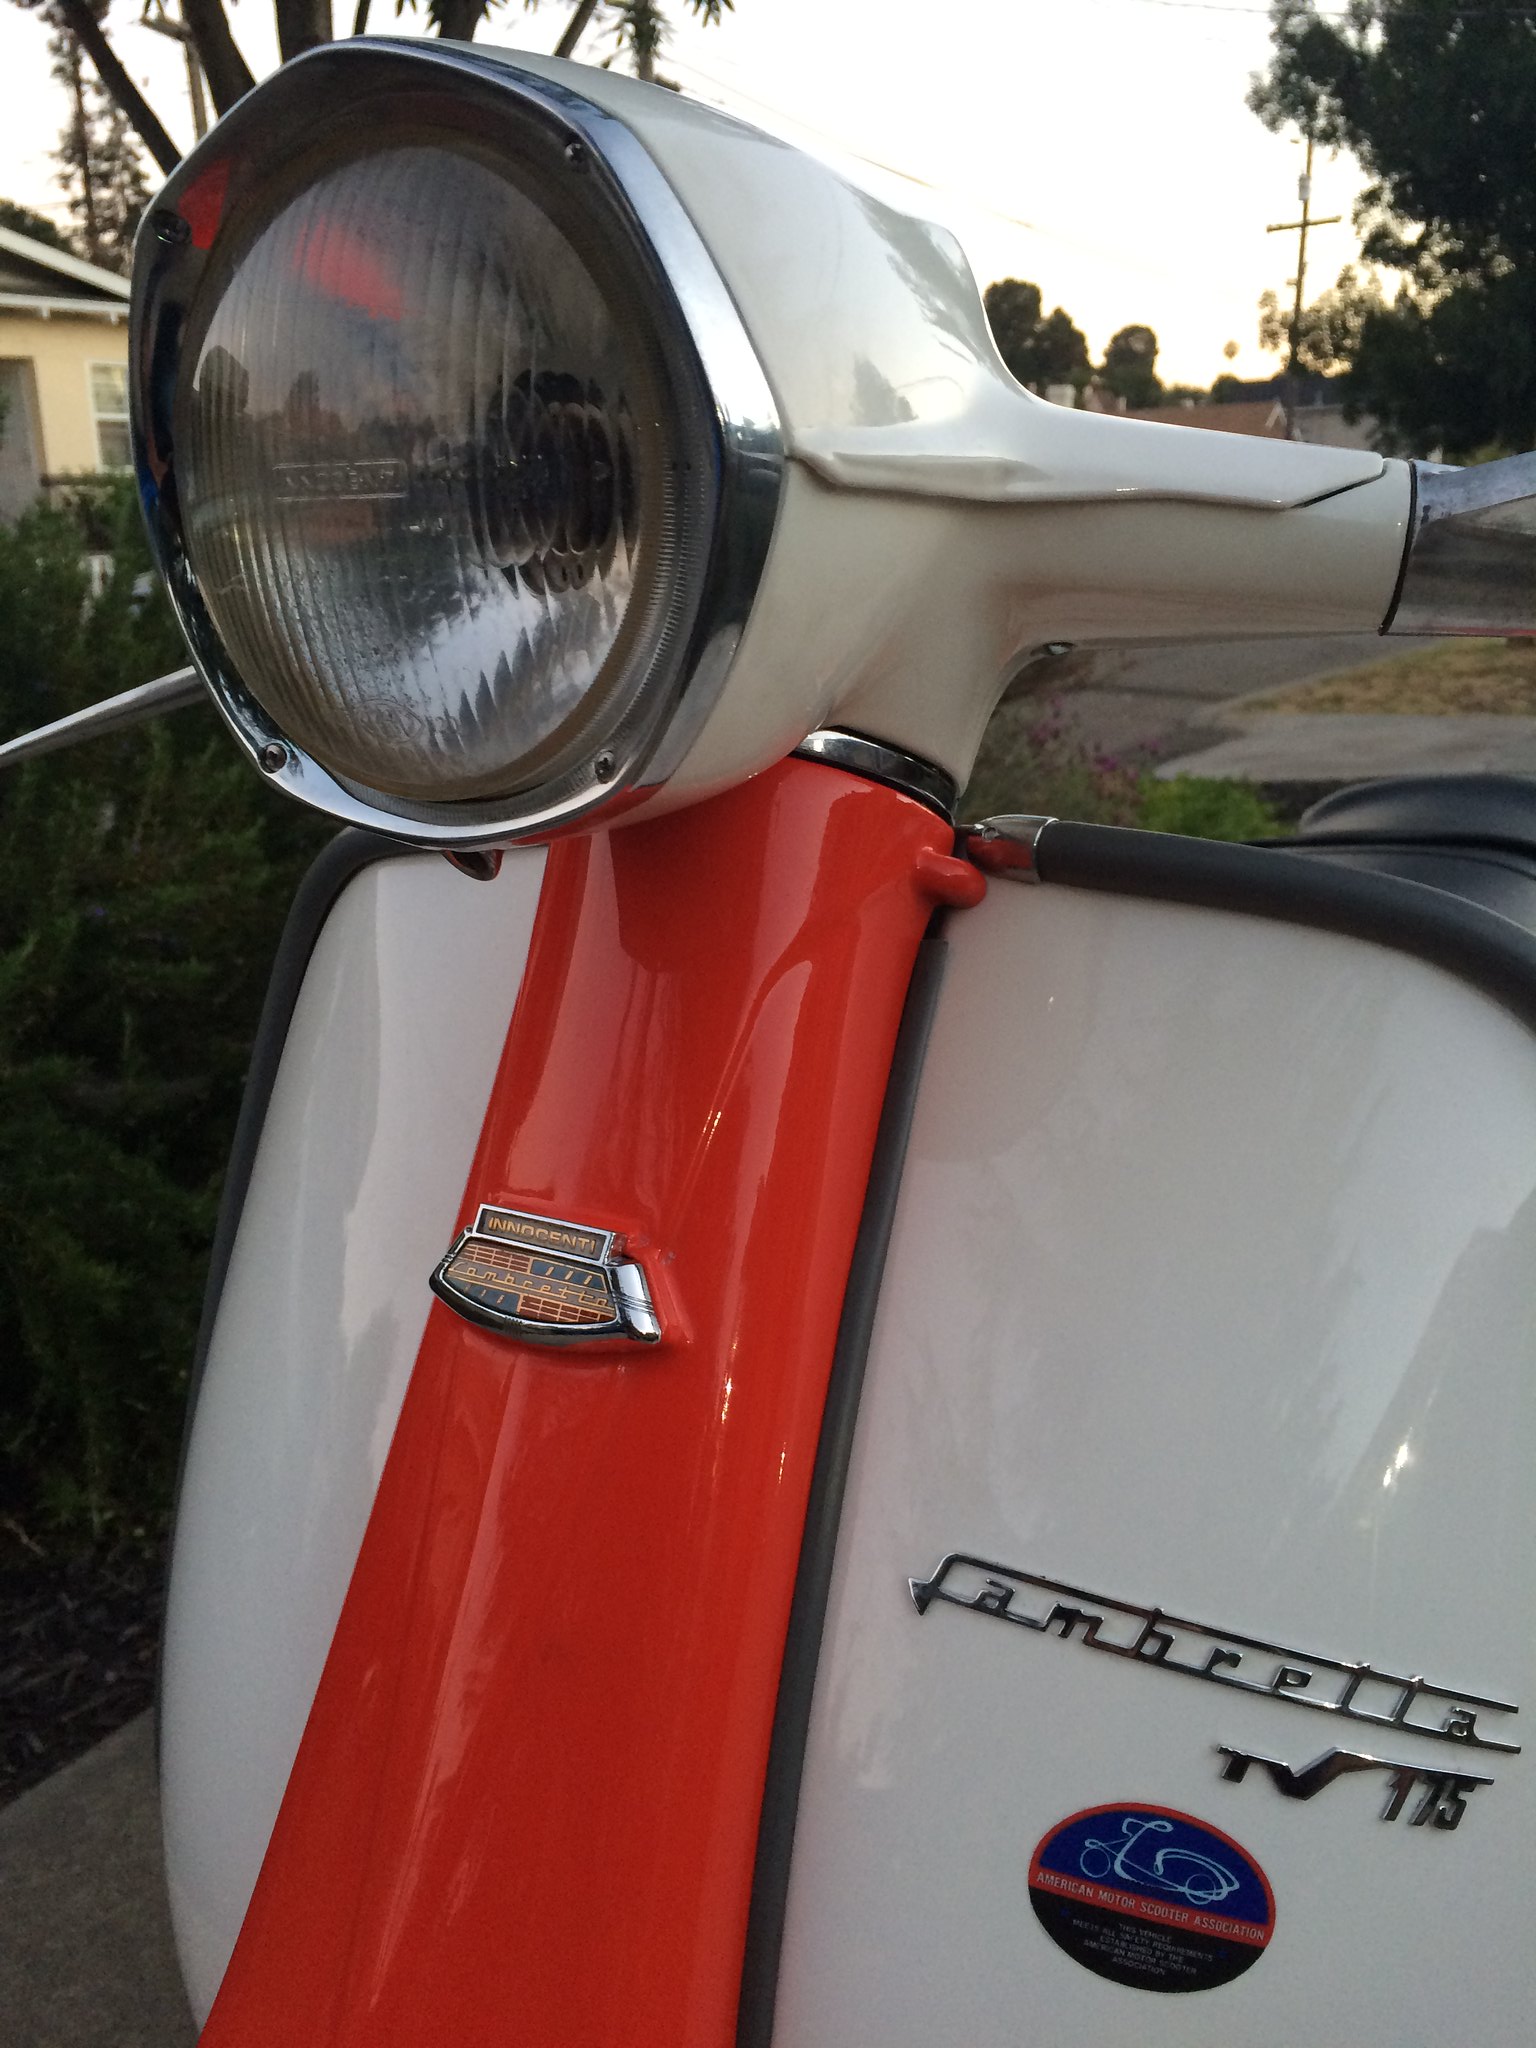
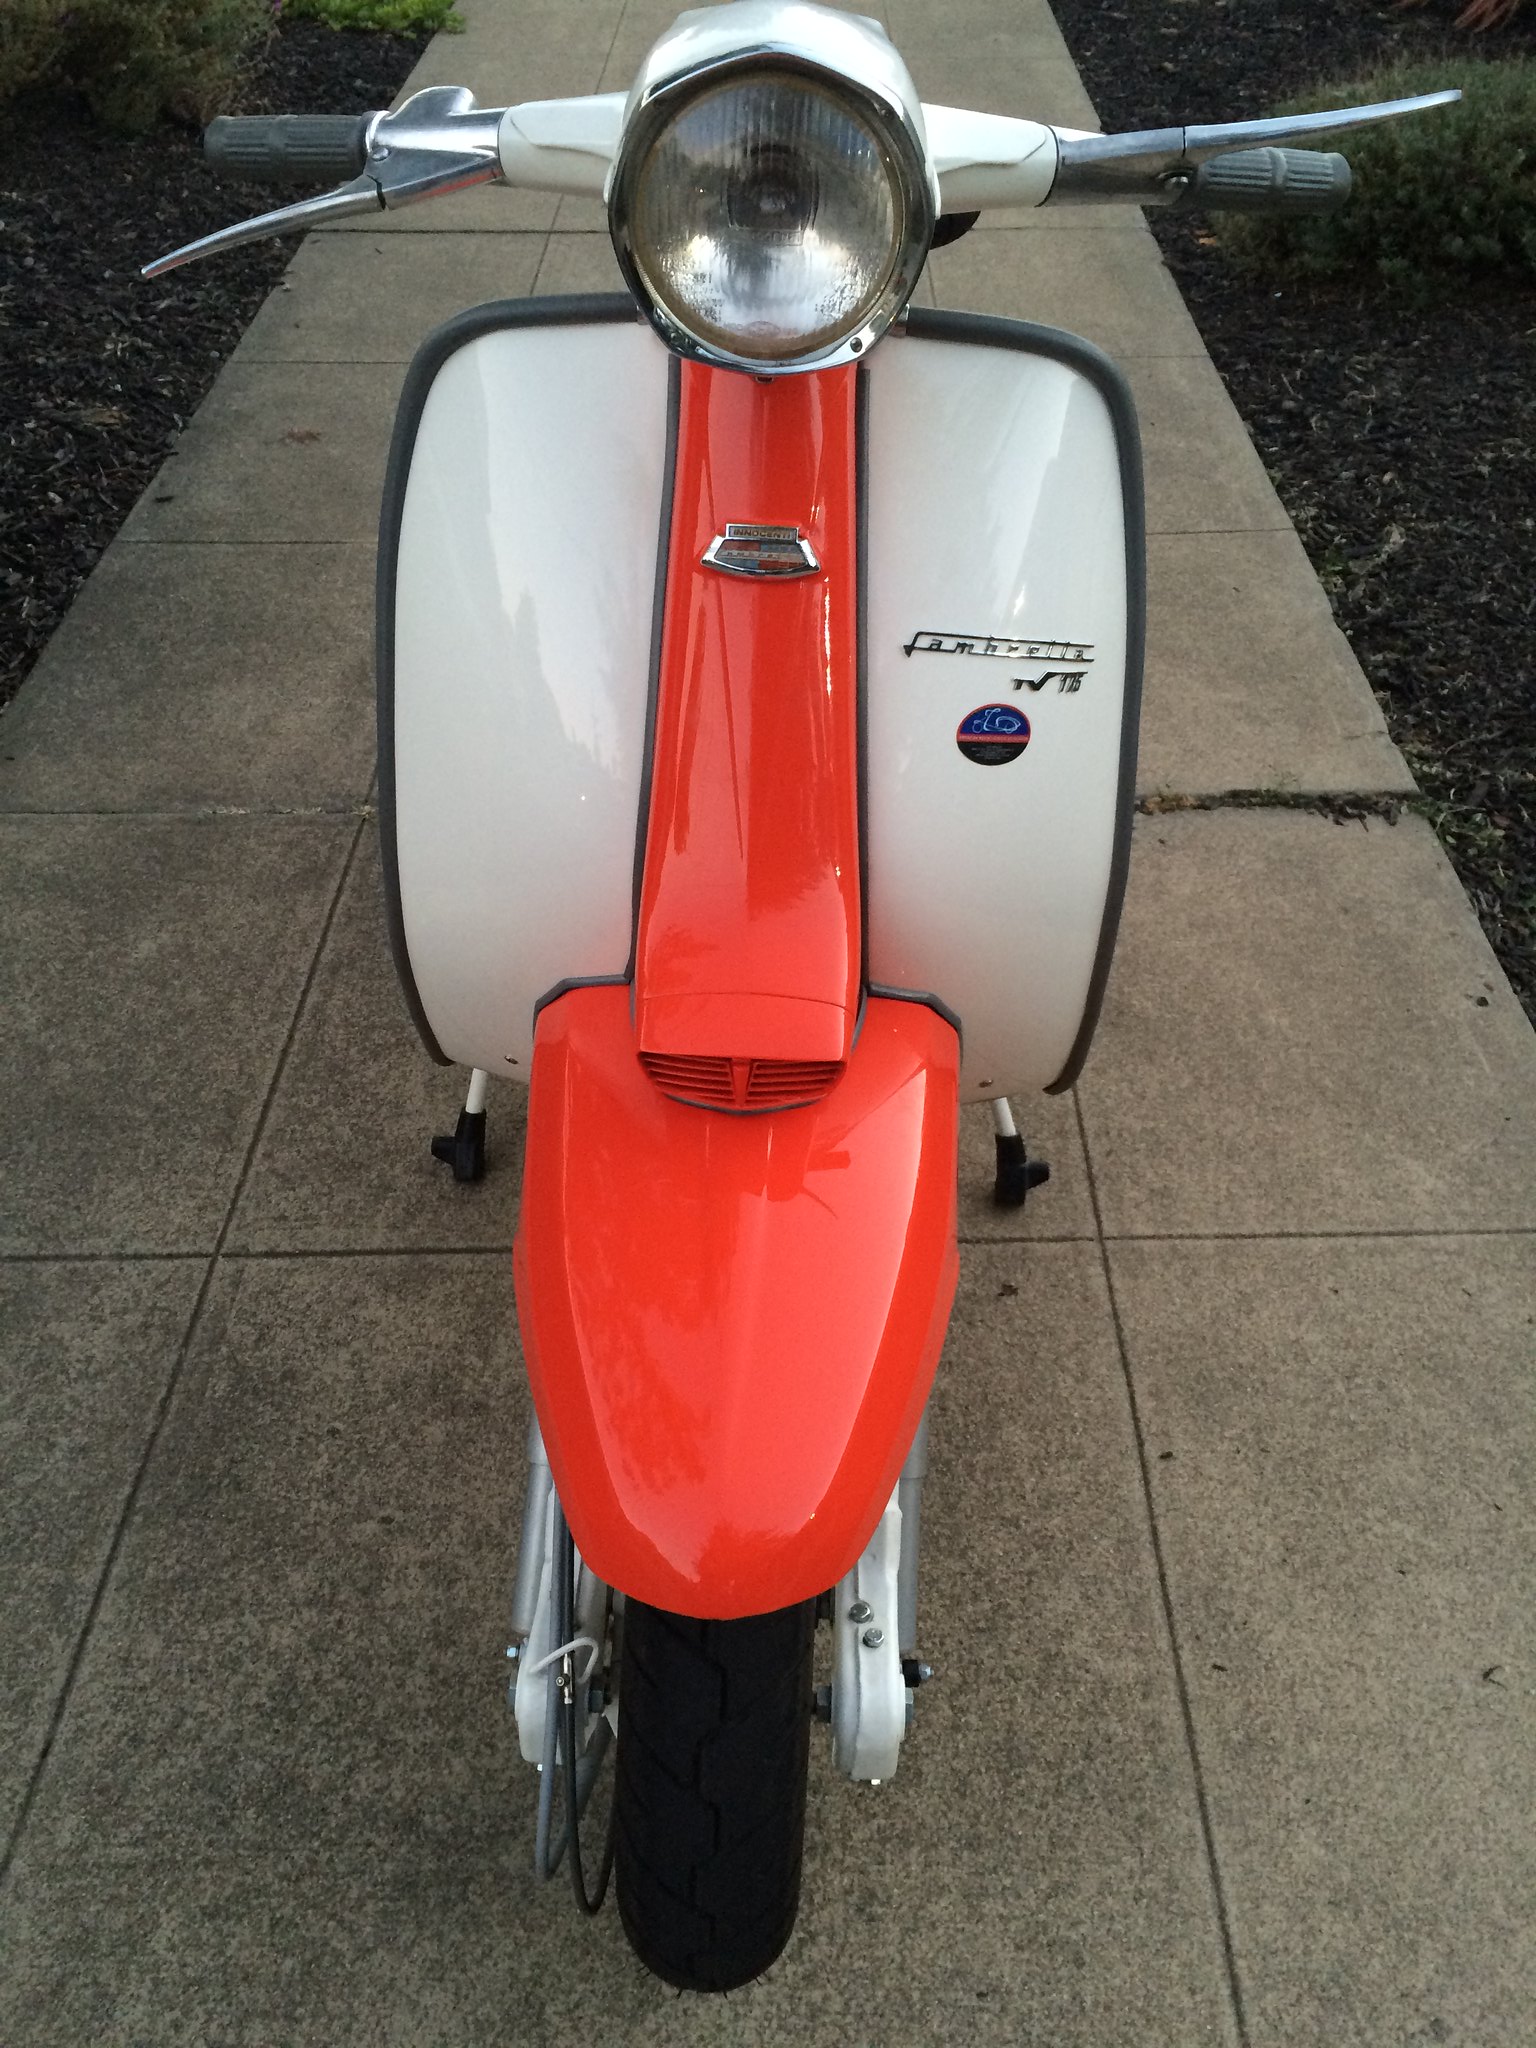
And now it looks something like this:
 TV175 S3 resto
 by
jeremyjsutton, on Flickr
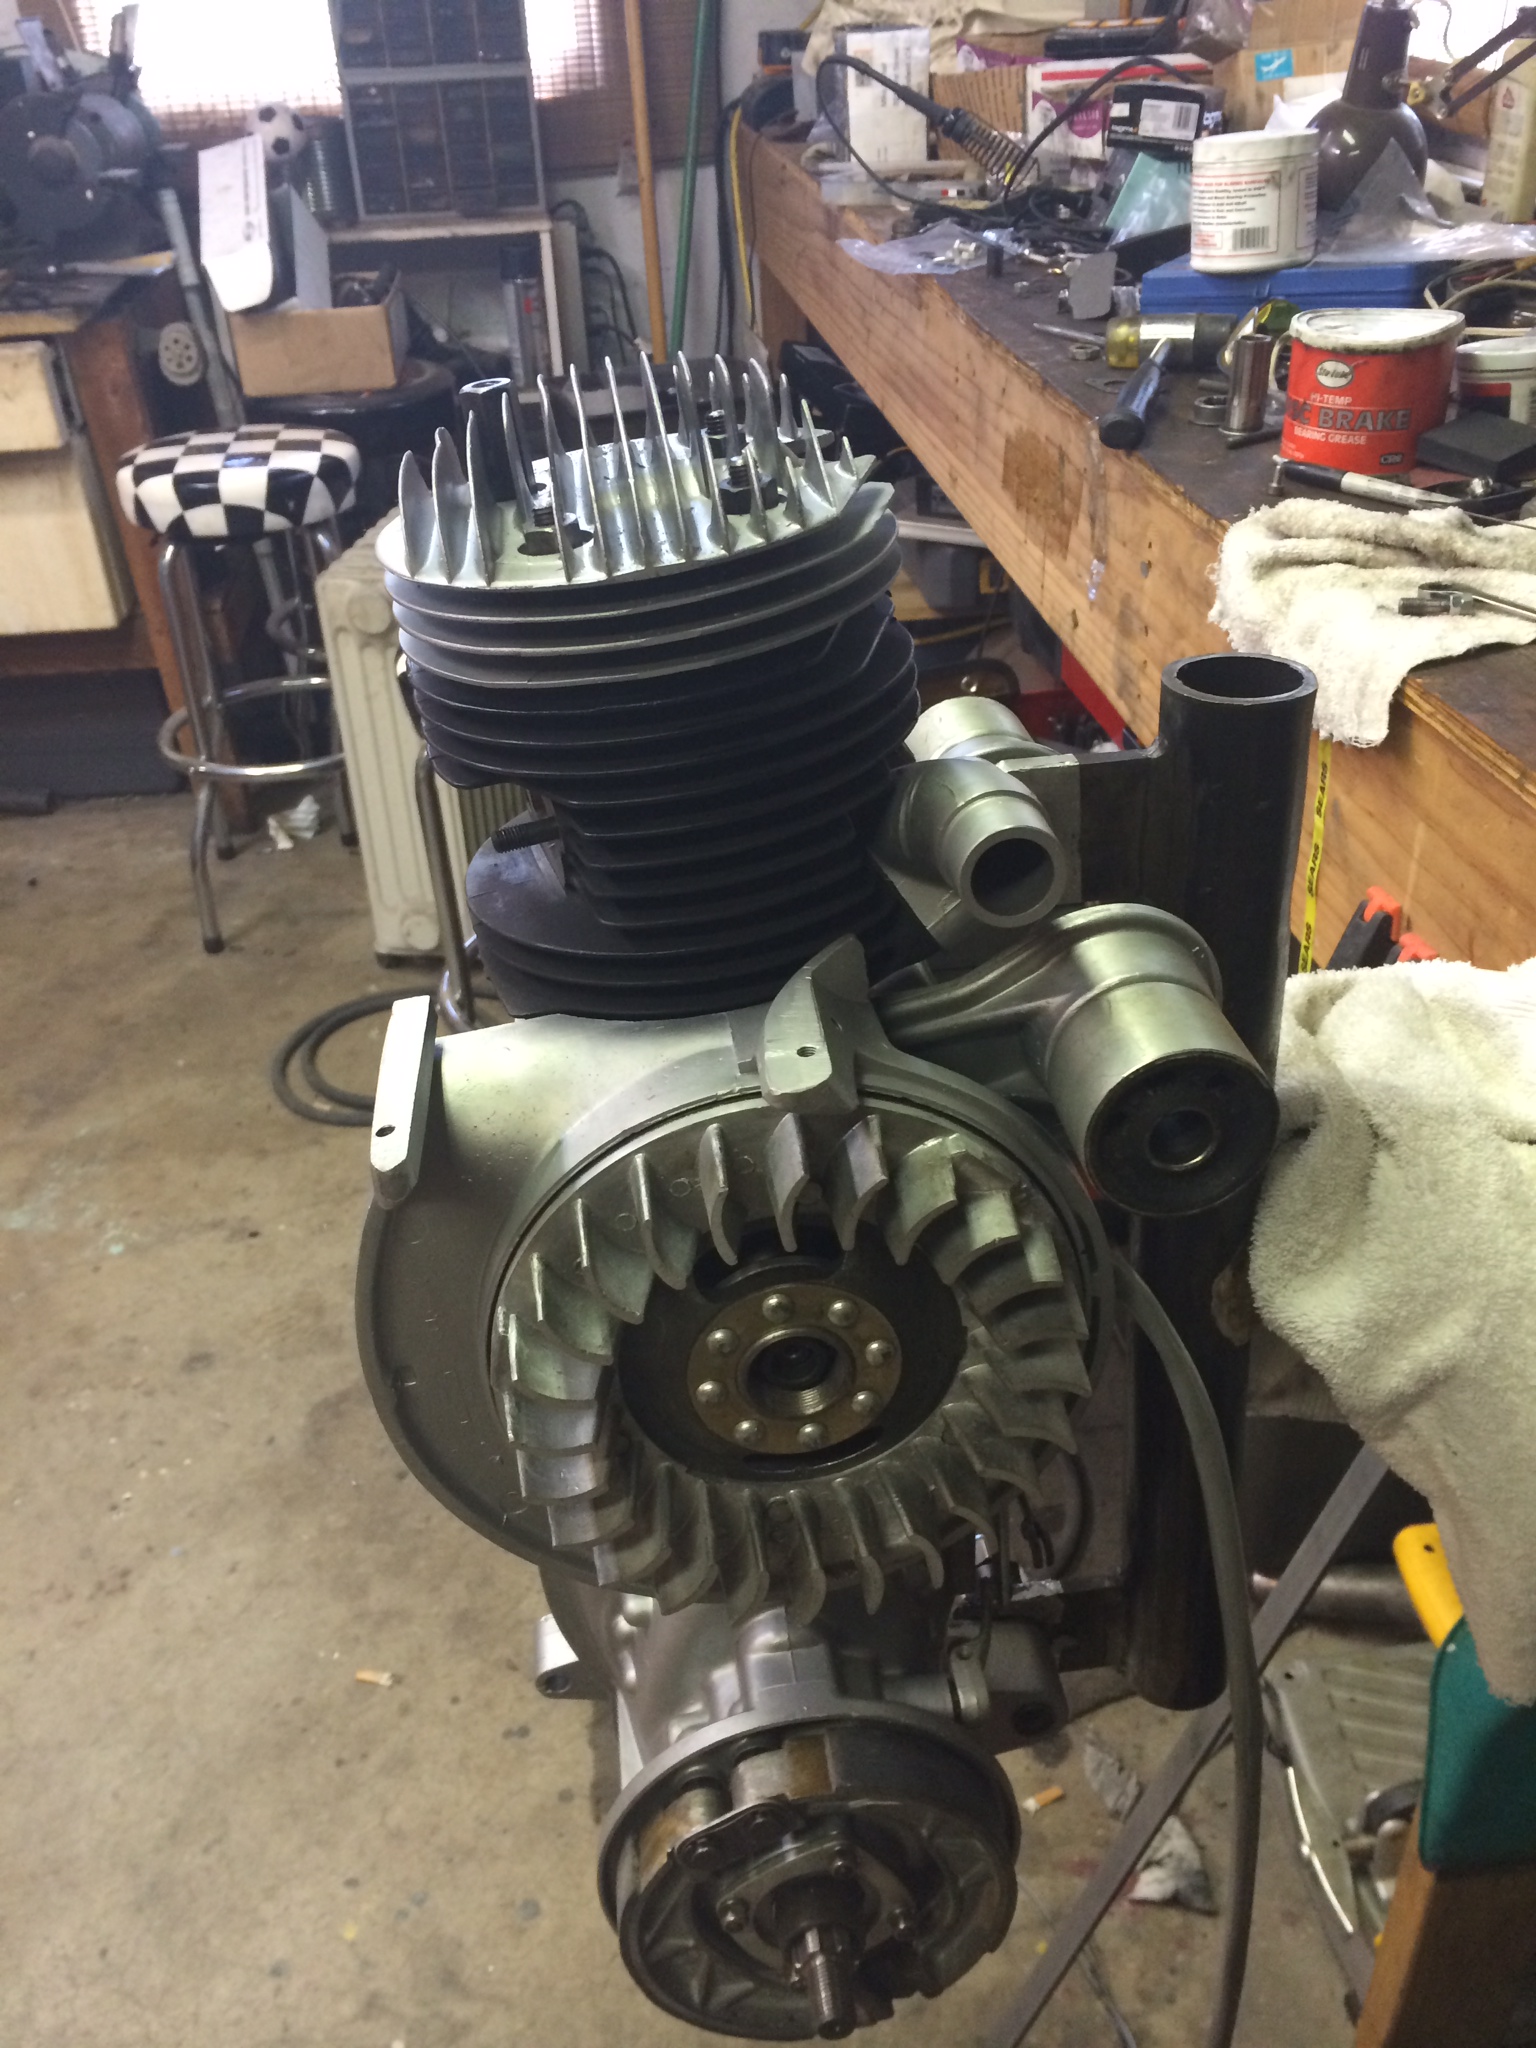
I am replacing the UNI Big Bore with an OEM Tutto pipe. The top-end is still 100% stock.
 TV175 S3 rest
 by
jeremyjsutton, on Flickr
(Will rotate the shock so the Indian logo does not show)
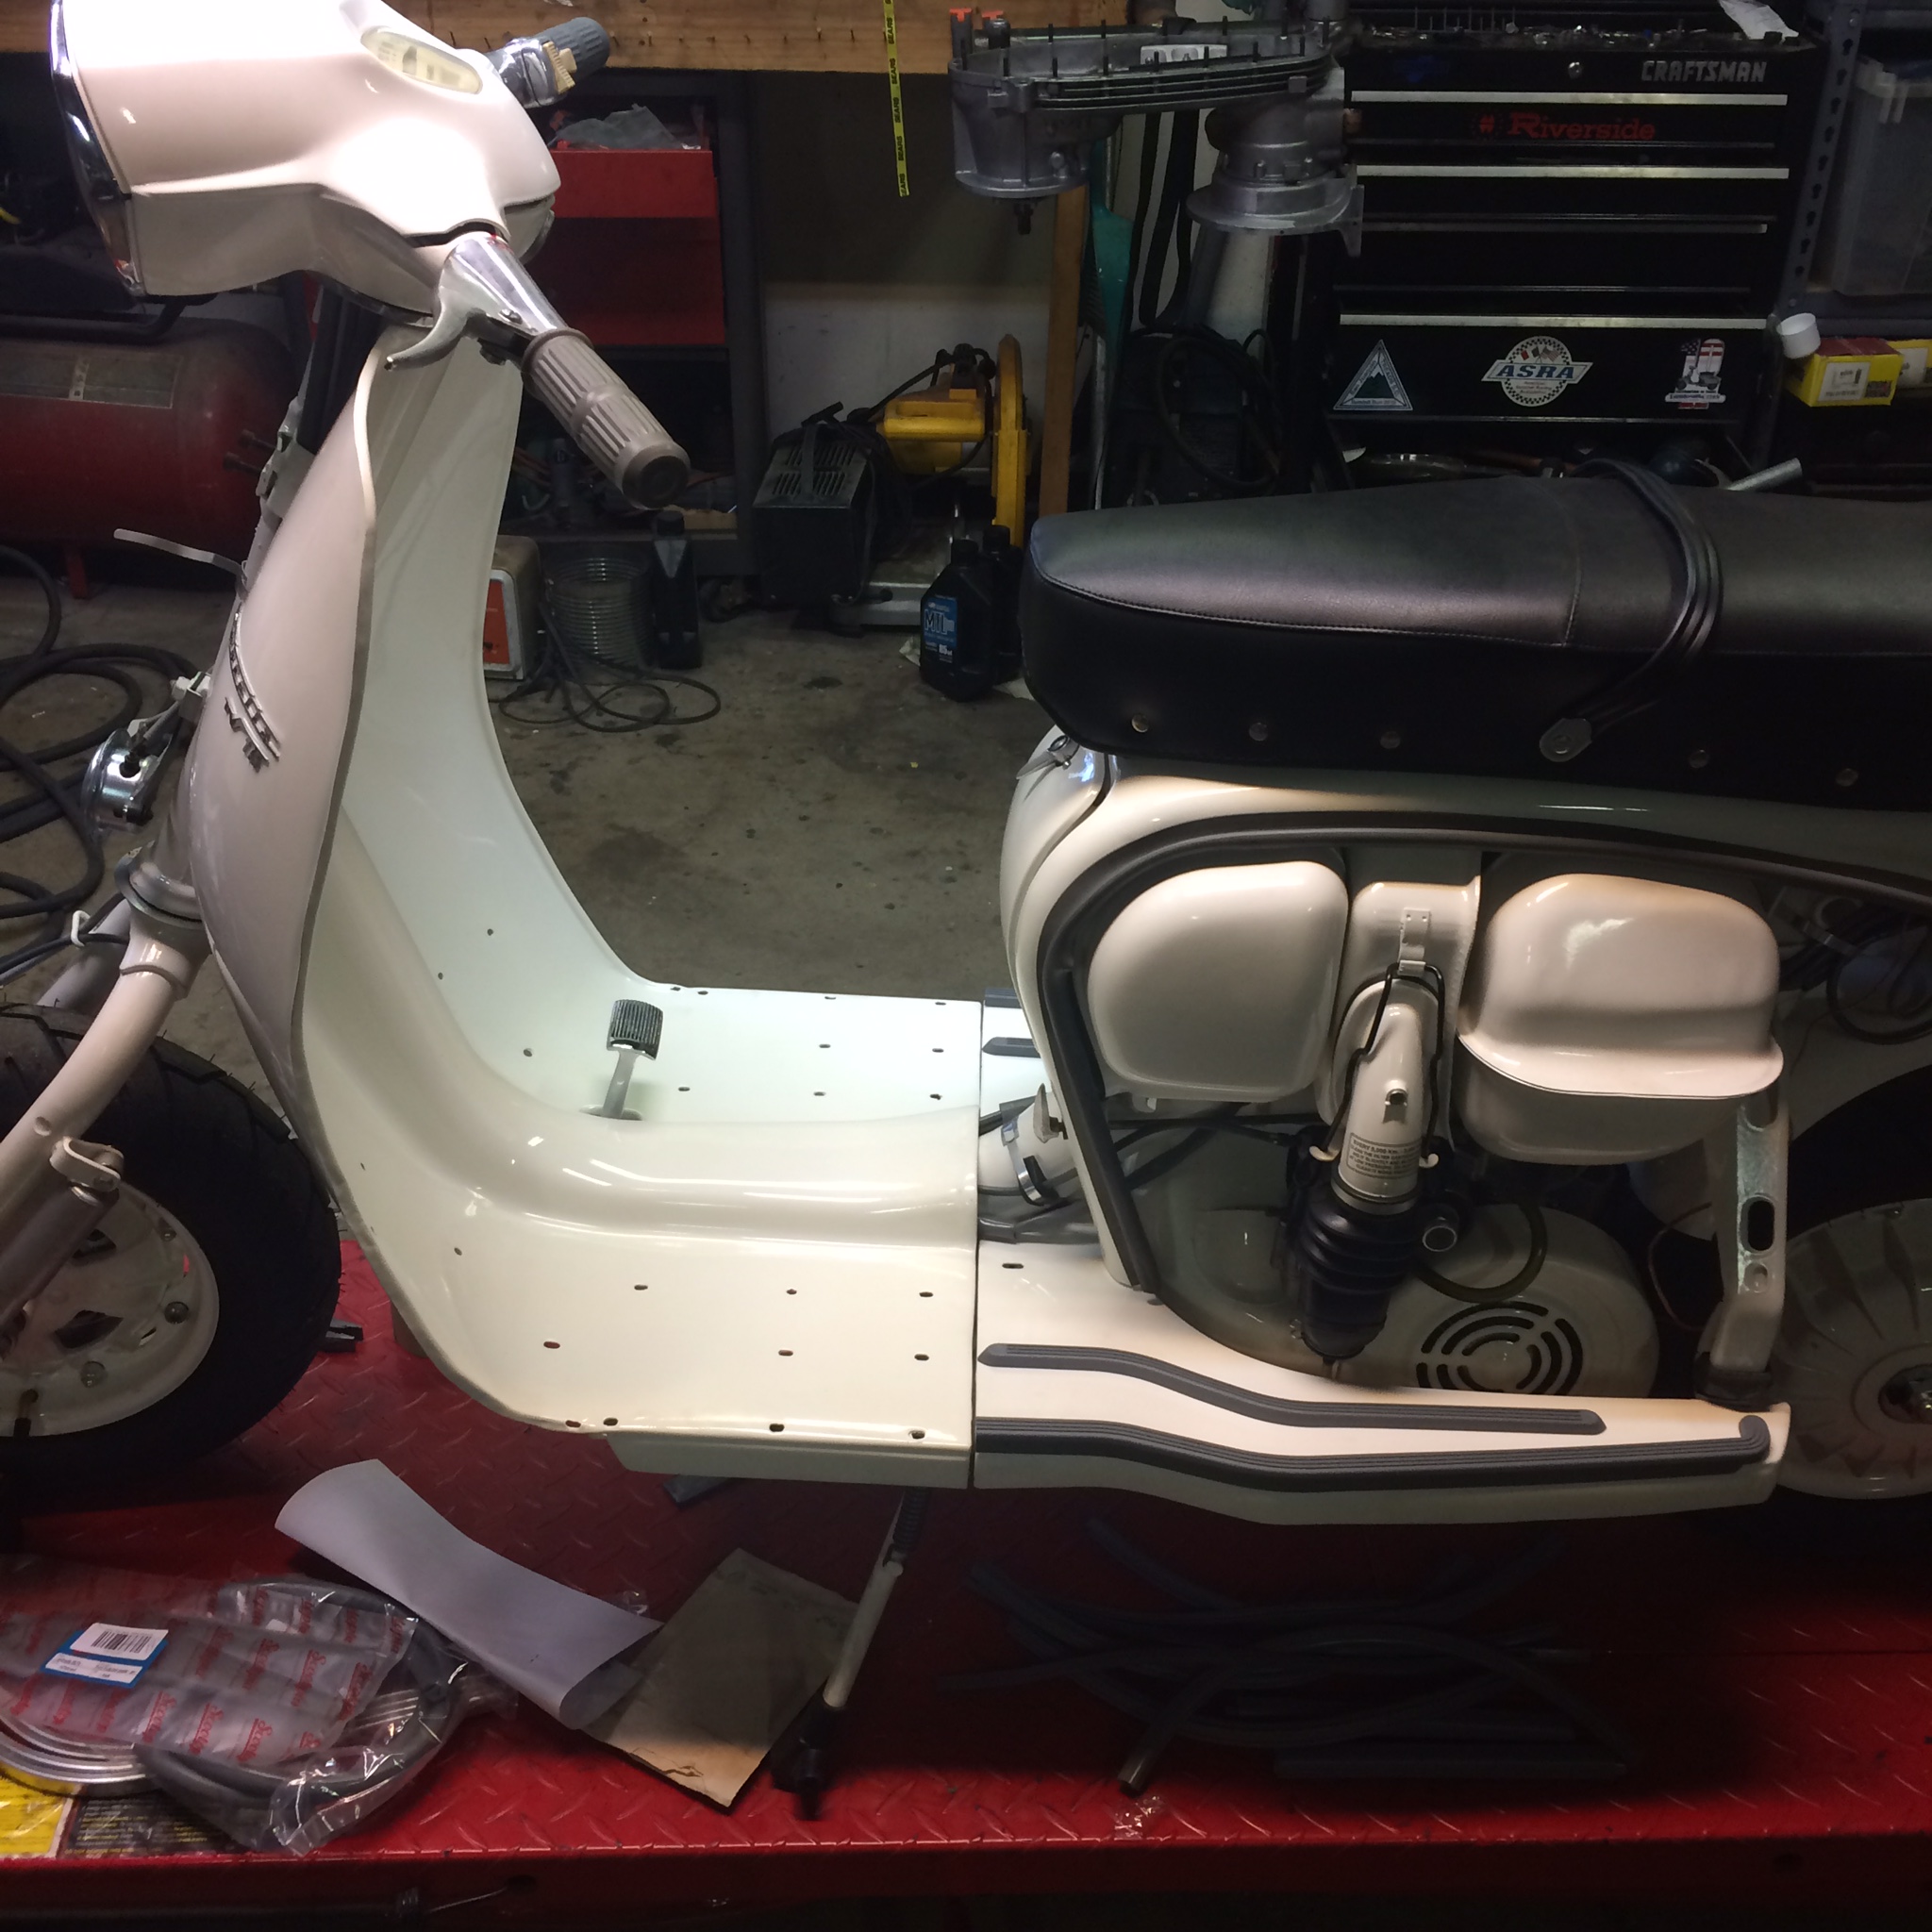
 TV175 S3 rest
 by
jeremyjsutton, on Flickr
 TV175 S3 rest
 by
jeremyjsutton, on Flickr
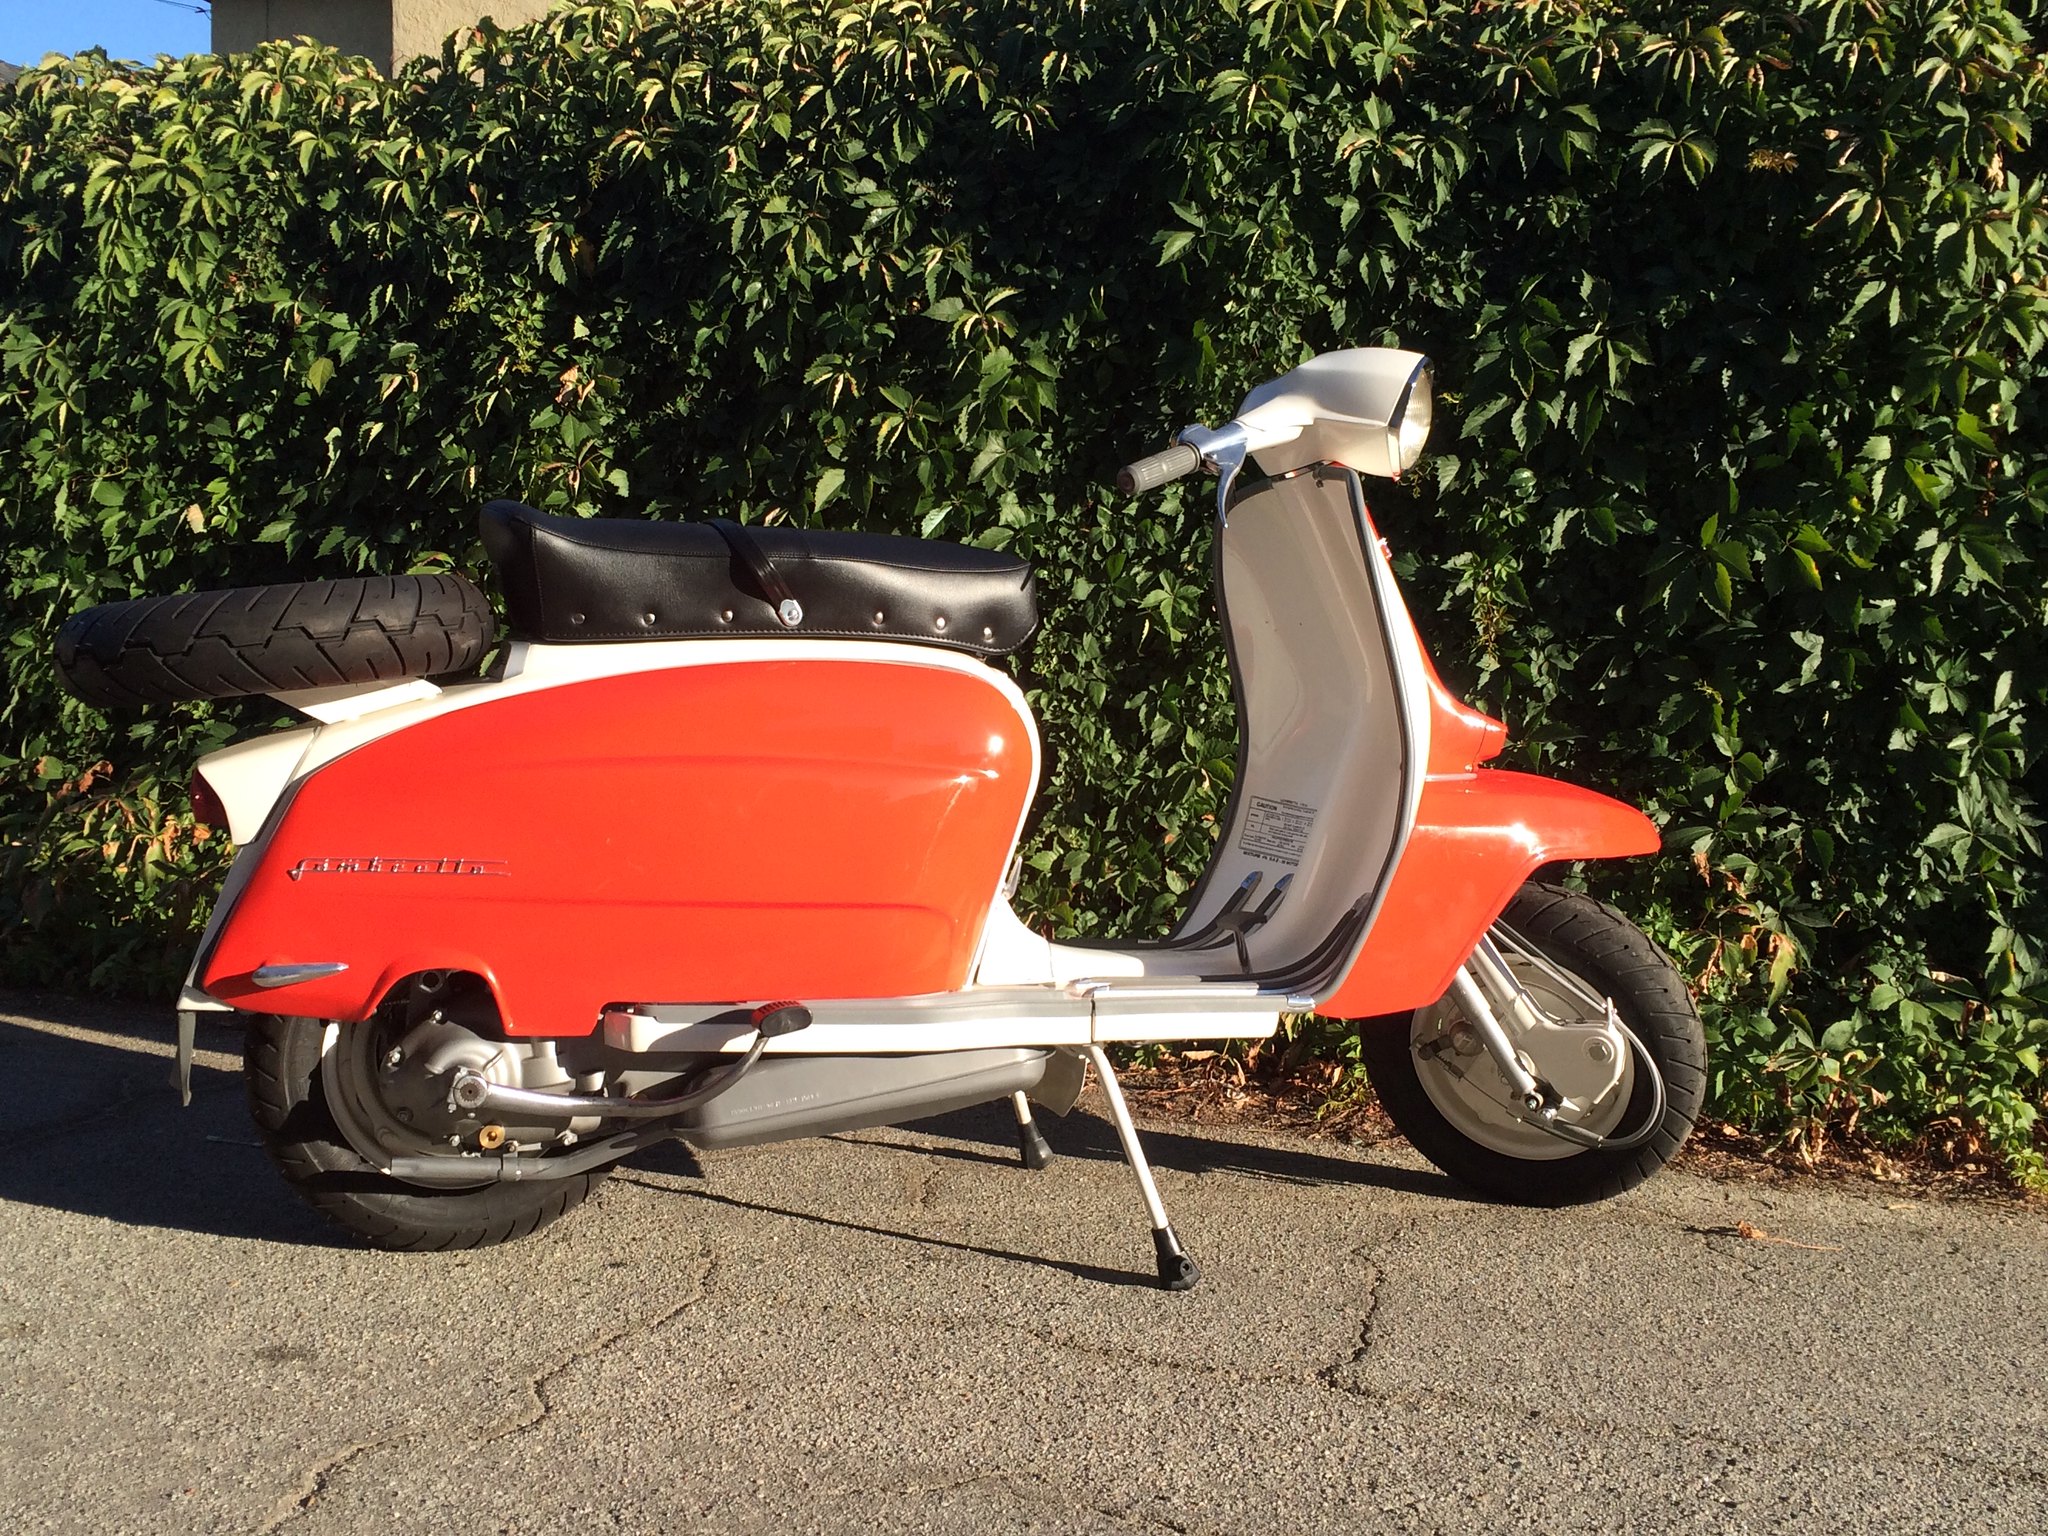
It's no anorak's bike with an R6 shock, BGM ignition, Indian front
shocks, and SS hardware, but there has been a lot of investment in
details to give it the period correct look. I asked Josh and Mike for a
beautiful daily rider and I believe I have gotten so much more than
that.
 TV175 S3 rest
 by
jeremyjsutton, on Flickr
Correctly stamped hardware for seat:
 Untitled
 by
jeremyjsutton, on Flickr
An earlier in the process shot not included above:
 Untitled
 by
jeremyjsutton, on Flickr
A very special thanks to Mike and Josh. I am a bit anal and a micro
manager at times, but I hired these guys so I wouldn't need to be nor
worry. And hiring them was the smartest thing I did! This hire has
saved me hours of stress, because I trust these guys completely.
 TV175 S3 rest
 by
jeremyjsutton, on Flickr
 TV175 S3 rest
 by
jeremyjsutton, on Flickr
I would like to thank Stu for selling it to me, Gene M., Mark &
Jon at Jet200, Tom G., and Paul Sachelari for so much advise along the
way. And thank you Rudy Perez and Harmik for being my sounding board
time and time again. You two have steered me right time and time again.
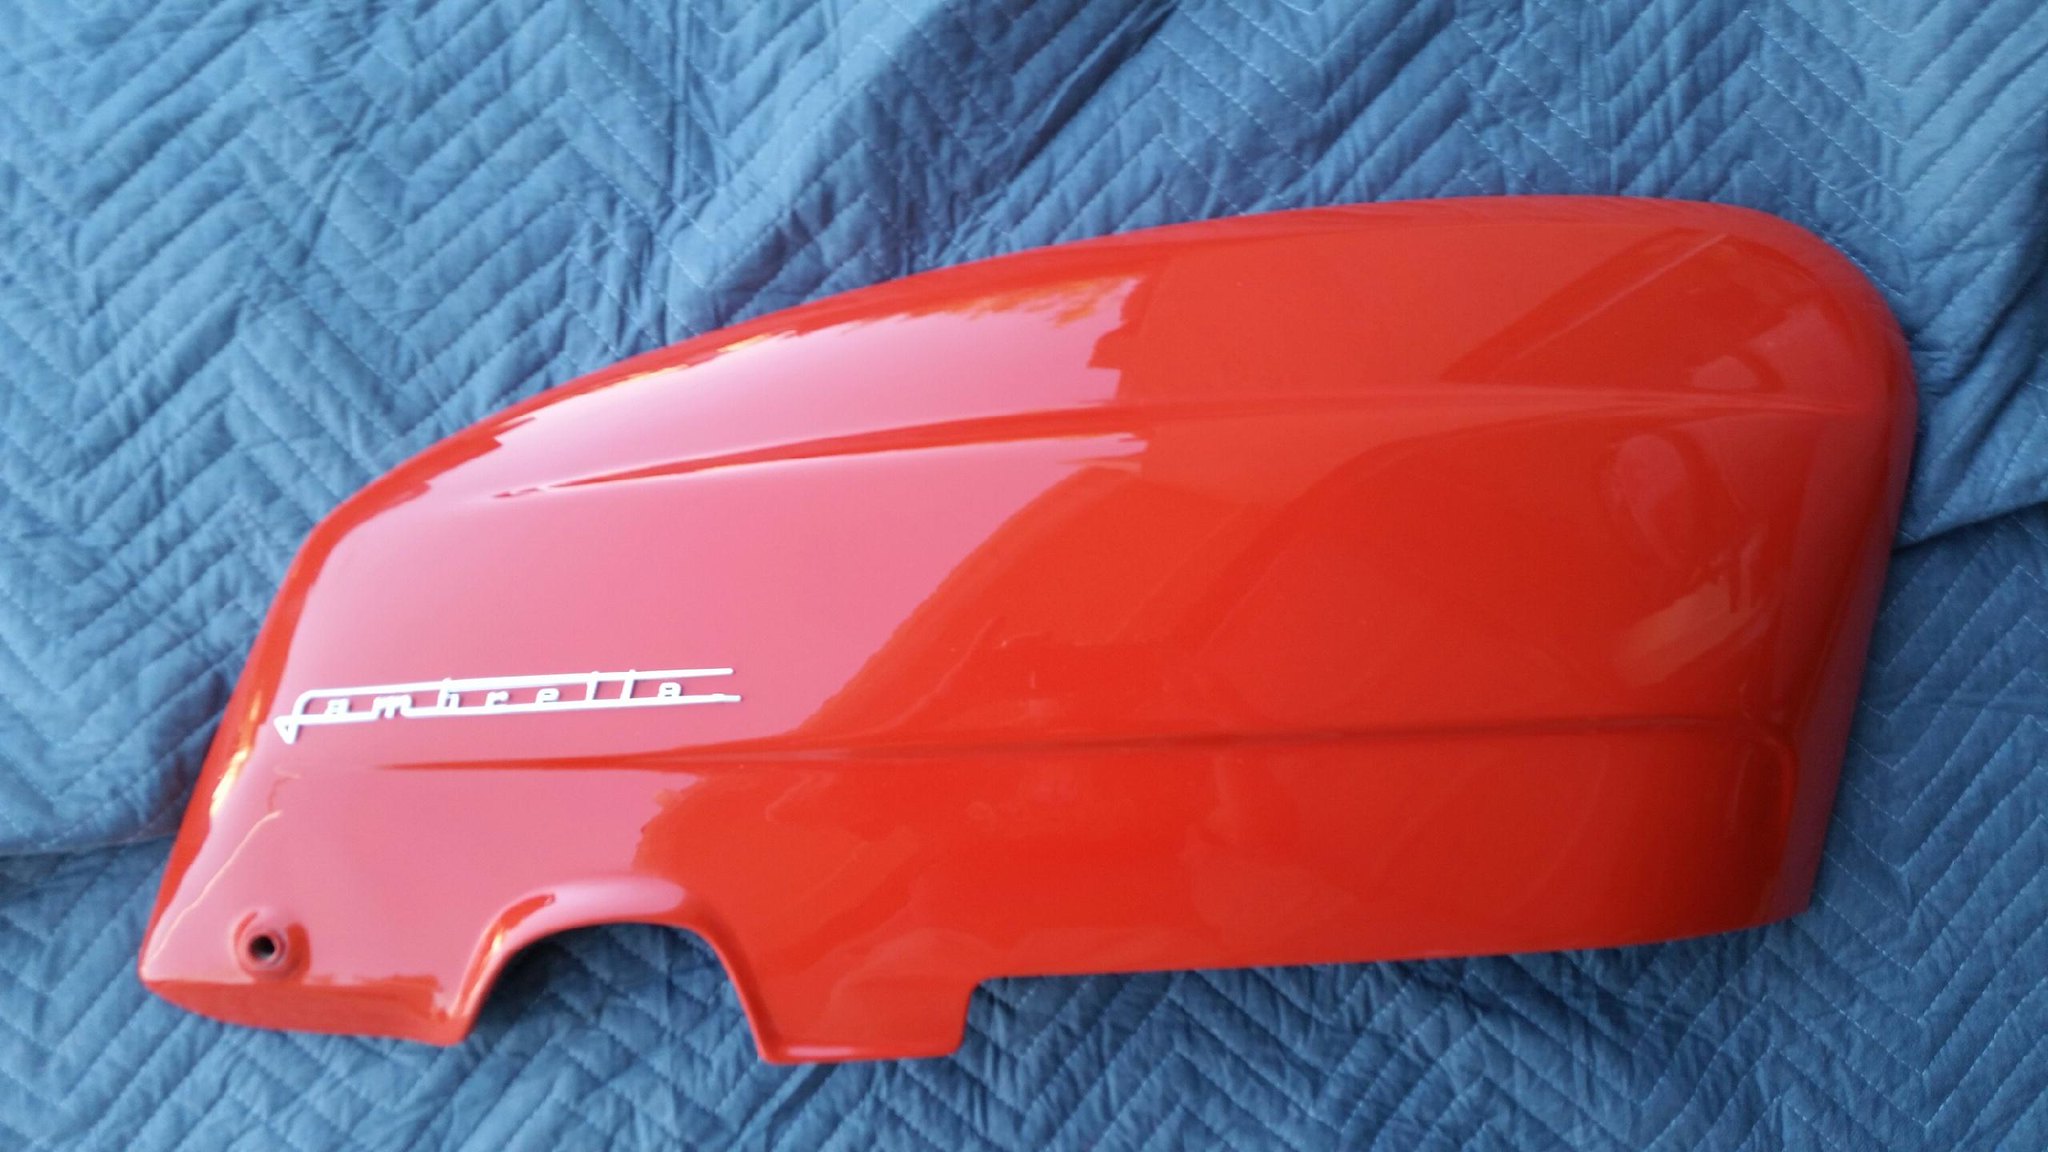
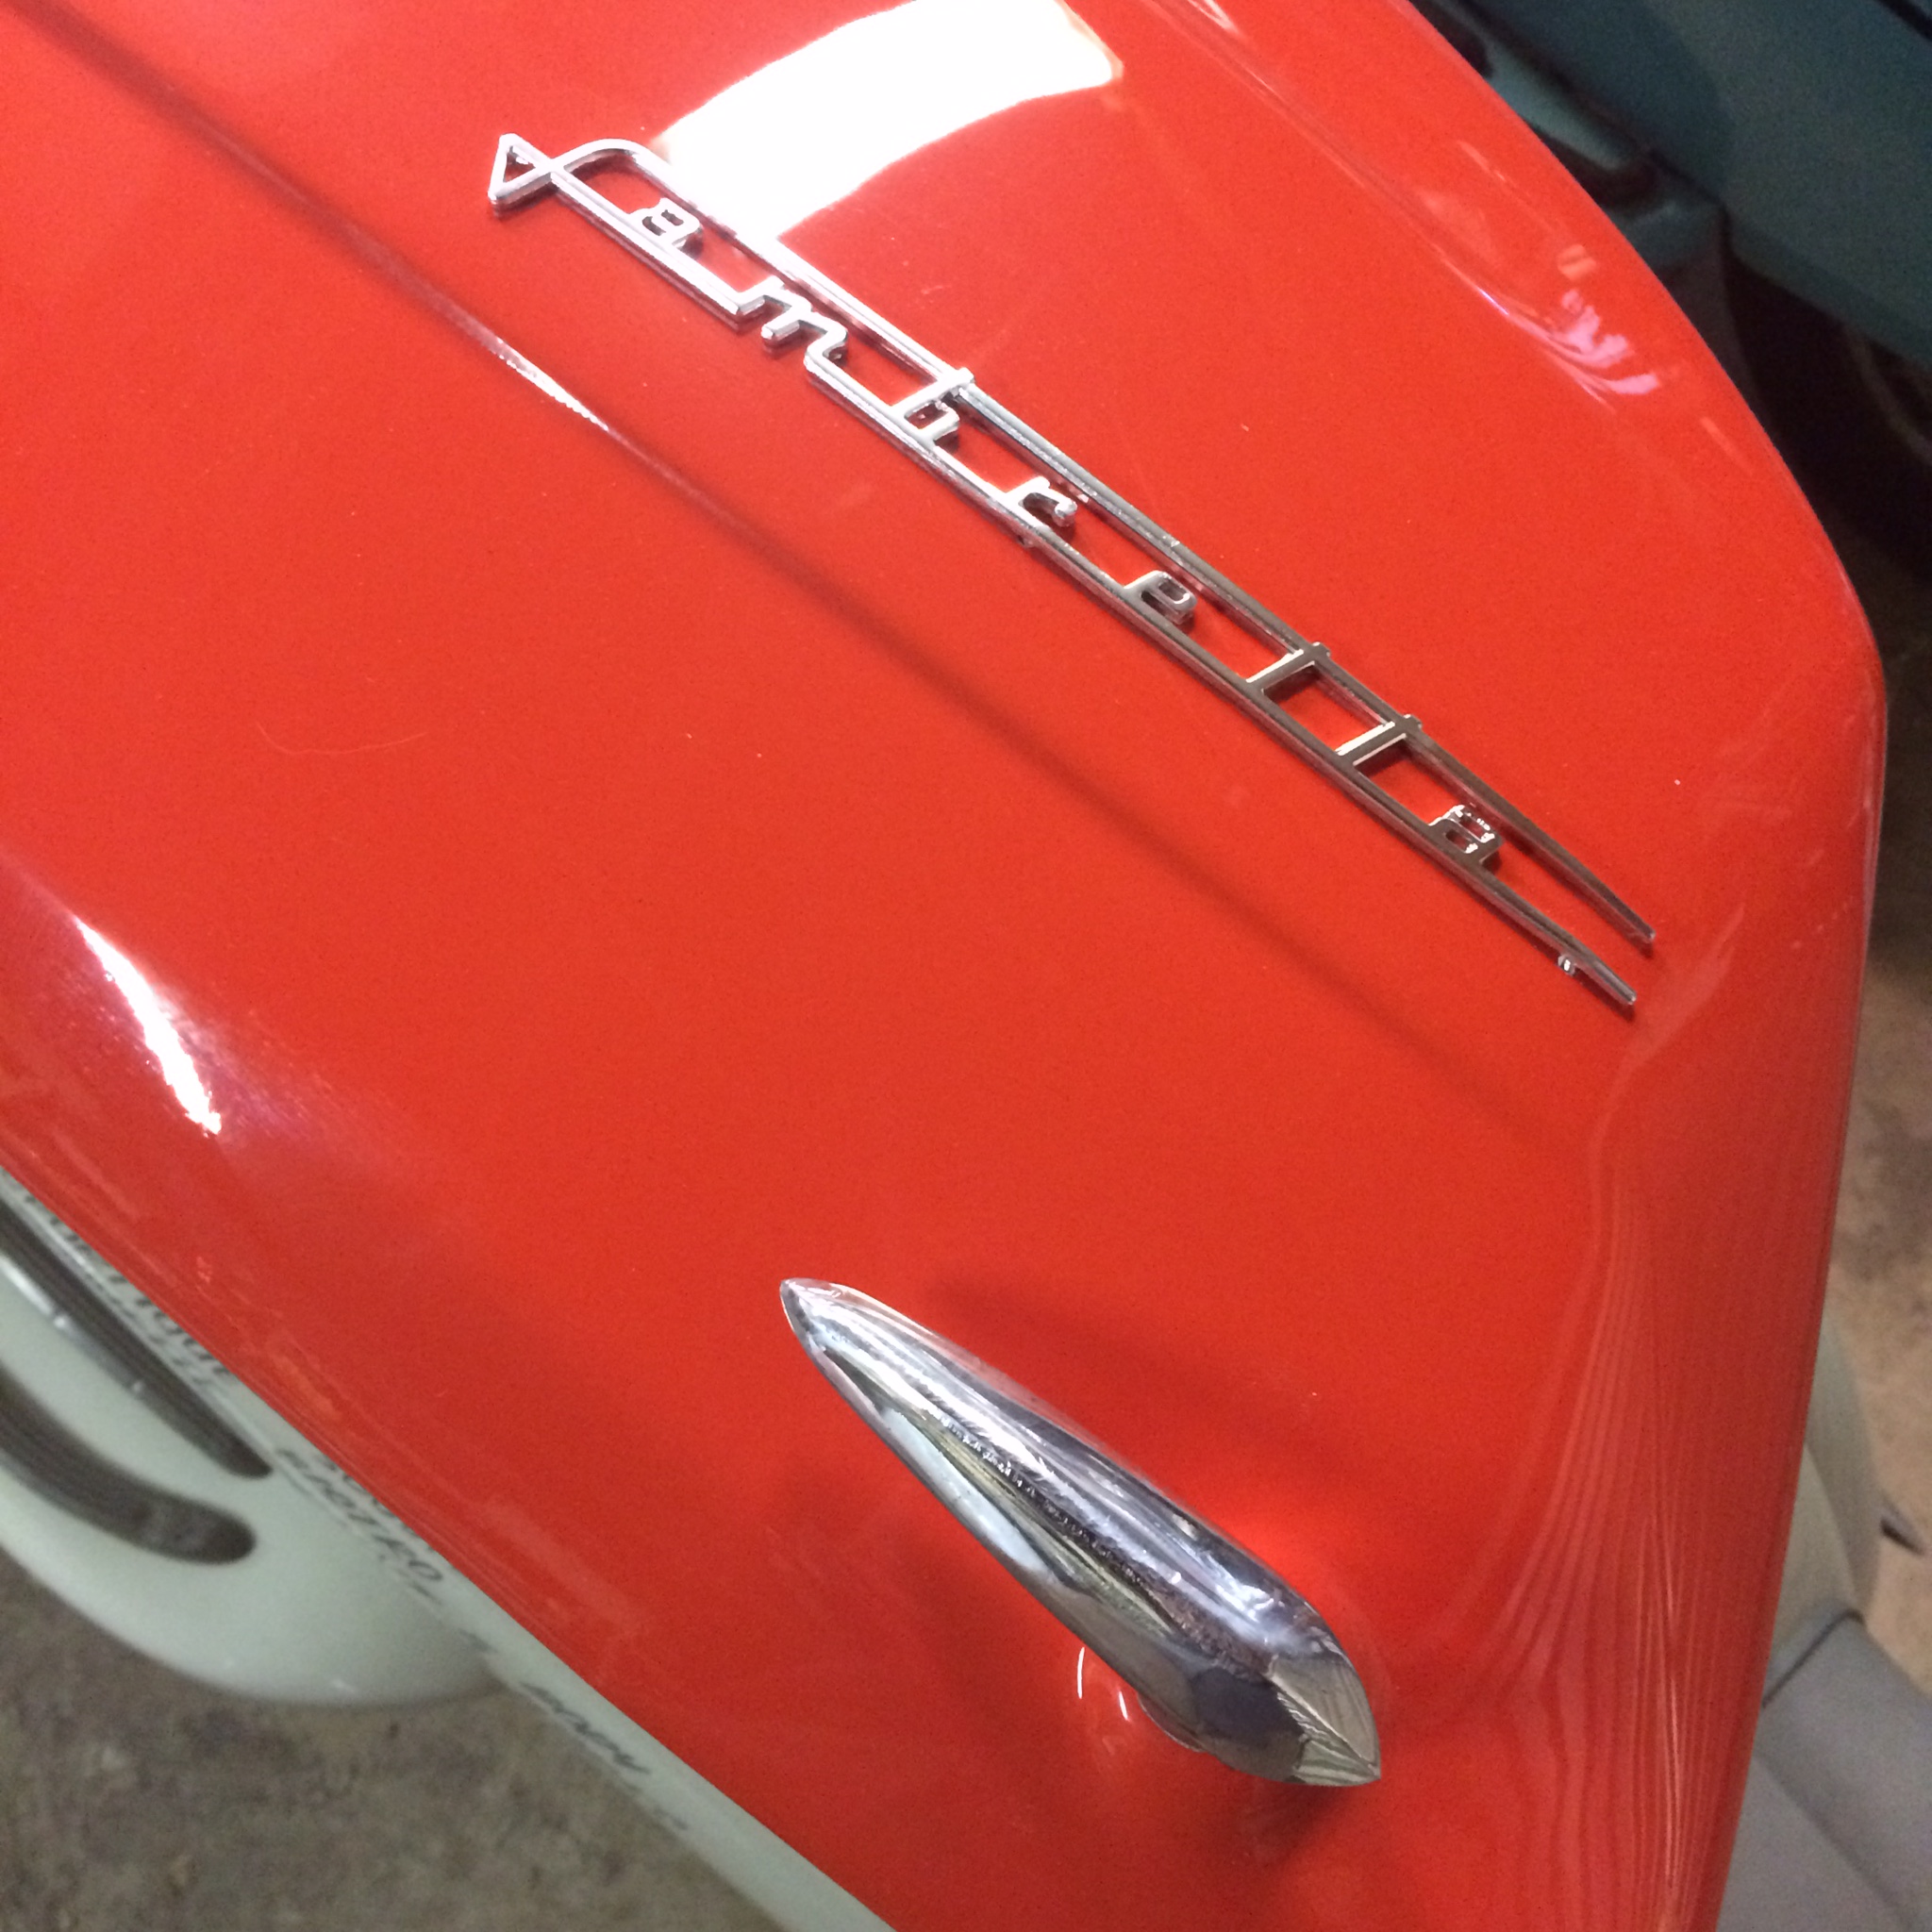
This is an early 1962 bike so I went with the "Coral Red" two tone.
History of the bike can be read
here.
More . . . follow-up post.
Posted
04 April 2015 - 10:09 PM
Correctly stamped hardware for seat:
Untitled by
jeremyjsutton, on Flickr
An earlier in the process shot not included above:
Untitled by
jeremyjsutton, on Flickr
More . . . follow-up post.
Posted
04 April 2015 - 10:19 PM
Like all restorations, especially bike in a box ones, loads of obstacles came up along the way.
Coral Red:
 Untitled
 by
jeremyjsutton, on Flickr
Legshield needs some weld work and attention:
 Untitled
 by
jeremyjsutton, on Flickr
For painter Josh Snow . . . a house move resulted in the loss of his
paint booth. So he rented one. Fisheye in the paint due a car detail
company next door with folks spraying the wheels with Armoral and into
the paint it went. Josh sanded and rented again, but now dust.
So as my dad always says . . . if you want something done right do it
yourself. Josh follows that mantra too. He built a small booth he can
dismantle and store when not in use to finish up my paint job.
 Untitled
 by
jeremyjsutton, on Flickr
 Untitled
 by
jeremyjsutton, on Flickr
More to follow. This bike has a bit of story to get it back to its
original glory (well semi close considering it was not a complete bike).
A lot of blood, sweat, and tears have gone into this build from
multiple people. The soul of this scooter is being honored.
To see a really cool story about this bike . . . see how a jacked up,
cracked up, ripped fiberglass fender was saved -- all for a $30 bottle
of wine.
Click here to read that story.
More . . . follow-up post.
Posted
28 April 2015 - 01:29 AM
Coral red clear coated:
 Untitled
 by
jeremyjsutton, on Flickr

by
jeremyjsutton, on Flickr

by
jeremyjsutton, on Flickr
Thanks Josh Snow.
More . . . follow-up post.
Posted
29 April 2015 - 01:43 AM
Finally tracked down the correct set of control rods . . . Thanks G (& Rudy)!
 Untitled
 by
jeremyjsutton, on Flickr
These proved challenging for me to find over the years. The repop
set I received from Scooter Restorations were not made correctly.
Dang problem with buying a bike in a box is hunting down parts.
Good news . . . Mike Anhalt said the bike fired up after the 3rd kick and it sounded great. He sent me a video.
For all the "smalls" and "technical considerations" with this
specific build damn I am lucky to have Mike on the job. He has super
high standards. I would have missed some of this stuff due to my lack
of experience. I am learning so much from Mike -- a true mentor. He
and Tom G. have been the best scootering resources for me without a
doubt.
Josh Snow's standards are freakin' up there too. He has taught me quite a bit about the painting process.
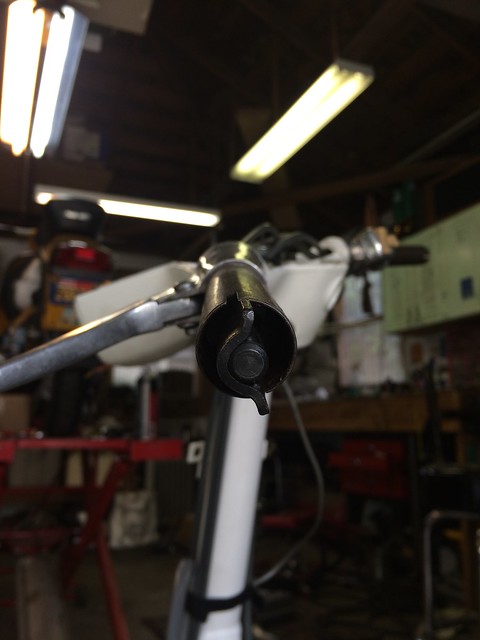
So what's left?
Attach pulleys/cables
Install headset lock
Install ignition switch
Wire headset
Install headlight
Install headset top with speedometer
Connect rear brake cable and adjust
Cylinder tin
Install exhaust after back from ceramic paint
Buy key 217 for glove box
Clear coat horncast
Install sheet metal parts
etc.
More . . . follow-up post.
Posted
01 May 2015 - 04:14 PM
Yah PDX Mike . . . as Mike Anhalt said this has been a project.
I think the fork bend was 1/8" off:
 Untitled
 by
jeremyjsutton, on Flickr
I was upset when I learned that since it had just been painted, but
Dean minimized damage to paint to only where it could not be seen:
 Untitled
 by
jeremyjsutton, on Flickr
I remind myself it could have been worse. Mike Anhalt touched up
with paint the hidden part of the fork so it will not rust and away it
went.
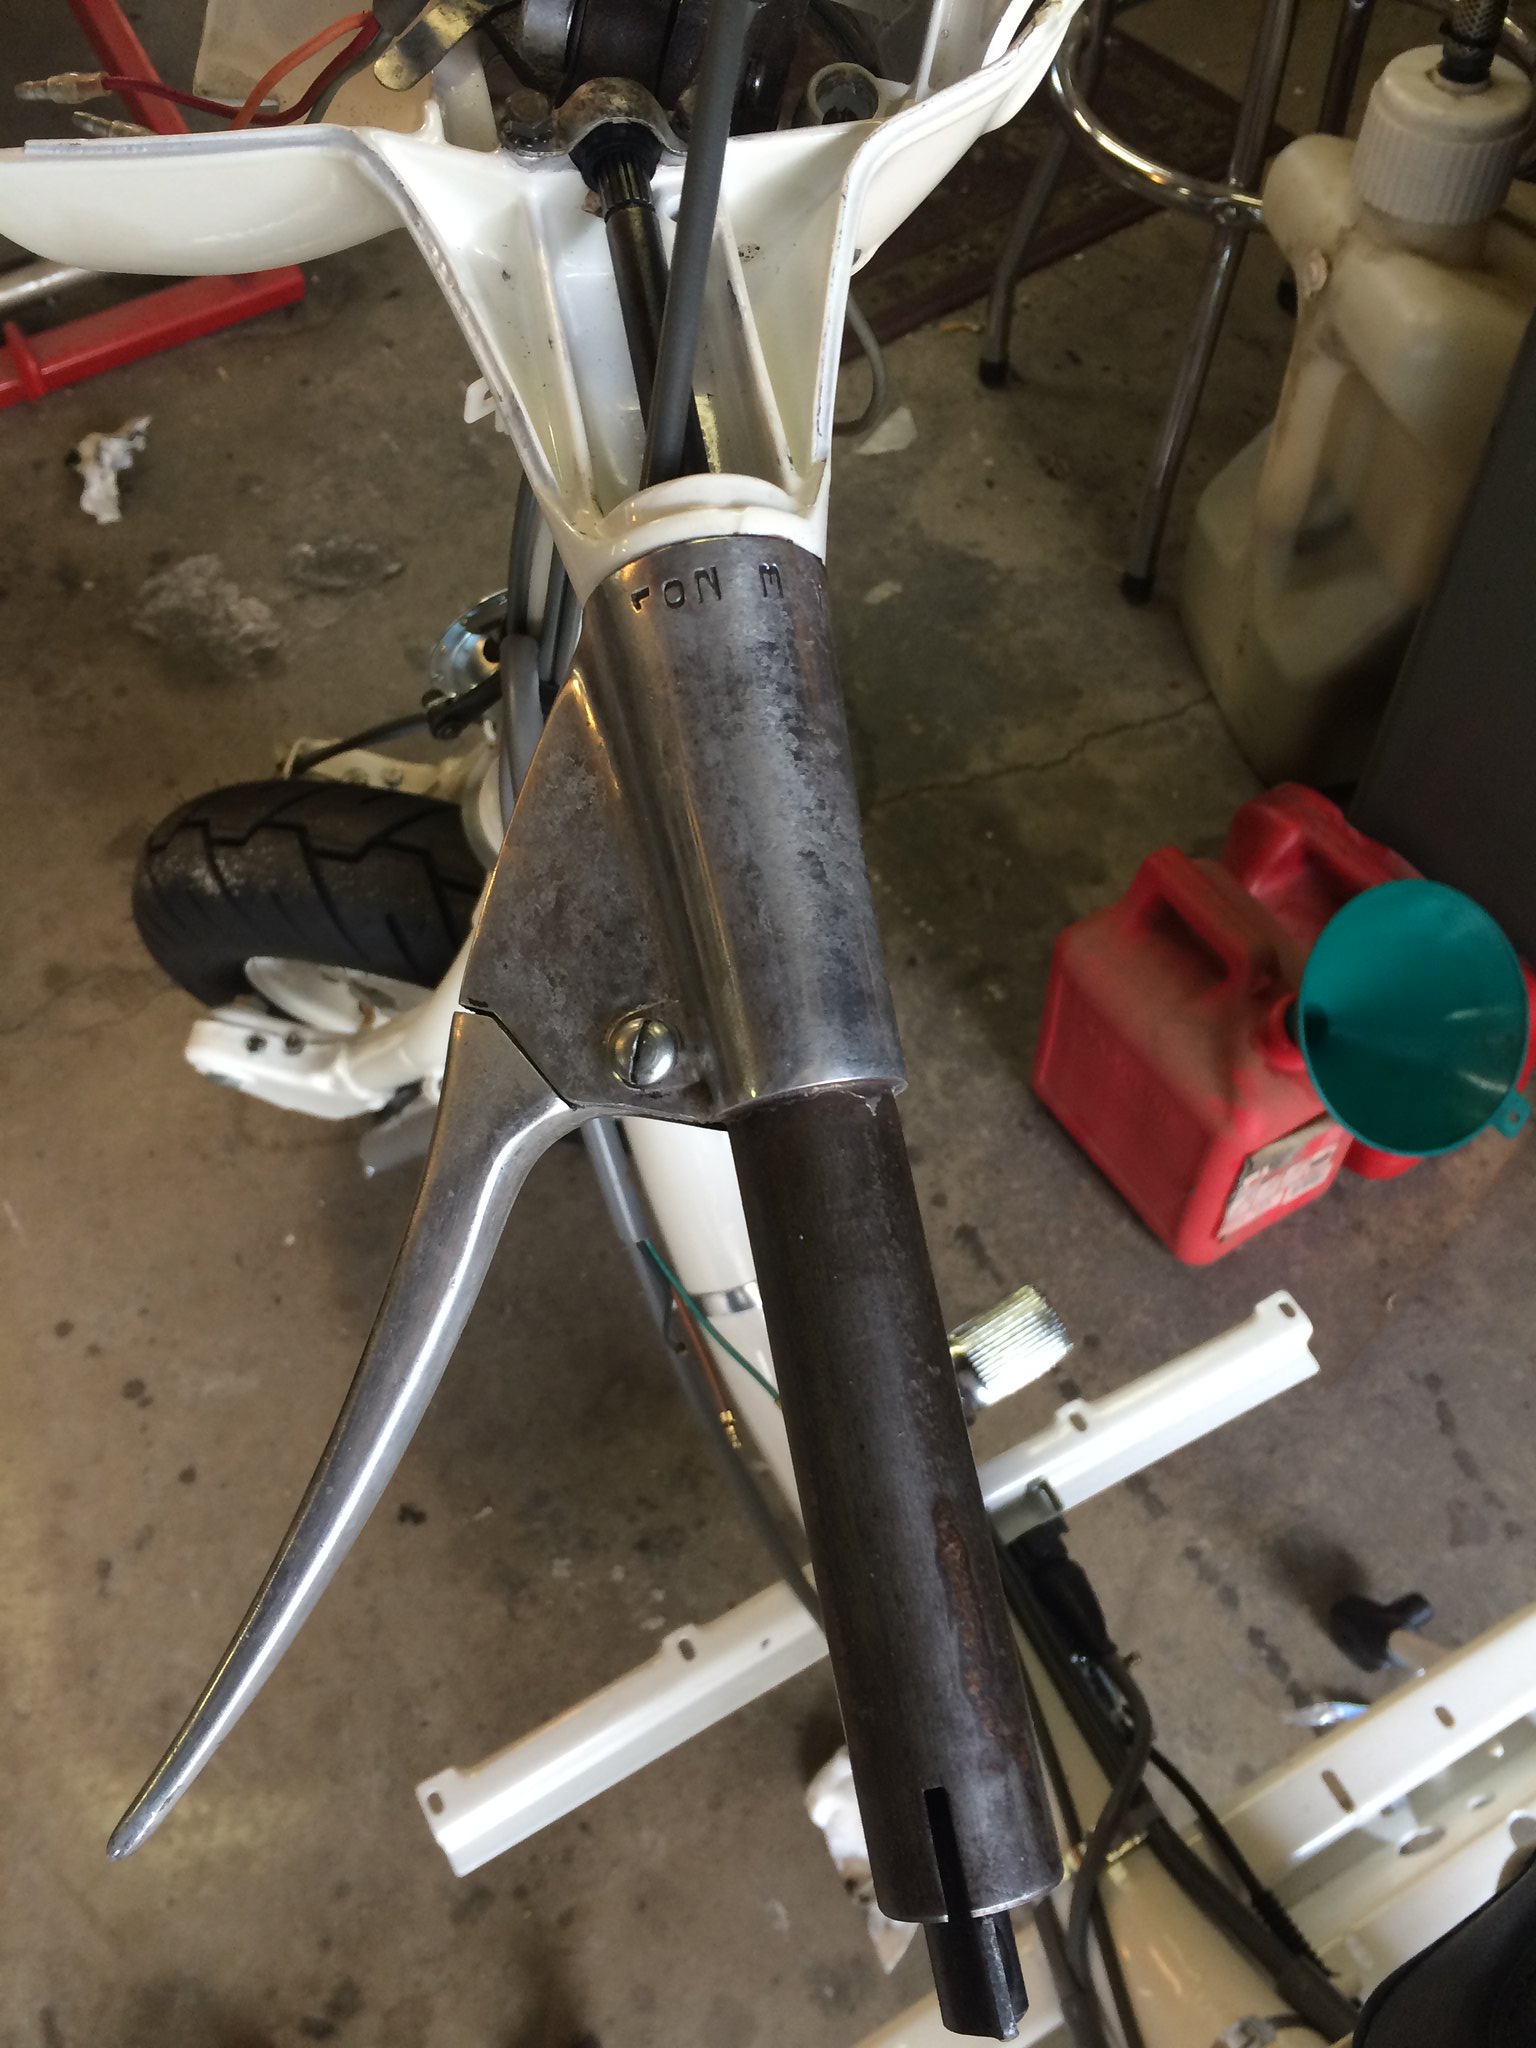
Beyond that challenge (and more) is the fact that when the seller
sold me the bike be showed me original TV forks that his machinist
unknowingly destroyed beyond repair. So he a had a pair of Li forks
(fortunately they are pre-mod style to match the bike per Stickey) and
had his welder weld the front dampener bracket on it. Josh Snow tested
it for resistance and it met spec for strength.
However, the problem is where the brackets were mounted (height wise
good, but a hair off horizontally), resulting in maybe a shorter life
for the plastic bushings, but Mike said they will still function as
intended.
 Untitled
 by
jeremyjsutton, on Flickr
 Untitled
 by
jeremyjsutton, on Flickr
As Mike said, a project indeed. I will post more later.
More . . . follow-up post.
Posted
01 May 2015 - 10:25 PM
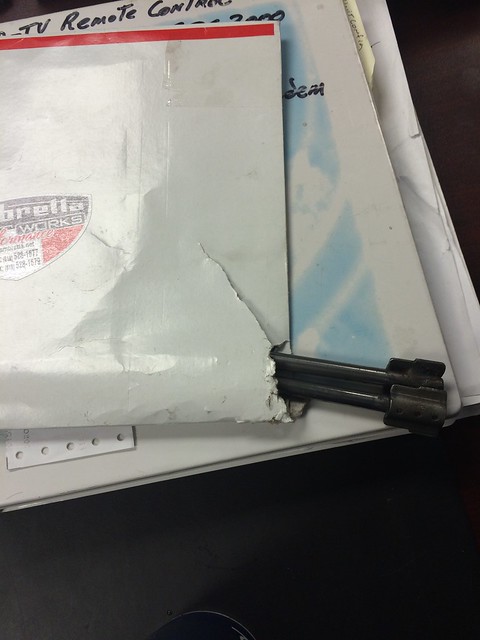
Another challenge was finding replacement TV fork links, because
mine had been ridden about 10K miles after the plastic bushings had
worn out and it resulted in two terrible groves in them.
 Untitled
 by
jeremyjsutton, on Flickr
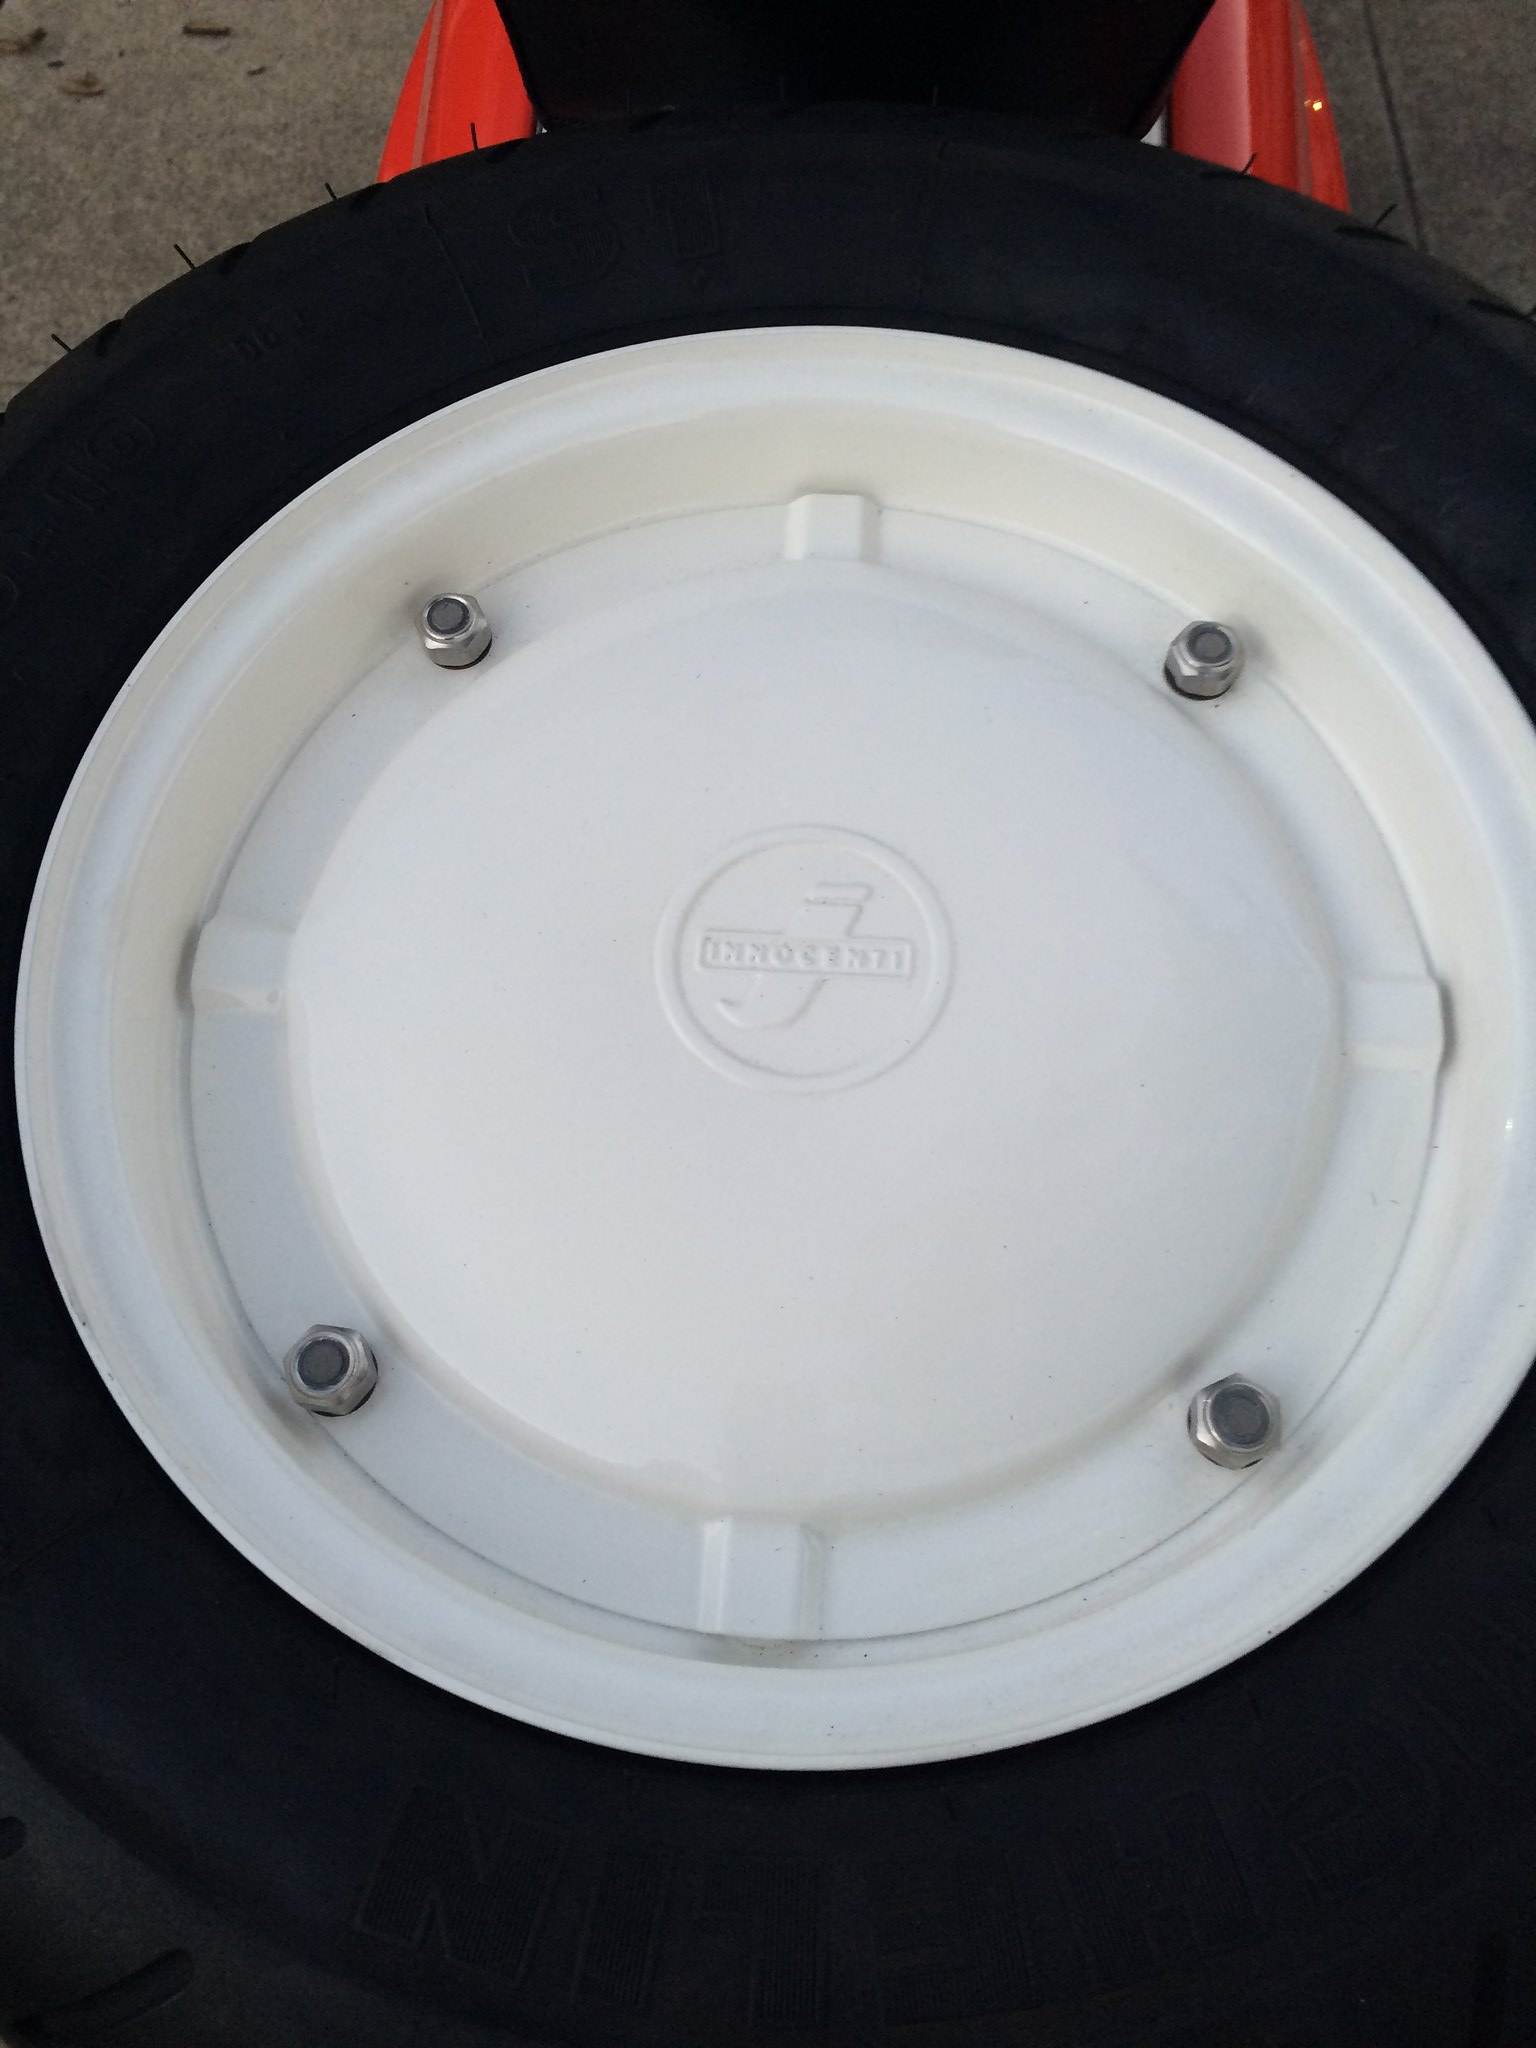
The funny thing is the seller had to sets laid out when I bought the
bike-in-a-box and he accidentally gave me two left links. I contacted
him and he sold me both right side ones to choose what I wanted. Very
fair. I selected the set branded "Innocenti". I guess the others are
Casa repops or something. I had concerns about the grooves, but they
were both shaped with a similar grove, so foolishly I kept them.
Mike had his machinist fill in the hole and prep new holes. Mike told me they would be as good as new when done.
 TV175 S3 rest
 by
jeremyjsutton, on Flickr
The chrome chipped, but the links were solid once more. I did not
have them re-chromed. I could, but the exposed areas cleaned up well.
So I have an original set that has been repaired and is ready for
riding.
More . . . follow-up post.
Posted
04 May 2015 - 04:26 PM
Electrical tested and working
 Untitled
 by
jeremyjsutton, on Flickr
Mike Anhalt added frame supports:

by
jeremyjsutton, on Flickr
It's these littles that come second nature to Mike and I may or may
not have caught if I had built the bike. My wife said this weekend that
she was really happy Mike was building the bike too, because of his
attention to detail combined with his experience and know-how.
Unfortunately, though Lammy Jammy is in my own state, the bike won't
be there as I planned a family trip abroad nearly two years ago. So I
aiming to pick up the finished product in mid-July. So so close.
Update from Josh Snow is there is one more part needs a clear coat
and some sanding and buffing and then the final pieces leave his garage.
On May 11th my muffler, u-bend, and clip will be mailed back to Mike
from the ceramic coater. I will post a review of the quality of work
and price I paid if the quality is great.
I can't wait to ride it!
More . . . follow-up post.
Posted
16 May 2015 - 08:12 PM
Pipe is back from painter with fresh coat of ceramic on it.
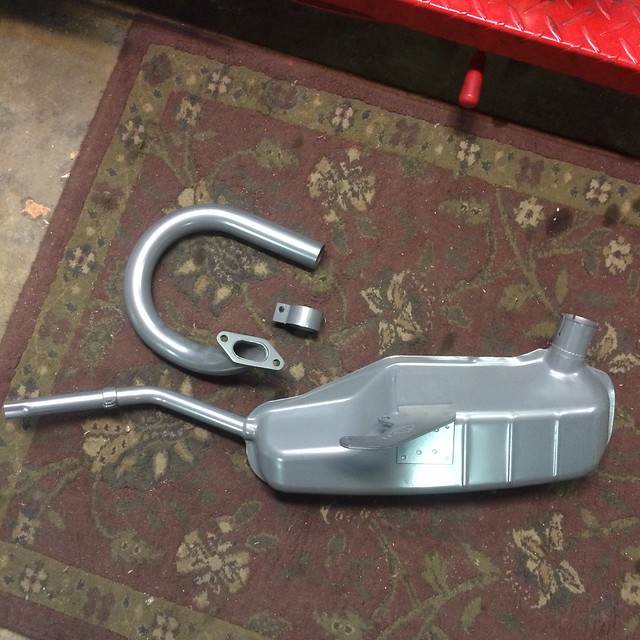 Untitled
 by
jeremyjsutton, on Flickr
And now installed on the bike:
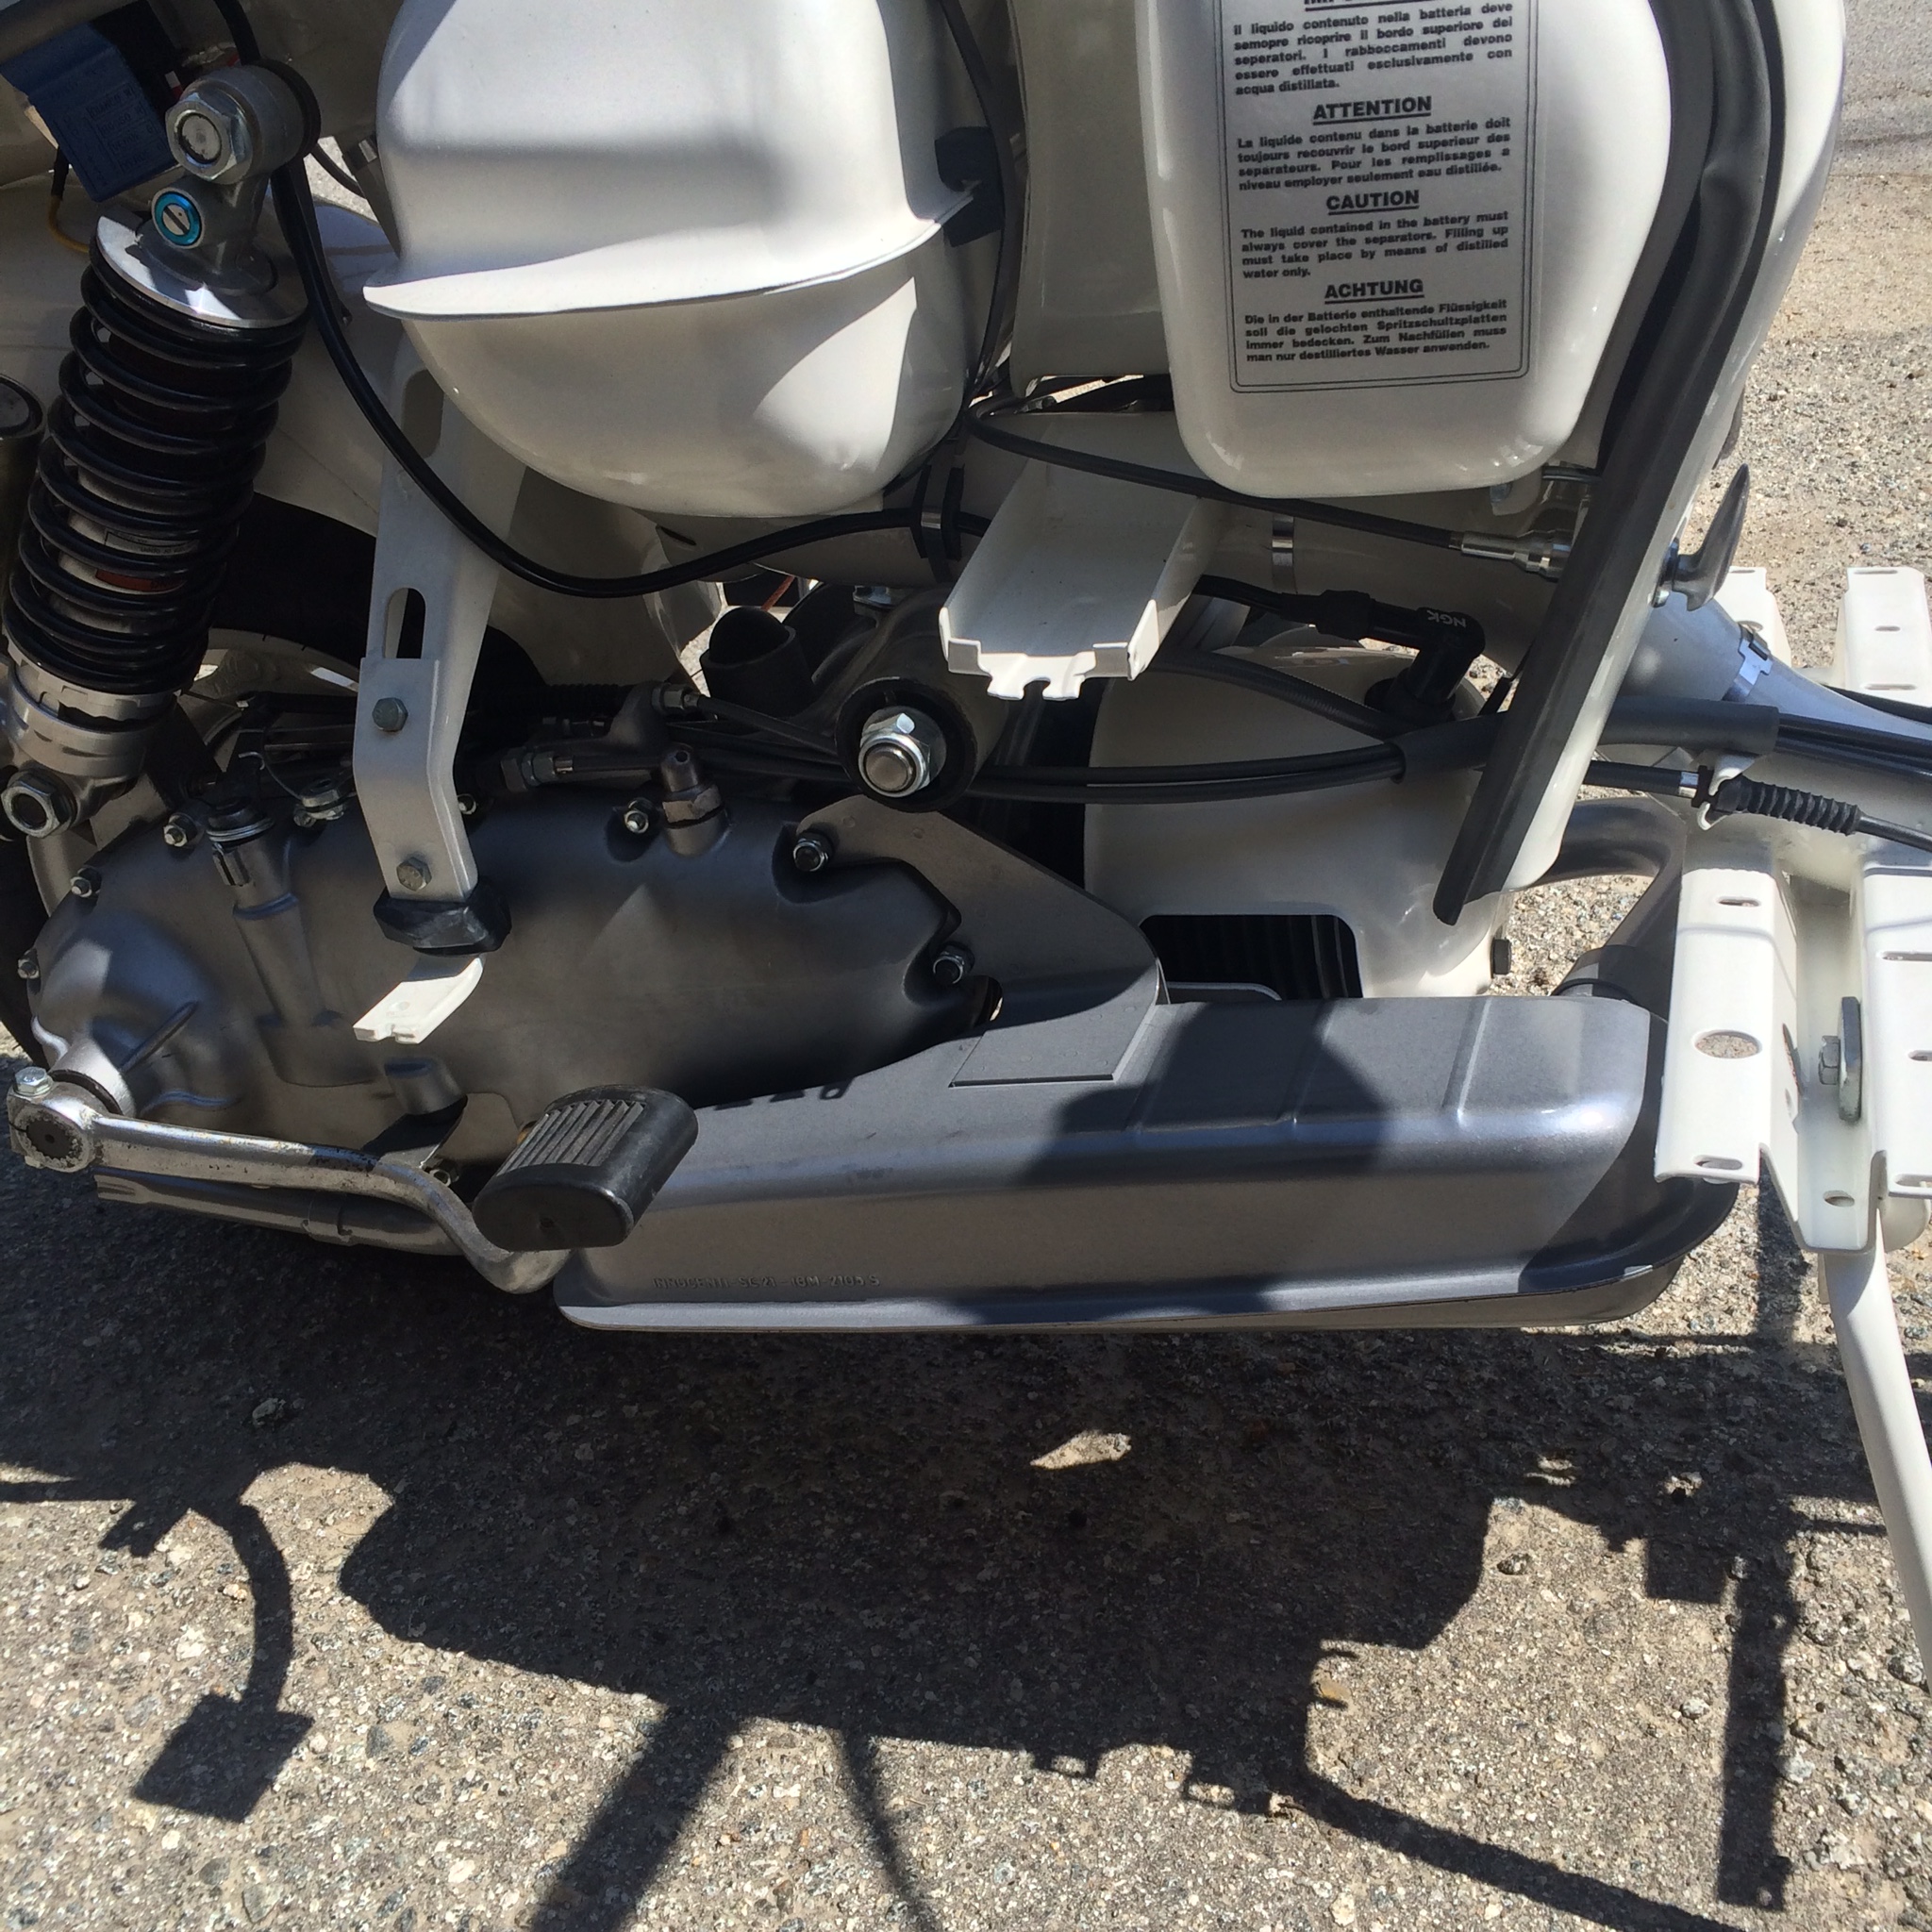 Untitled
 by
jeremyjsutton, on Flickr
All that is left is the sheet metal with Josh Snow is finishing up.
More . . . follow-up post.
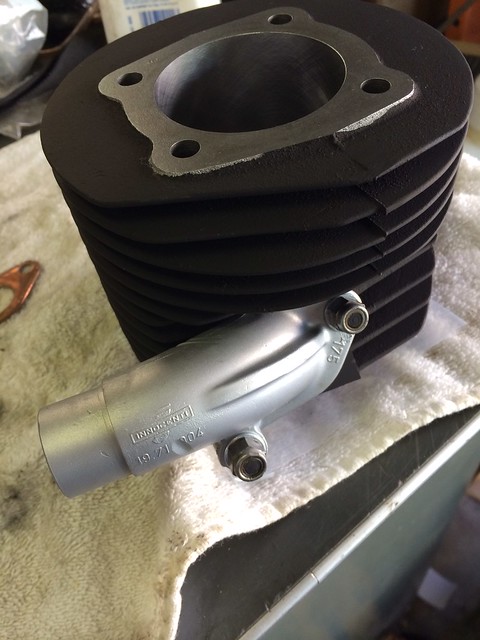
Prior to having the muffler ceramic coated Mike had the pipe/clamp welded for a true stock look:
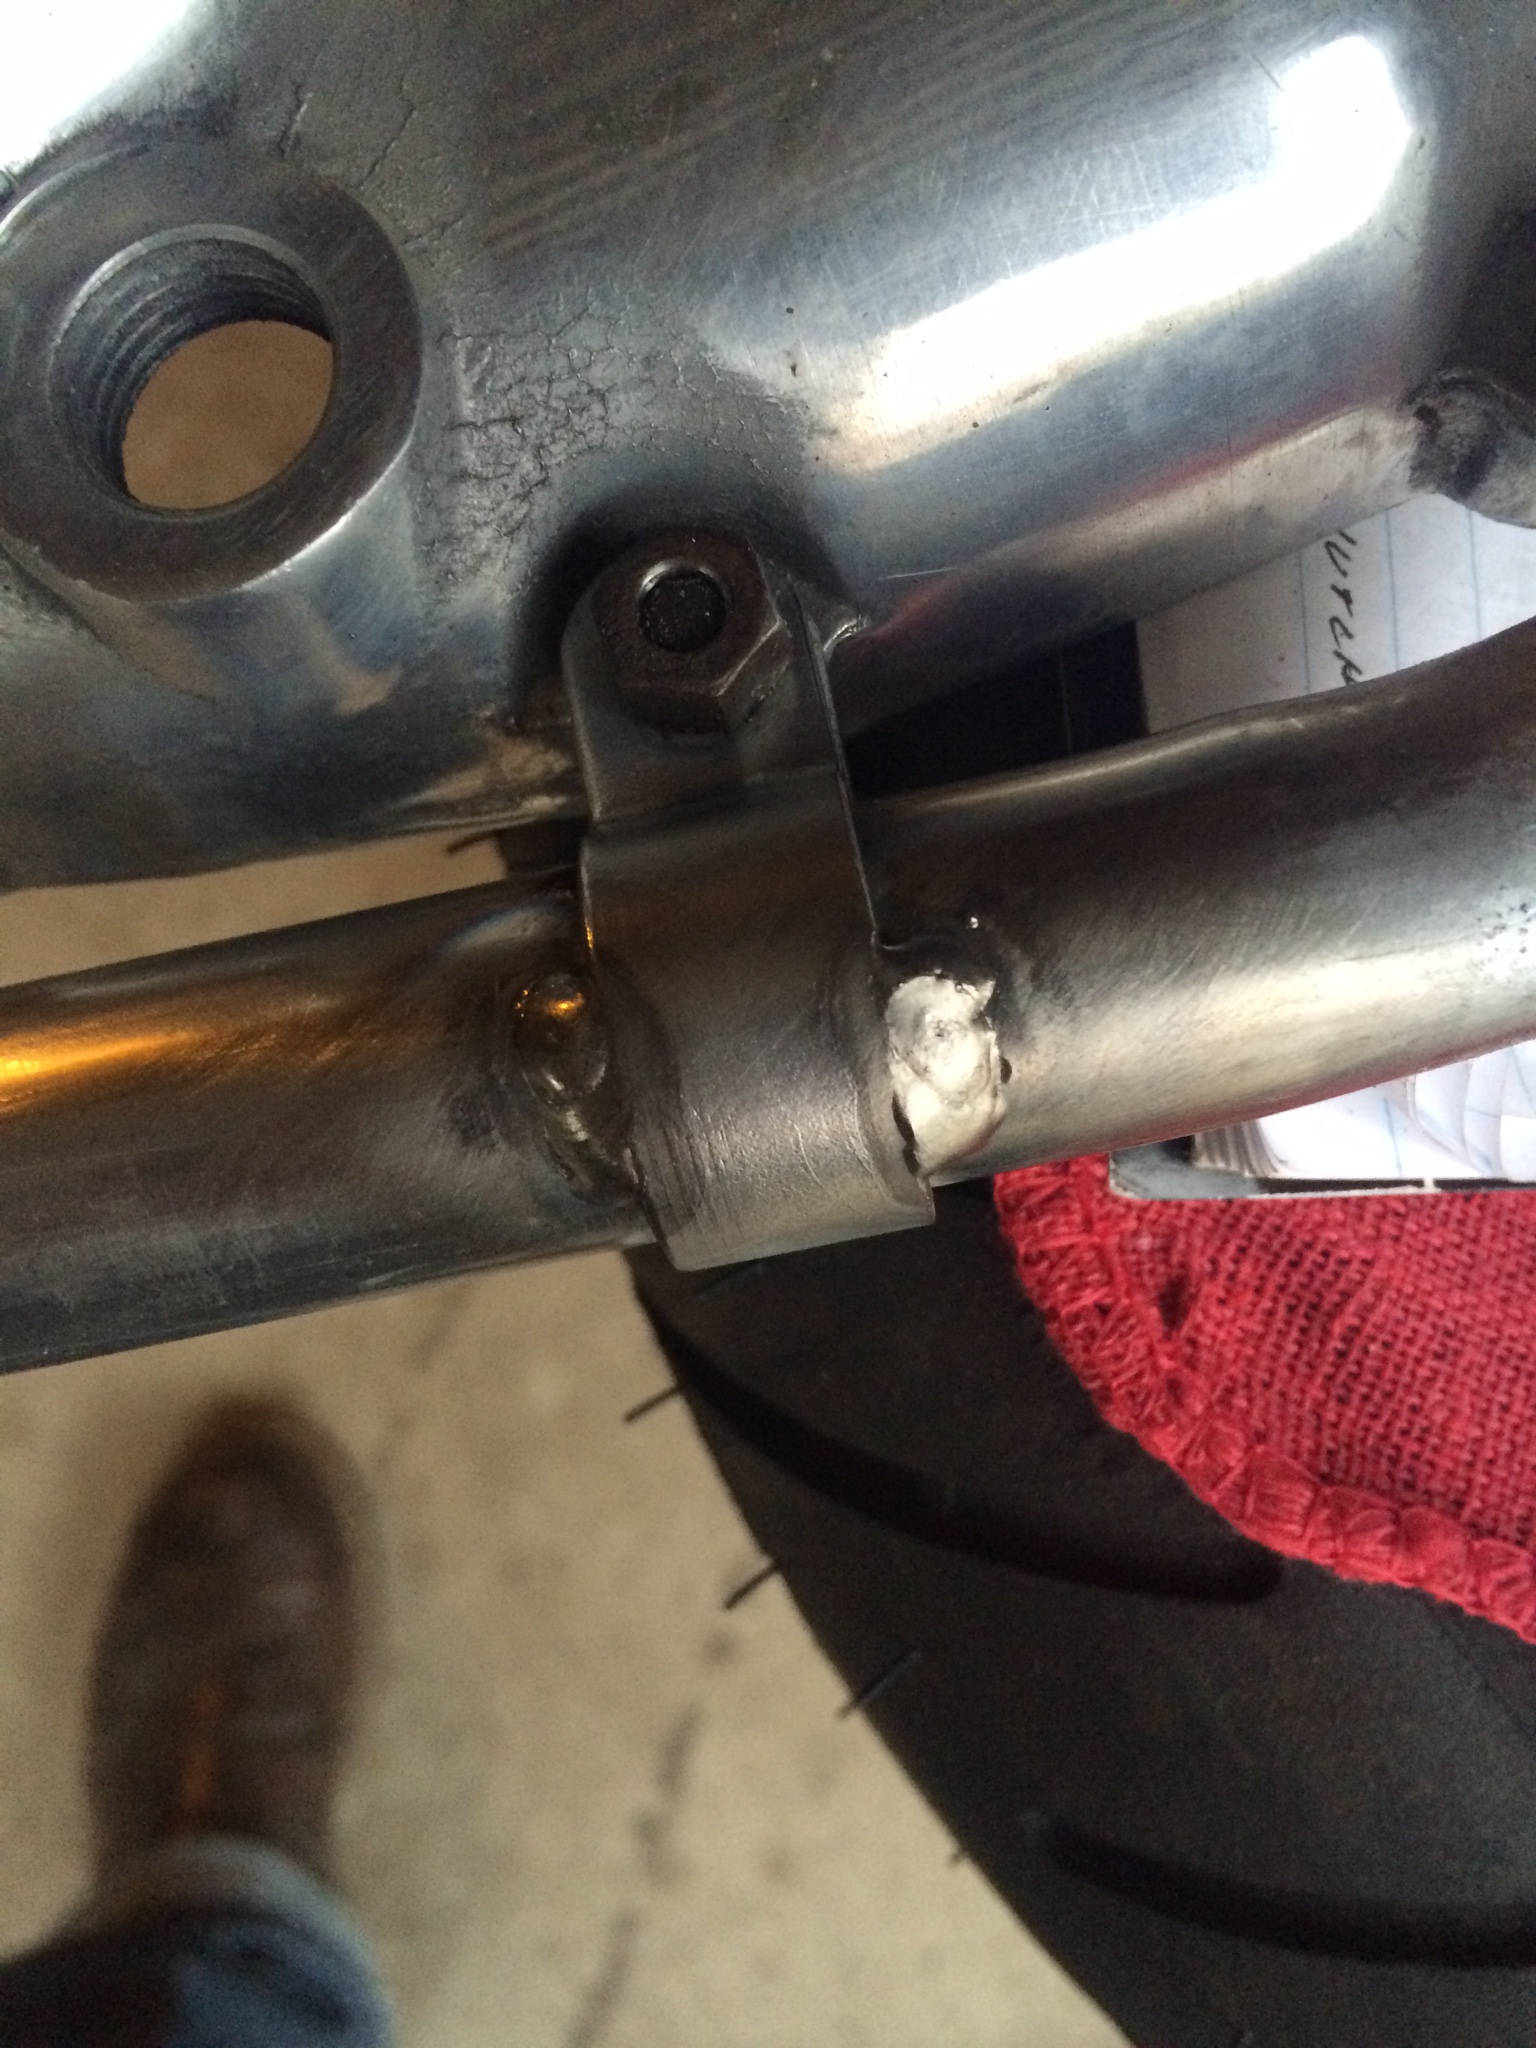 Untitled
 by
jeremyjsutton, on Flickr
More . . . follow-up post.
Posted
16 May 2015 - 09:14 PM
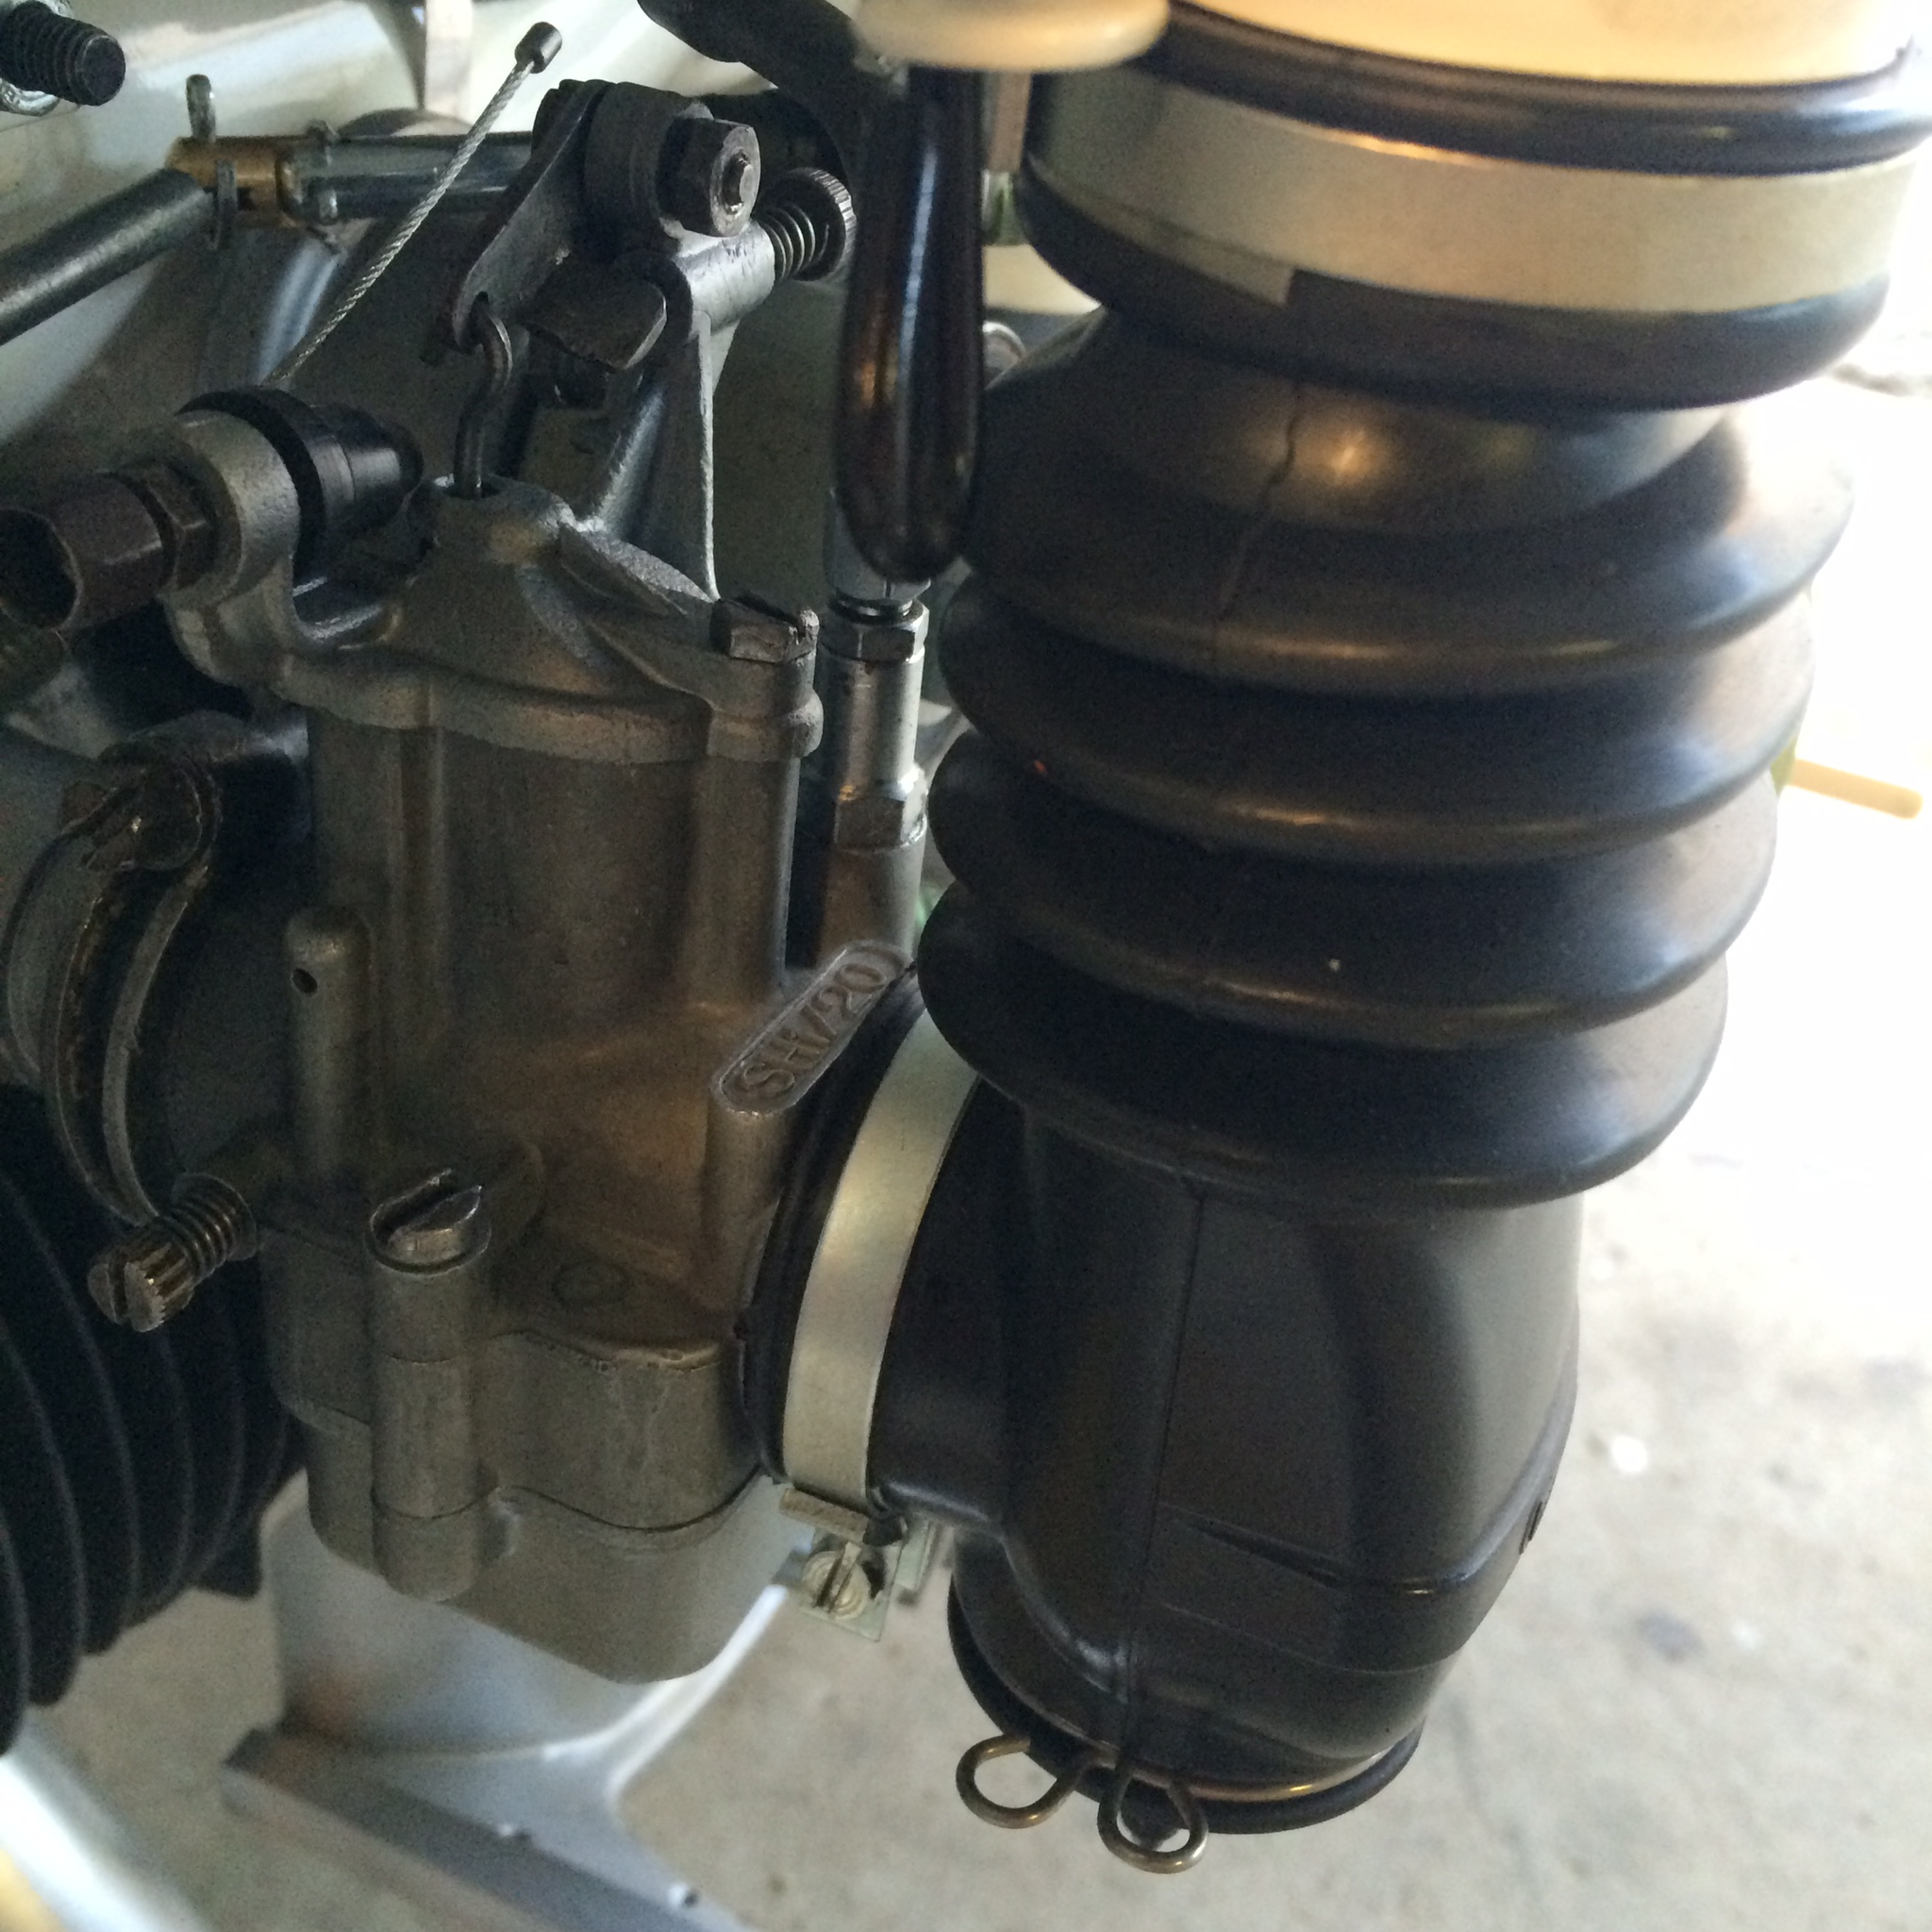
As Mike and I both said, building a bike in a box project is not ideal and poses challenges.
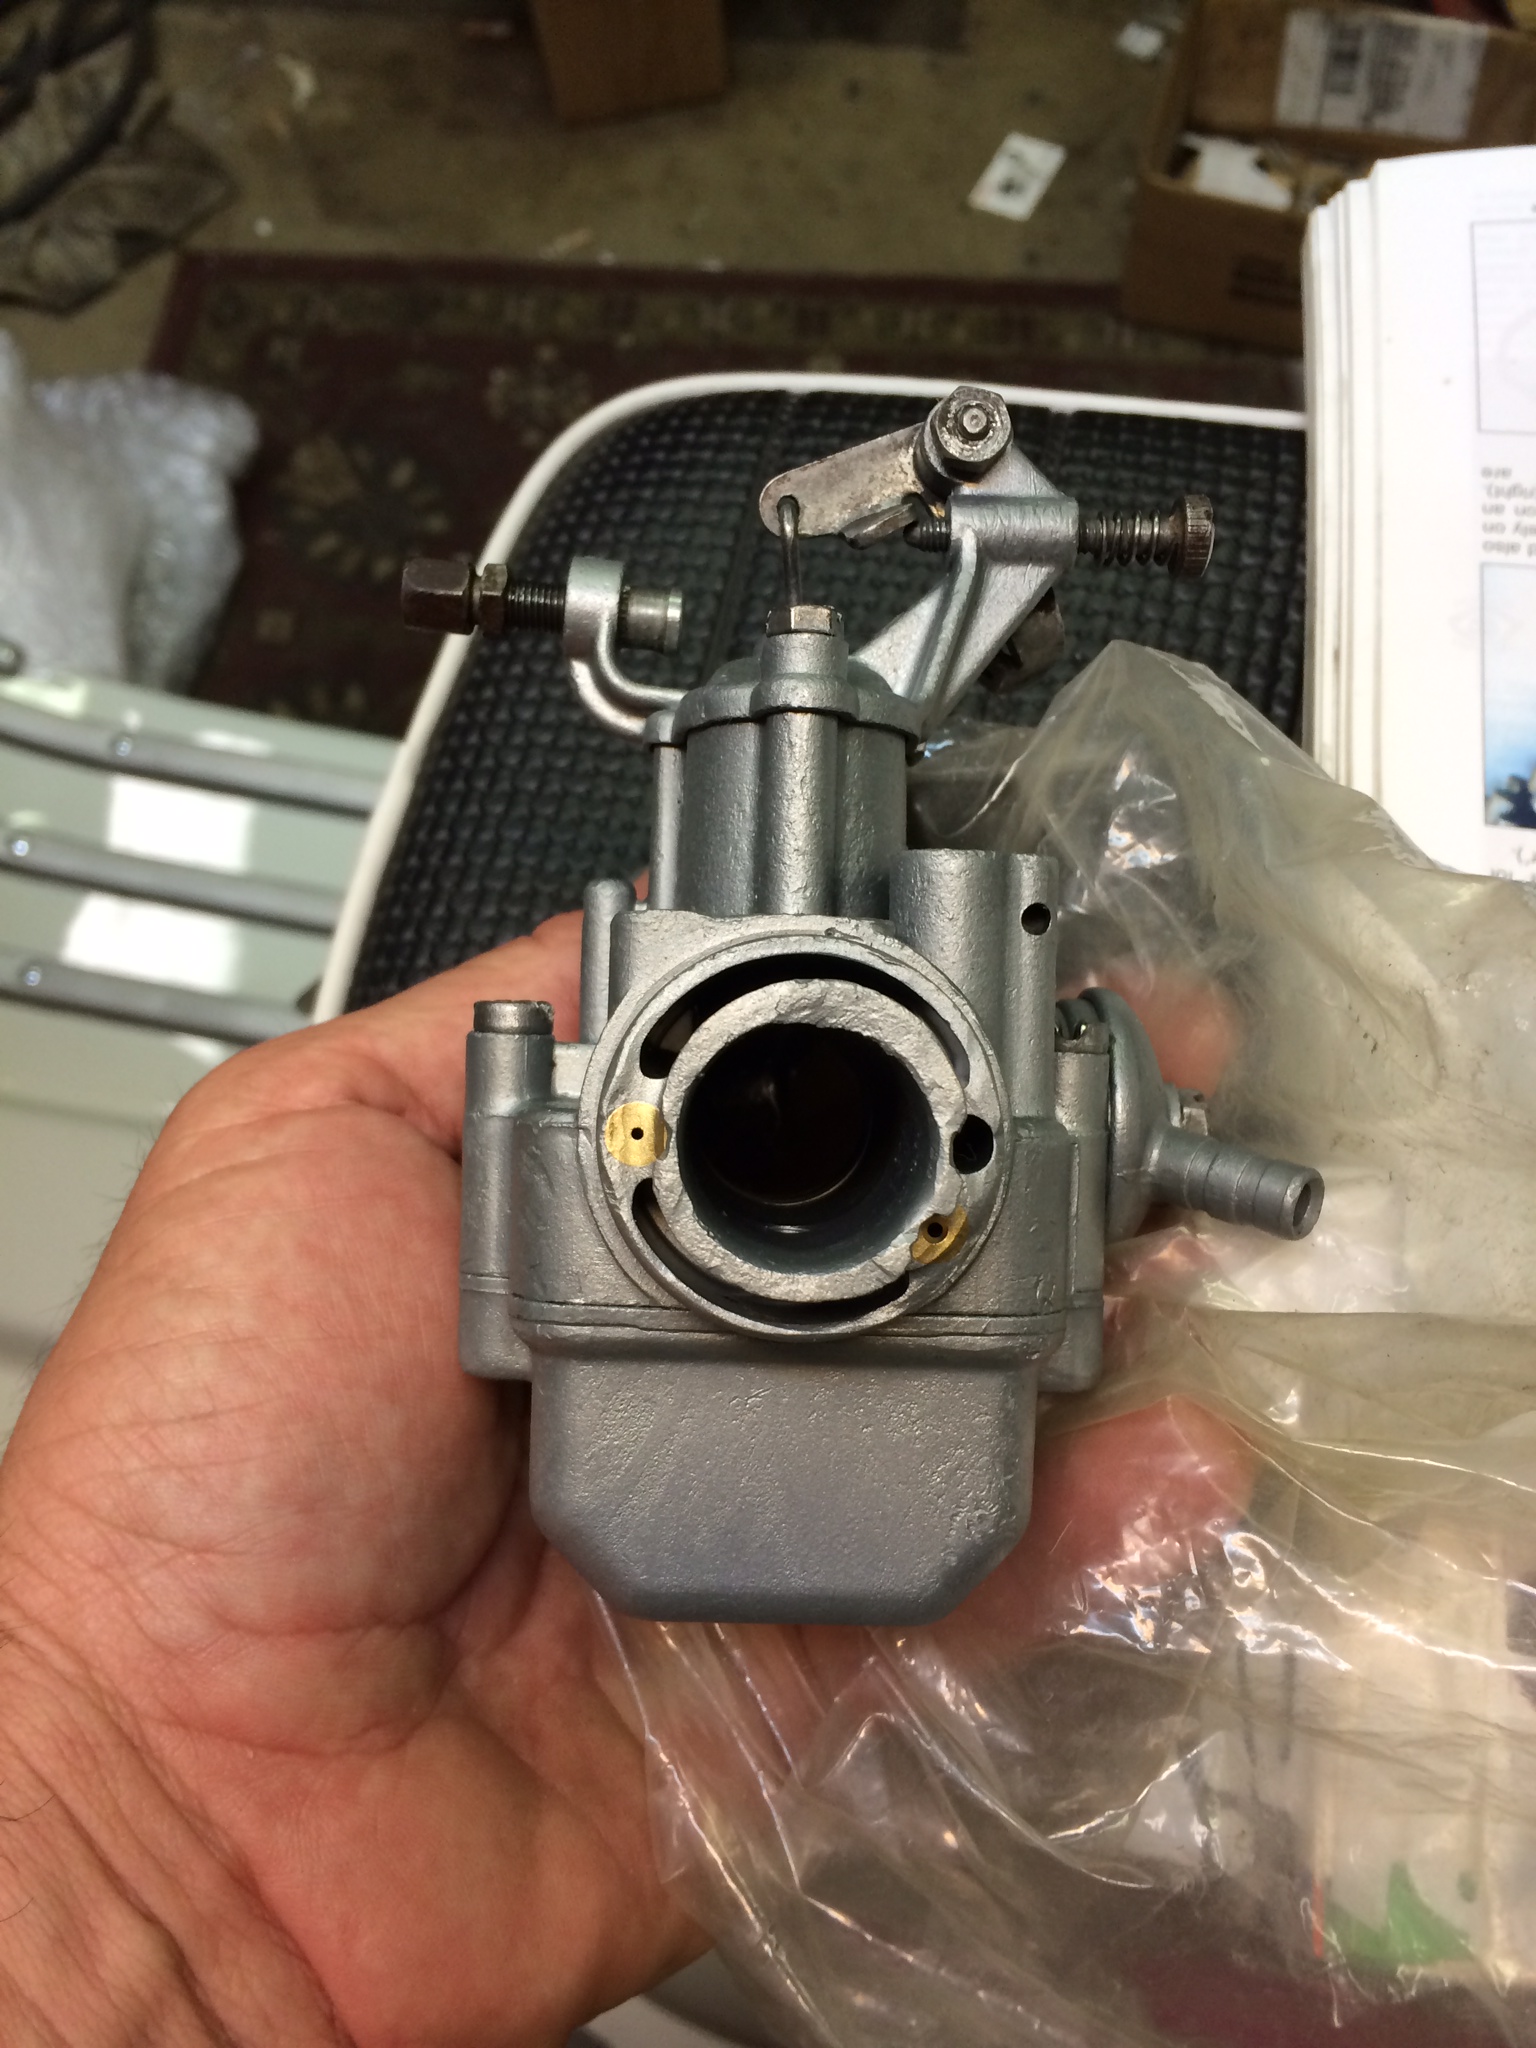
One challenge was the carb body.
Finding a carb body without stripped threads was not so easy nor quick.
I bought this one and was told that I could file the mouth down smooth for function.
 Untitled
 by
jeremyjsutton, on Flickr
So I checked the threads and they seemed good. I bought the complete carb for $75. Then I paid Peter to vapor blast it.
Untitled by
jeremyjsutton, on Flickr
Mike is very particular about his standards during a build (which is
why I hired him and would do it again in a heart beat). He tried to
repair the carb body, but to no avail. He wanted a carb in the best
possible condition so the bike can run strong and healthy stock.
Hunting down the new body was not as quick as we would have liked.
Rudy Perez was generous enough to hook me up with a happy and
healthier carb body. Mike suggested not to have it vapor blasted and to
just clean it up for a truer to stock look.
Here it is . . .
 Untitled
 by
jeremyjsutton, on Flickr
Thank you Rudy!
More . . . follow-up post.
Posted
16 May 2015 - 10:03 PM
But wait, for $19.99 there is more . . . building this bike has
felt like a info-merricial that identifies more and more issues that
must be resolved. Translation: my wallet gets thinner with every
discovery and Mike has added time to work and worse added down time
waiting for parts.
Fortunately, Mike is a veteran and relaxed and chilled and proactive in problem-solving.
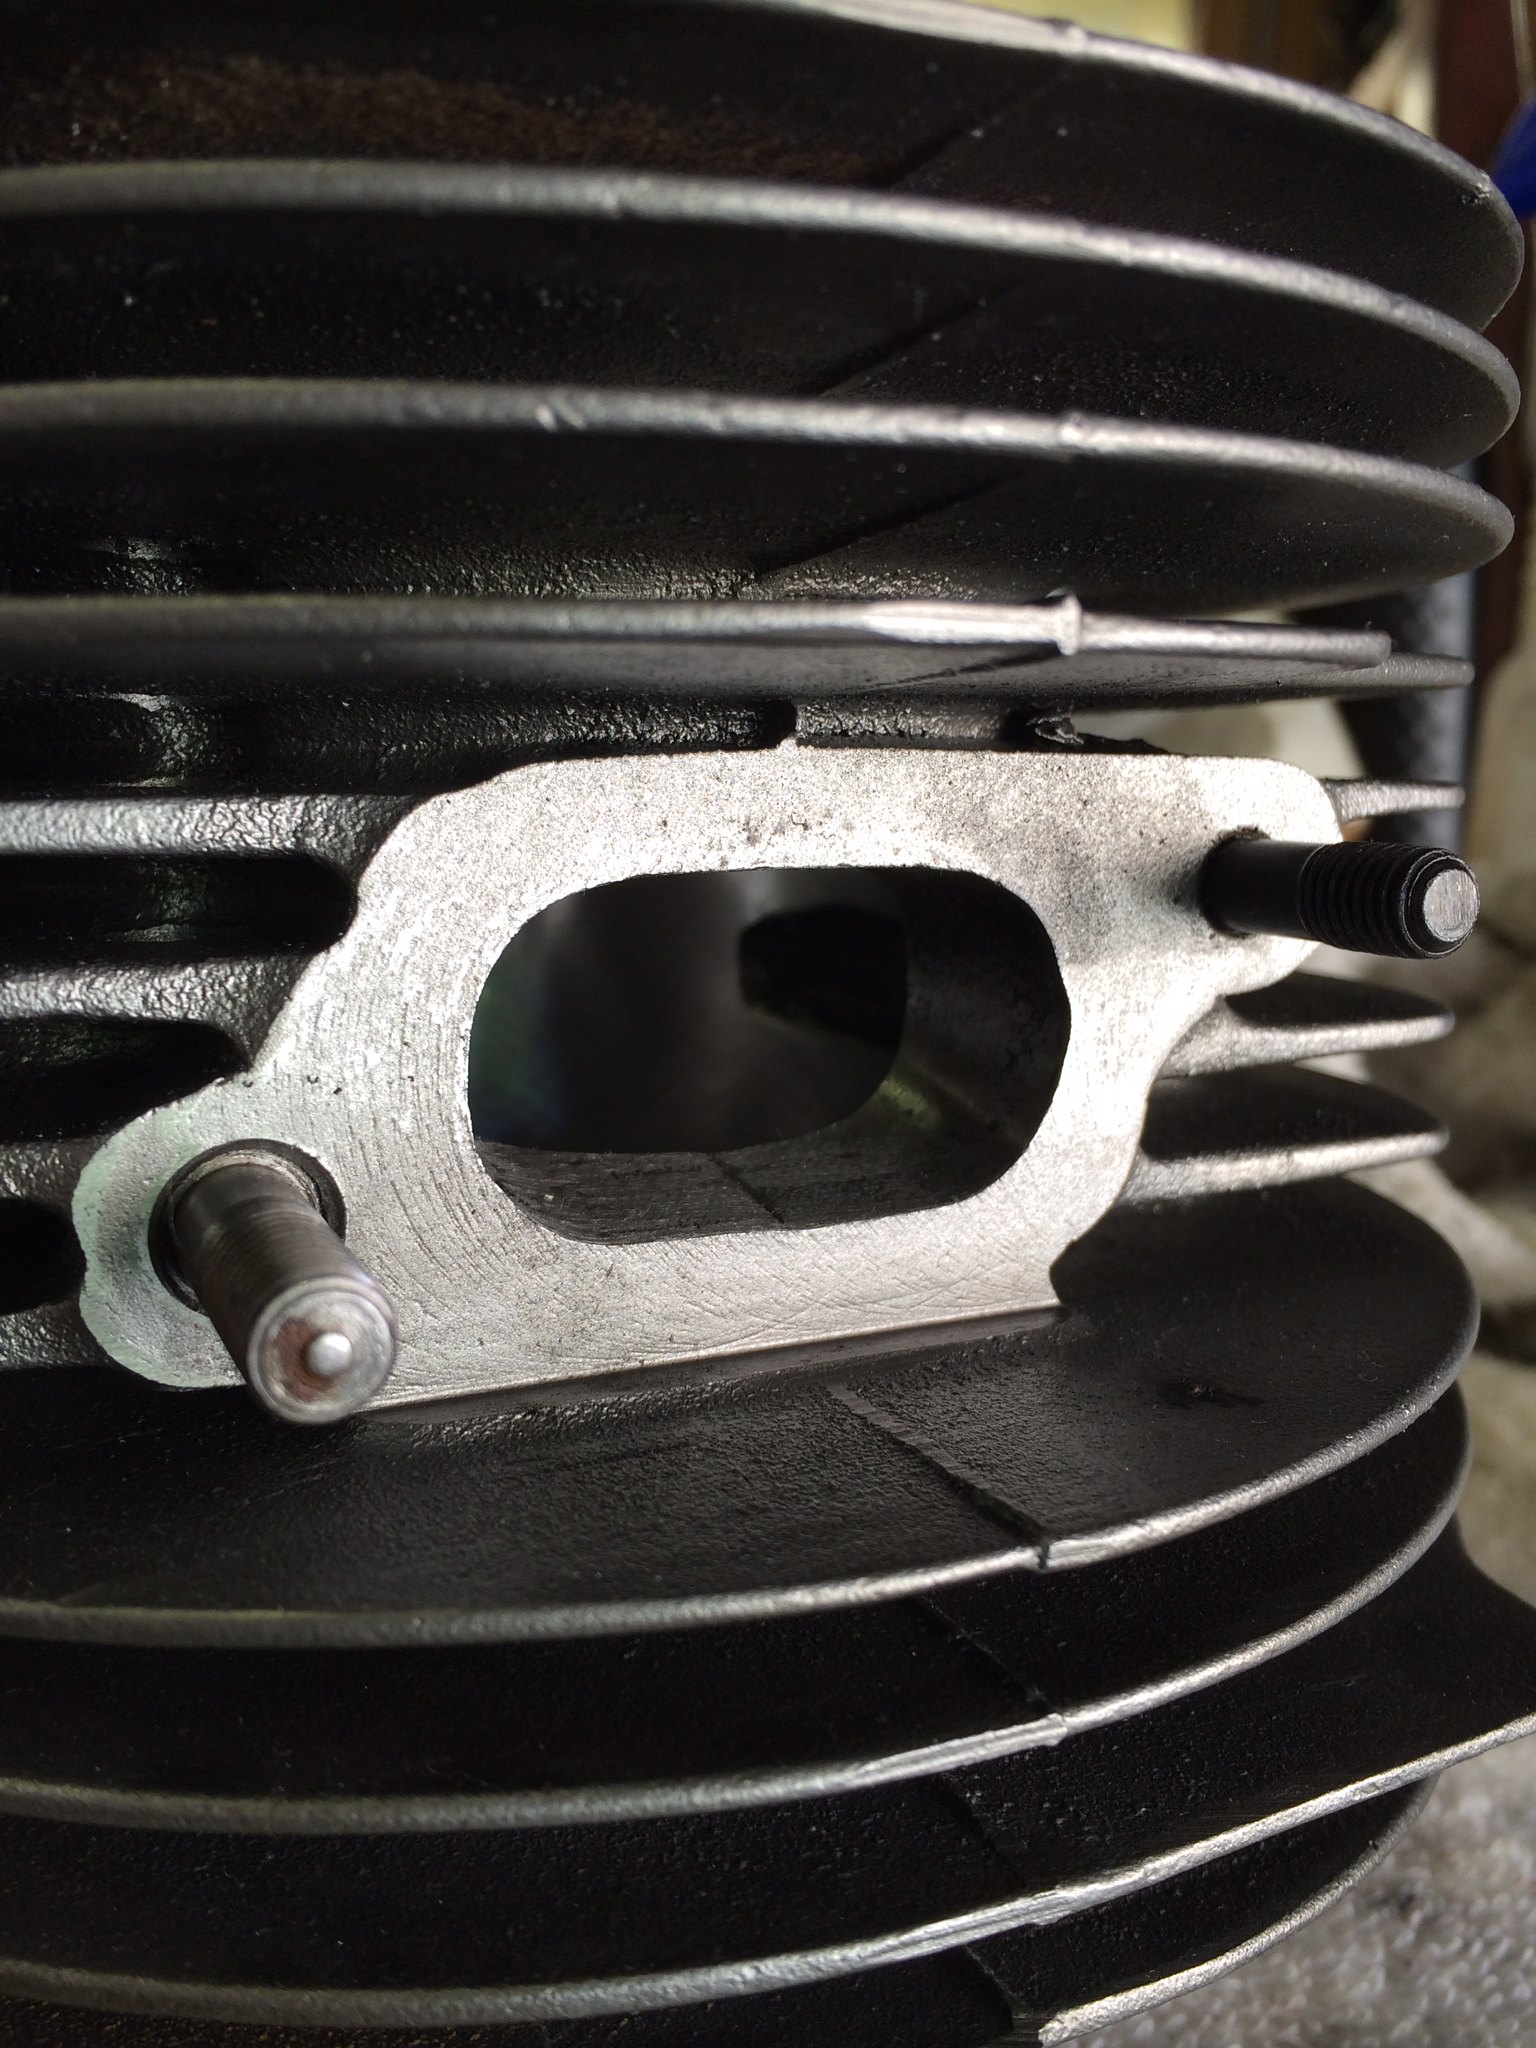 Untitled
 by
jeremyjsutton, on Flickr
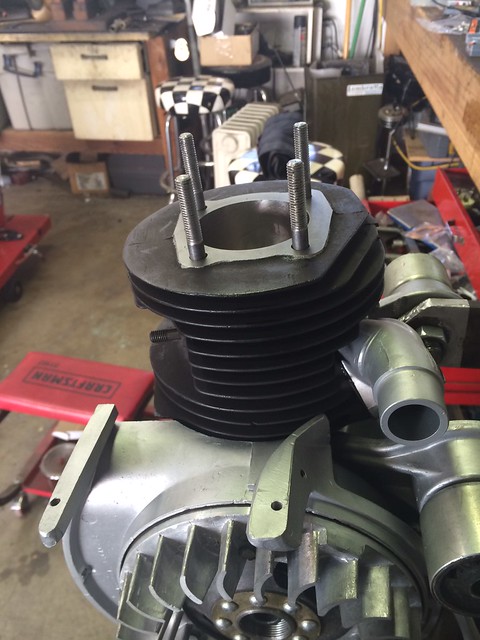
Look very very closely at those threads. See anything usual?
Yep, someone stuffed a larger diameter bolt in the head instead of
doing it right and having it repaired. Mike ordered the correct size
threaded bolt and had his machinist repair it.
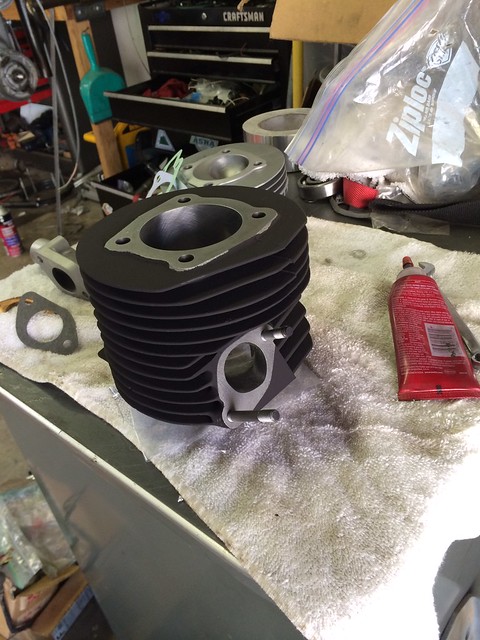
Of course, I had to go (I believe) 2 over to have the piston re-bored and meet Mike's standards.
He then high-temp painted it for stock look.

by
jeremyjsutton, on Flickr
The end product is damn nice.
by
jeremyjsutton, on Flickr
by
jeremyjsutton, on Flickr
This is where that "but wait for $19,99 there is even YET more" . . .
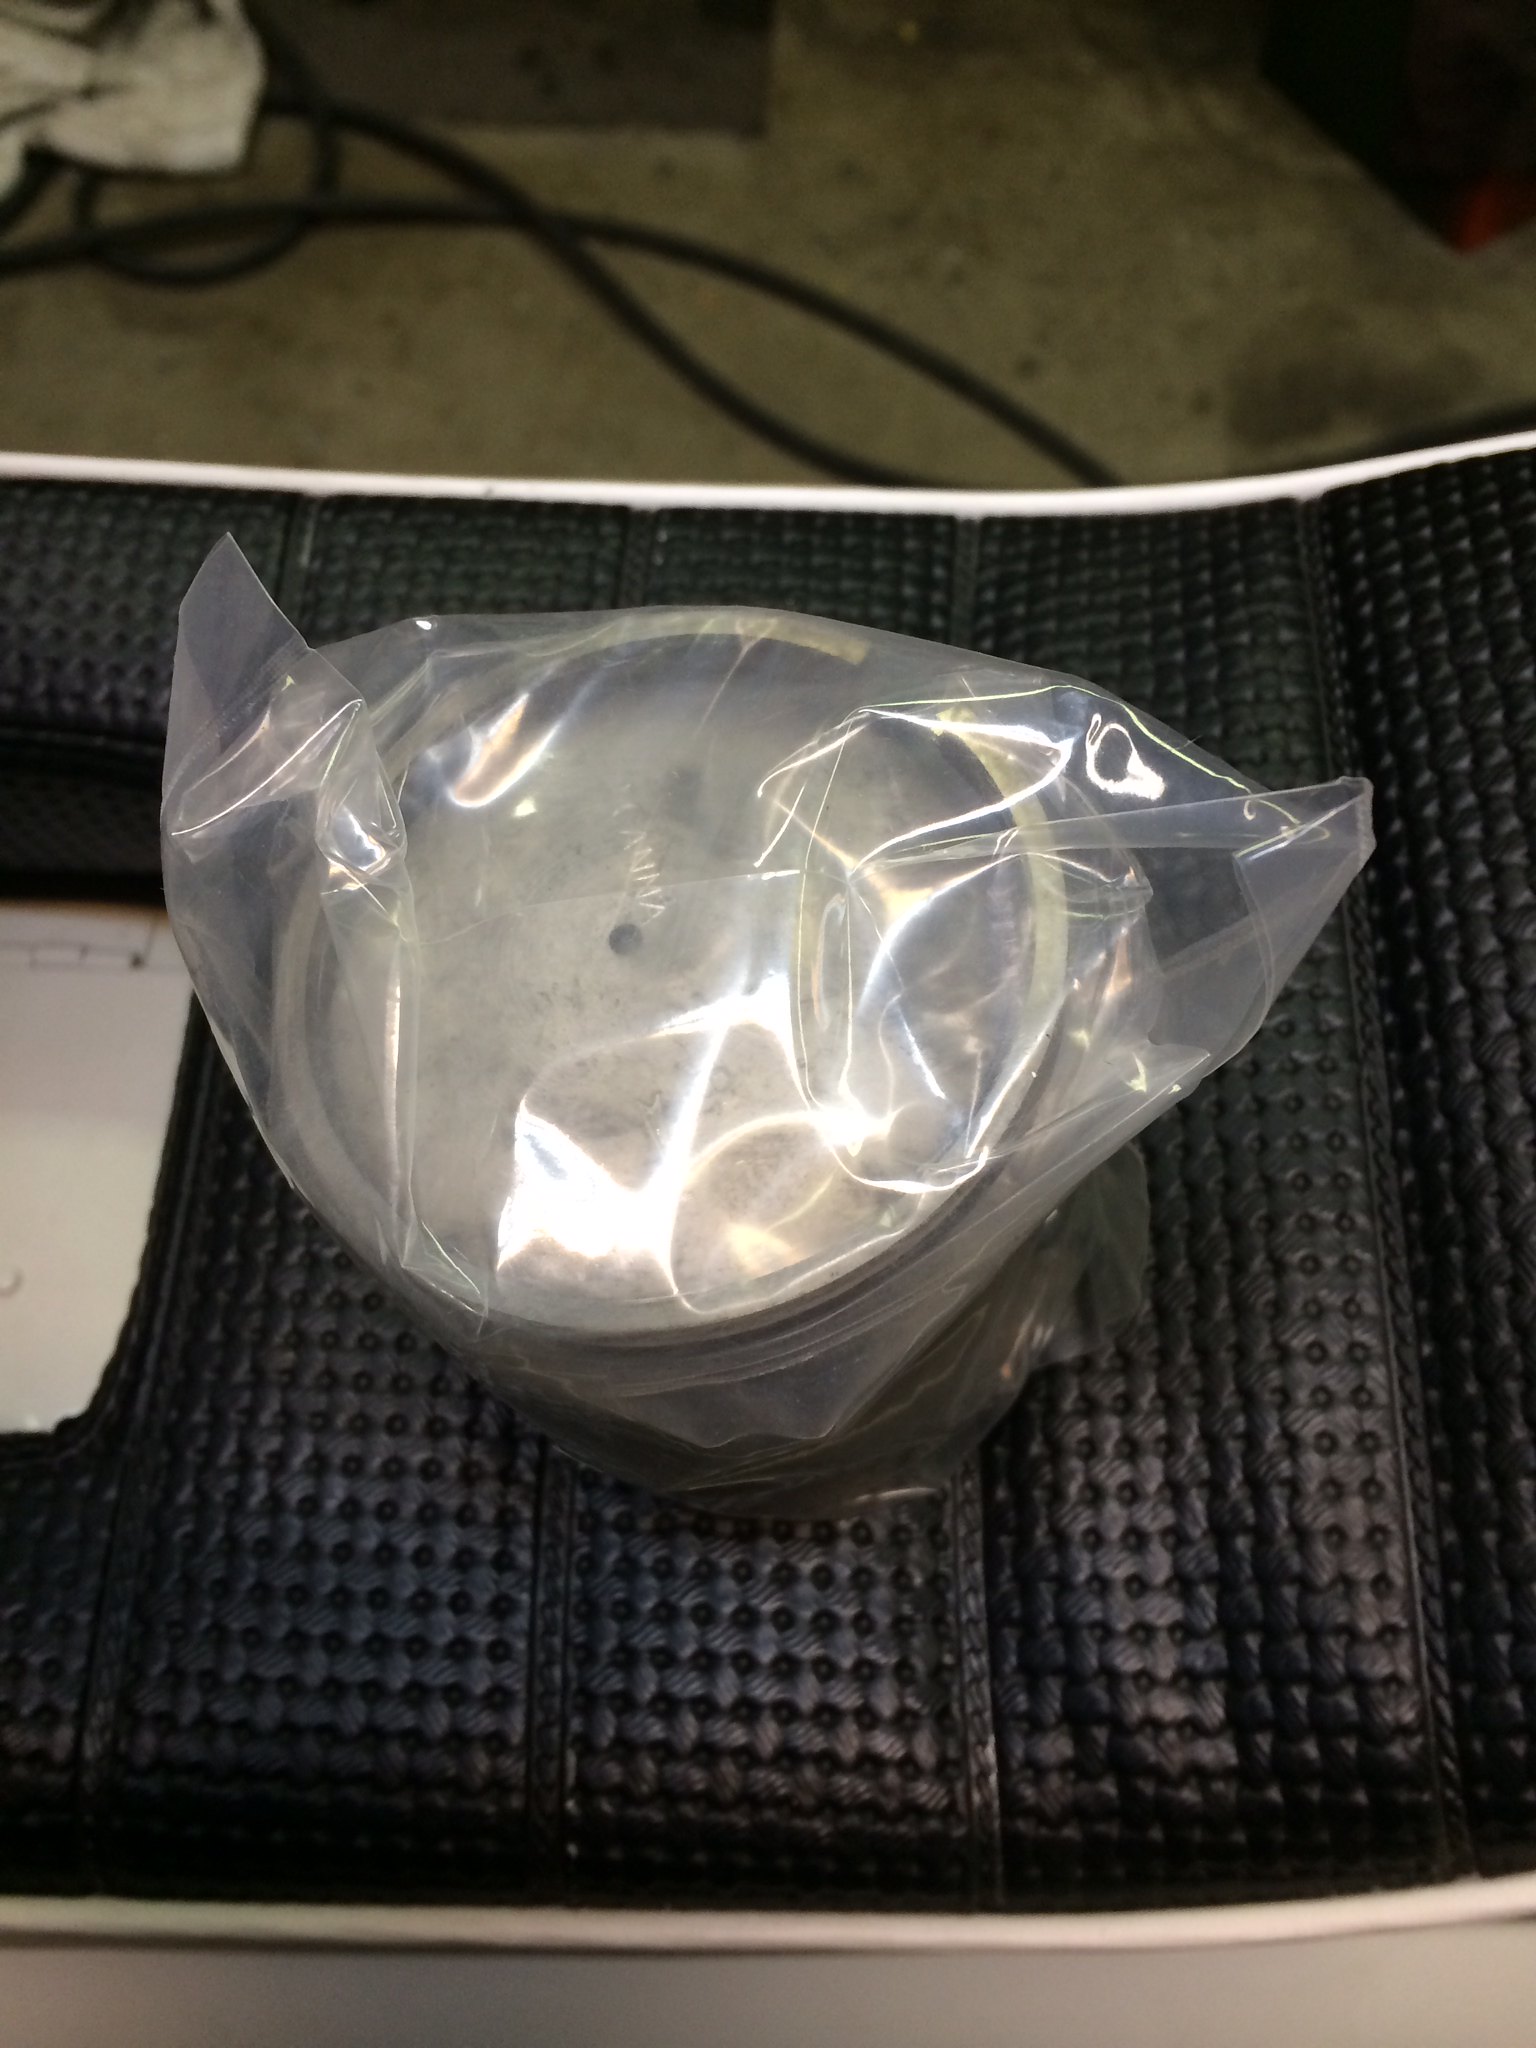
We couldn't find a piston forever. Ordered abroad. Took 2 months to arrive due to post. Damaged in transit. Damnit!!!!
Luckily, thanx for Mark and Jon at Jet200 I found an NOS piston and bought that bastard so freakin' fast!
Untitled by
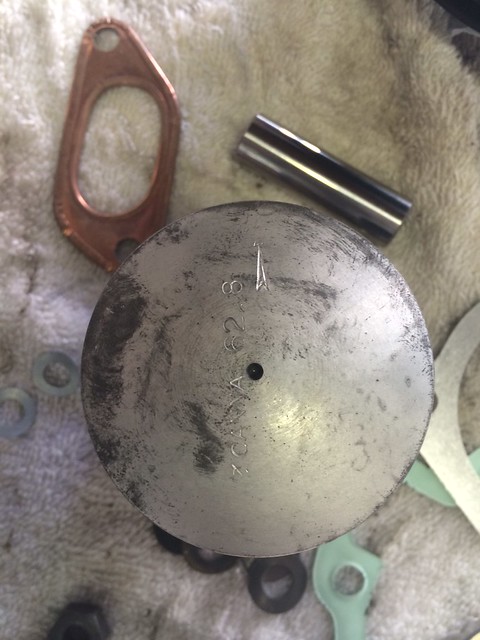
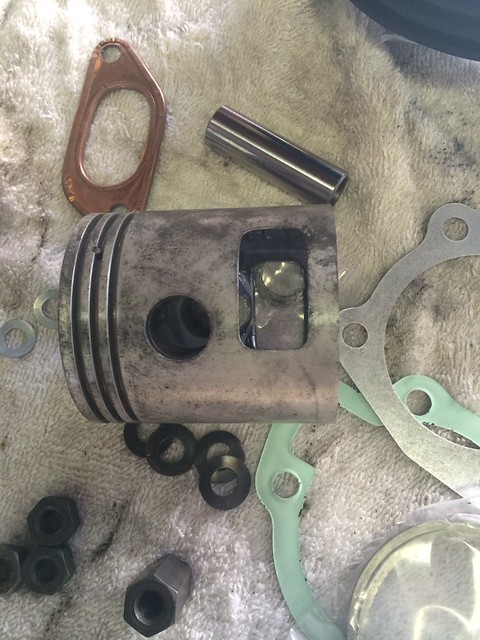
jeremyjsutton, on Flickr
62.8 Mondial NOS piston
 Untitled
 by
jeremyjsutton, on Flickr
by
jeremyjsutton, on Flickr
by
jeremyjsutton, on Flickr
by
jeremyjsutton, on Flickr
This build feels like a freakin' wedding. With my bride (of 13
years) we set a budget and I remember watching it slip and slip some
more and slip some more - I got frustrated. It caused tension. However
it's the best god damn party I ever went to and I would do it again in a
heart beat. Hell I'd throw another $10K at it if I could (that's a
pipe dream). So if I feel half as good as my wedding day when I test
ride this bike I won't think twice about the frustrations and cash gone
(and my girl and I predict I will fall in love my bike right away).

by
jeremyjsutton, on Flickr
by
jeremyjsutton, on Flickr
I am an Lit teacher and teach American Lit to 11th graders. My
standards push insanity, ie write a 2-page essay (that is so hard to do
because it should be a 4 page essay -- students must cut all good
evidence and analysis and only keep the excellent) on Faulker's use of 3
literary devices to illustrate Darl's decent into madness and then
connect it to his social commentary. I know what I do for living. Mike
does too with his Lammy builds. And when it comes to builds I am so
damn happy I hired Mike. I take my job beyond seriously and it is
evident that Mike does too. He is pro!
 TV175 S3 rest
 by
jeremyjsutton, on Flickr
Thank you Mike. This moment is for you!
More . . . follow-up post.
Posted
19 May 2015 - 03:41 AM
Sneak peak as paint is finished up.
 Untitled
 by
jeremyjsutton, on Flickr
It should also be noted that this bike-in-a-box build was not easy on the painter either.
 Untitled
 by
jeremyjsutton, on Flickr
Like Mike, Josh Snow powered through it.
 Untitled
 by
jeremyjsutton, on Flickr
As I said before, I asked for a beautiful daily rider and that's what I got.
I am very happy with Josh's eye for catching the small things. These parts look awesome!
The Coral Red was matched from the "Lambretta Paint Book: 1962" paint chips. Josh had the color matched.
More . . . follow-up post.
Posted
22 May 2015 - 02:47 PM
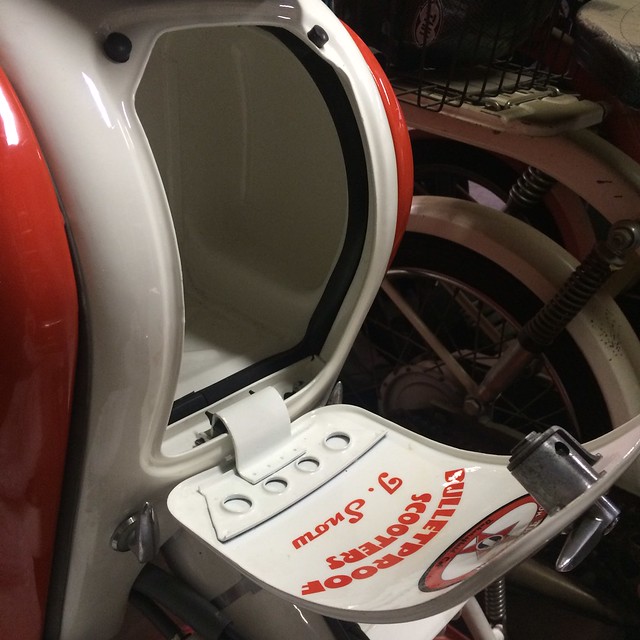
Glove box install.
 Untitled
 by
jeremyjsutton, on Flickr
 Untitled
 by
jeremyjsutton, on Flickr
 Untitled
 by
jeremyjsutton, on Flickr
My glove box lock was gummed up good, but Mike was able to clean and polish.
More . . . follow-up post.
Posted
22 May 2015 - 02:54 PM
Yet another issue which slowed the build.
I spent some good time over the years looking for TV control rods
(which are shorter than Li), but had no luck. Barry G. found a pair,
but one was damaged. After having no luck in my search and needing to
keep my build going with Mike, I opted for buying the repops from
Scooter Restorations in the UK.
The set I received was made wrong.
 Untitled
 by
jeremyjsutton, on Flickr
The paddle was welded wrong relative to the rod. (I posted this in
the "Product Review" section as well as it seemed appropriate).
 Untitled
 by
jeremyjsutton, on Flickr
Rudy P. checked in with me after I lucked out with the repops and gave me suggestions on other places to check.
I finally found and bought a set from Lambretta Works.
 Untitled
 by
jeremyjsutton, on Flickr
This is how the original Innocenti set arrived to Mike Anhalt. Damn
near got lost in the mail. Thanks to G for having them and polishing
them up for me prior to mailing.
These two parts slowed the build down and had Mike at a stand still for a while.
More . . . follow-up post.
Posted
23 May 2015 - 05:22 AM
When Josh Snow came over to my house to look at the project I had for him . . . this is exactly what he saw.
Just found this photo in my Face Book photos -- I had totally forgotten about it.
 Lambretta_TV175_PartsInBox
 by
jeremyjsutton, on Flickr
Josh gave me something totally opposite in return.
My batch-o-parts was truly a hodgepodge.
More . . . follow-up post.
Posted
23 May 2015 - 05:24 AM
The sound of a stock TV175 top-end with a stock pipe.
 IMG_2309
 by
je
More . . . follow-up post.
Posted
18 June 2015 - 04:17 AM
Some more progress.
Mike polished out the side panel levers, which were in pretty bad shape with deep scratches. A major improvement.
 Untitled
 by
jeremyjsutton, on Flickr
 Untitled
 by
jeremyjsutton, on Flickr
 Untitled
 by
jeremyjsutton, on Flickr
This photo was taken just prior to clean up and polishing out. Nice
detail - that's Mike for you. All the "smalls" he does on his builds.
 Untitled
 by
jeremyjsutton, on Flickr
More . . . follow-up post.
Posted
28 July 2015 - 04:33 AM
Sorry I haven't washed yet. Just too excited to share.
It is "butter" to ride. Love it. Mike Anhalt and Josh Snow make me look good!
Home with me now. Breaking it in.
 Untitled
 by
jeremyjsutton, on Flickr
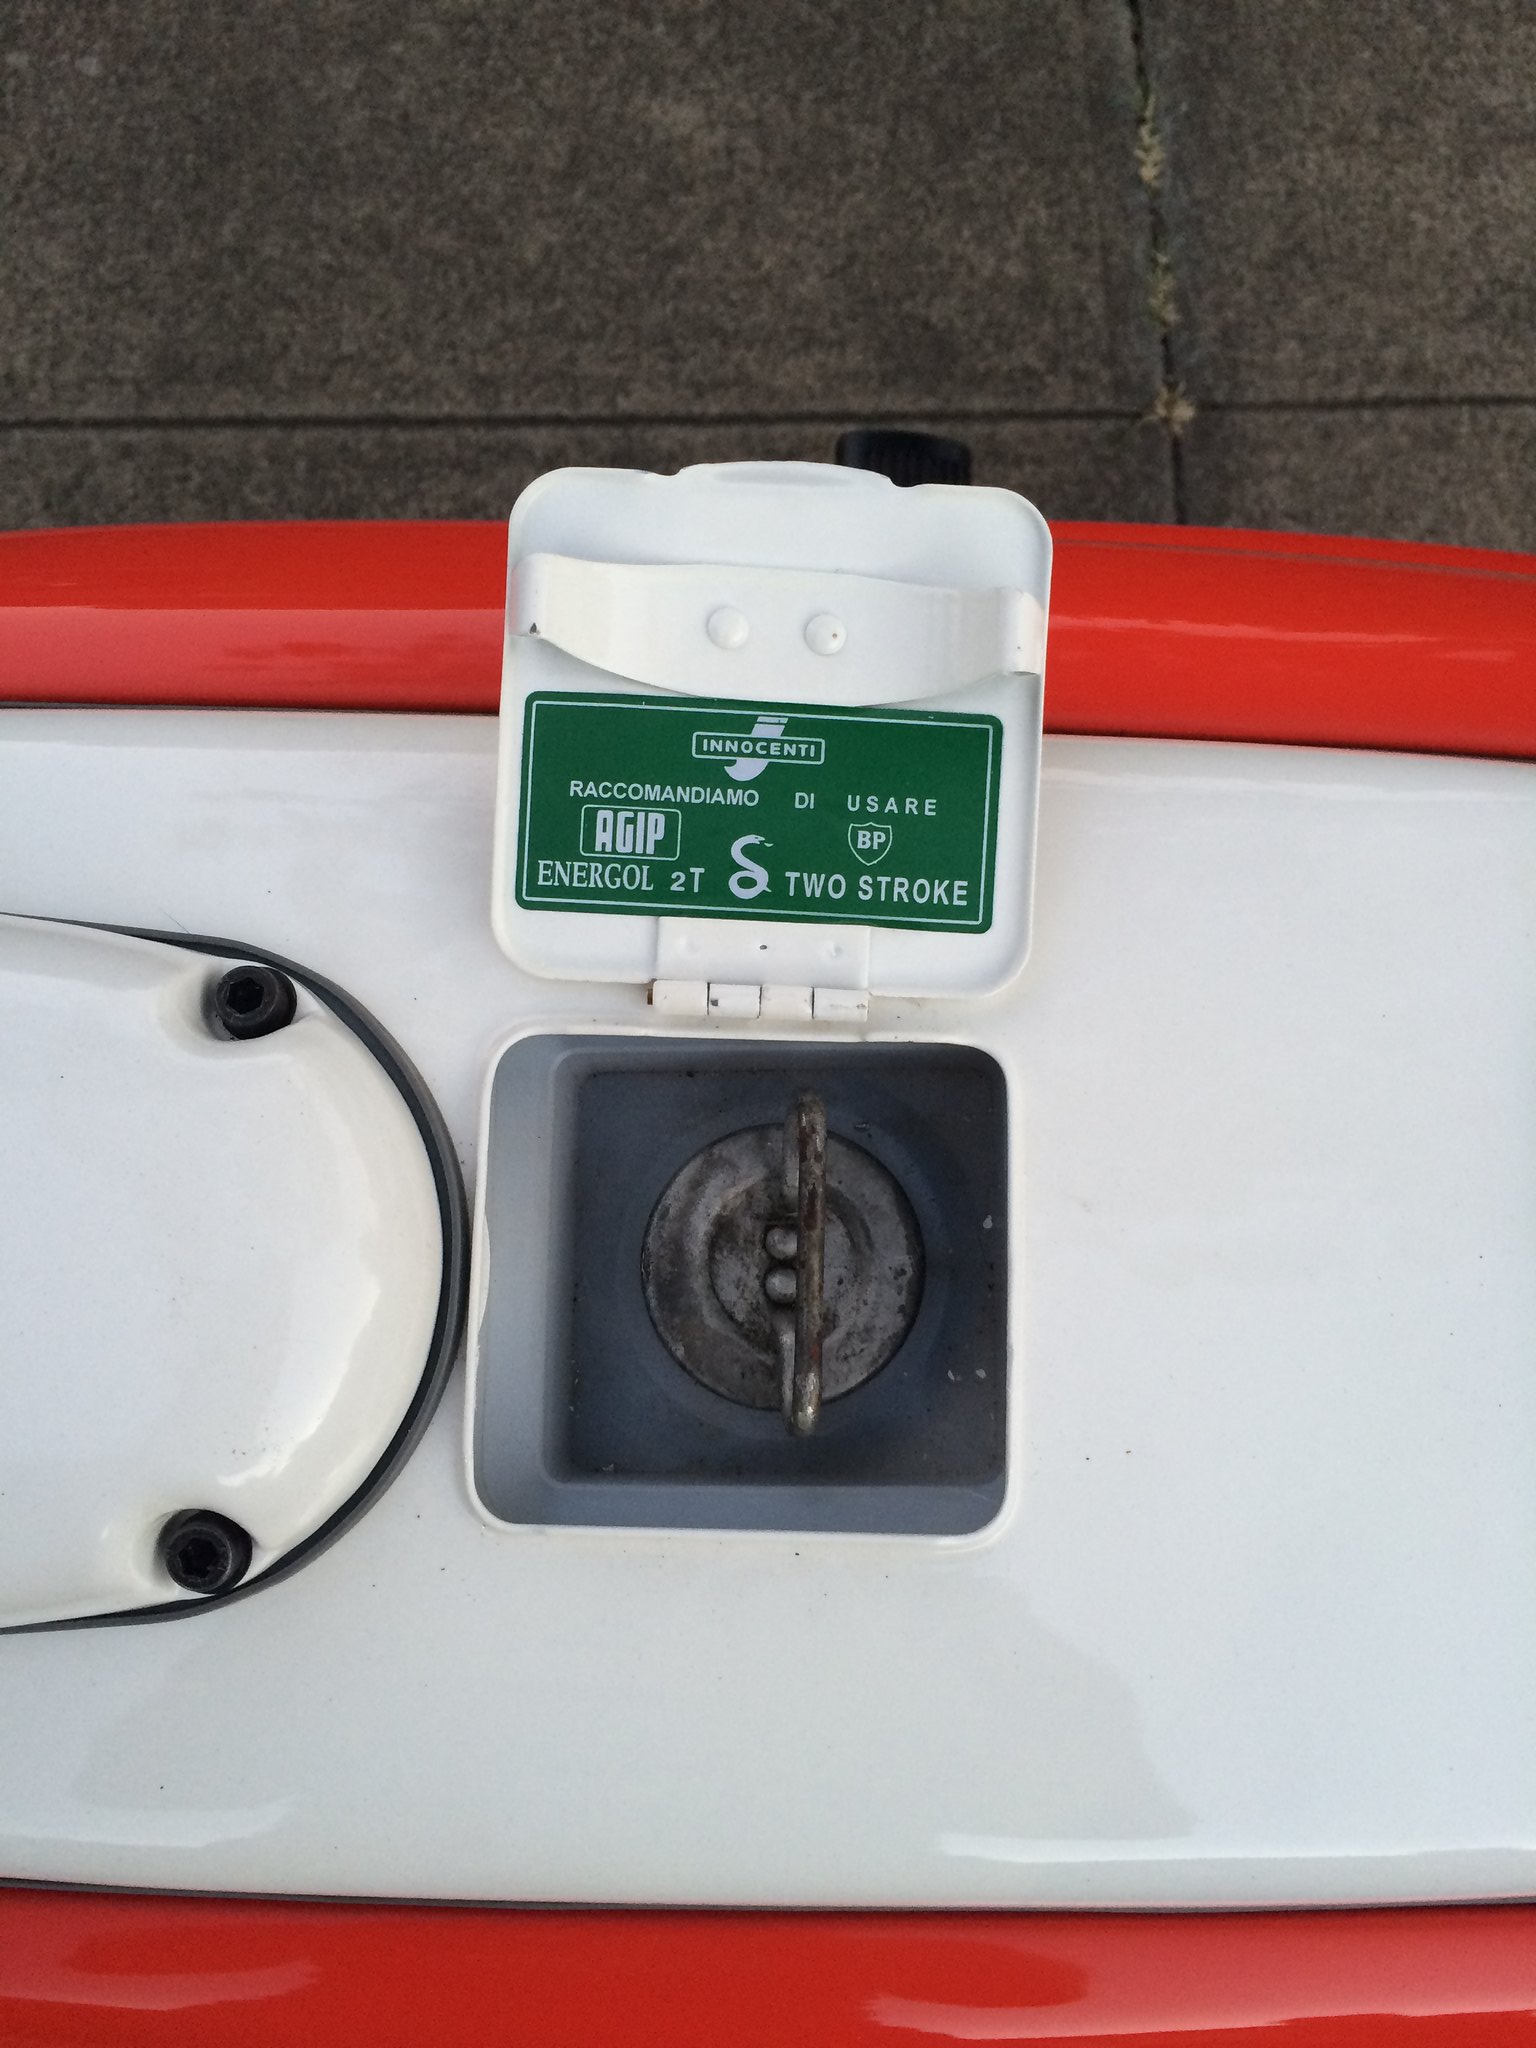
Original Italian speedo (calls to history and soul of bike)
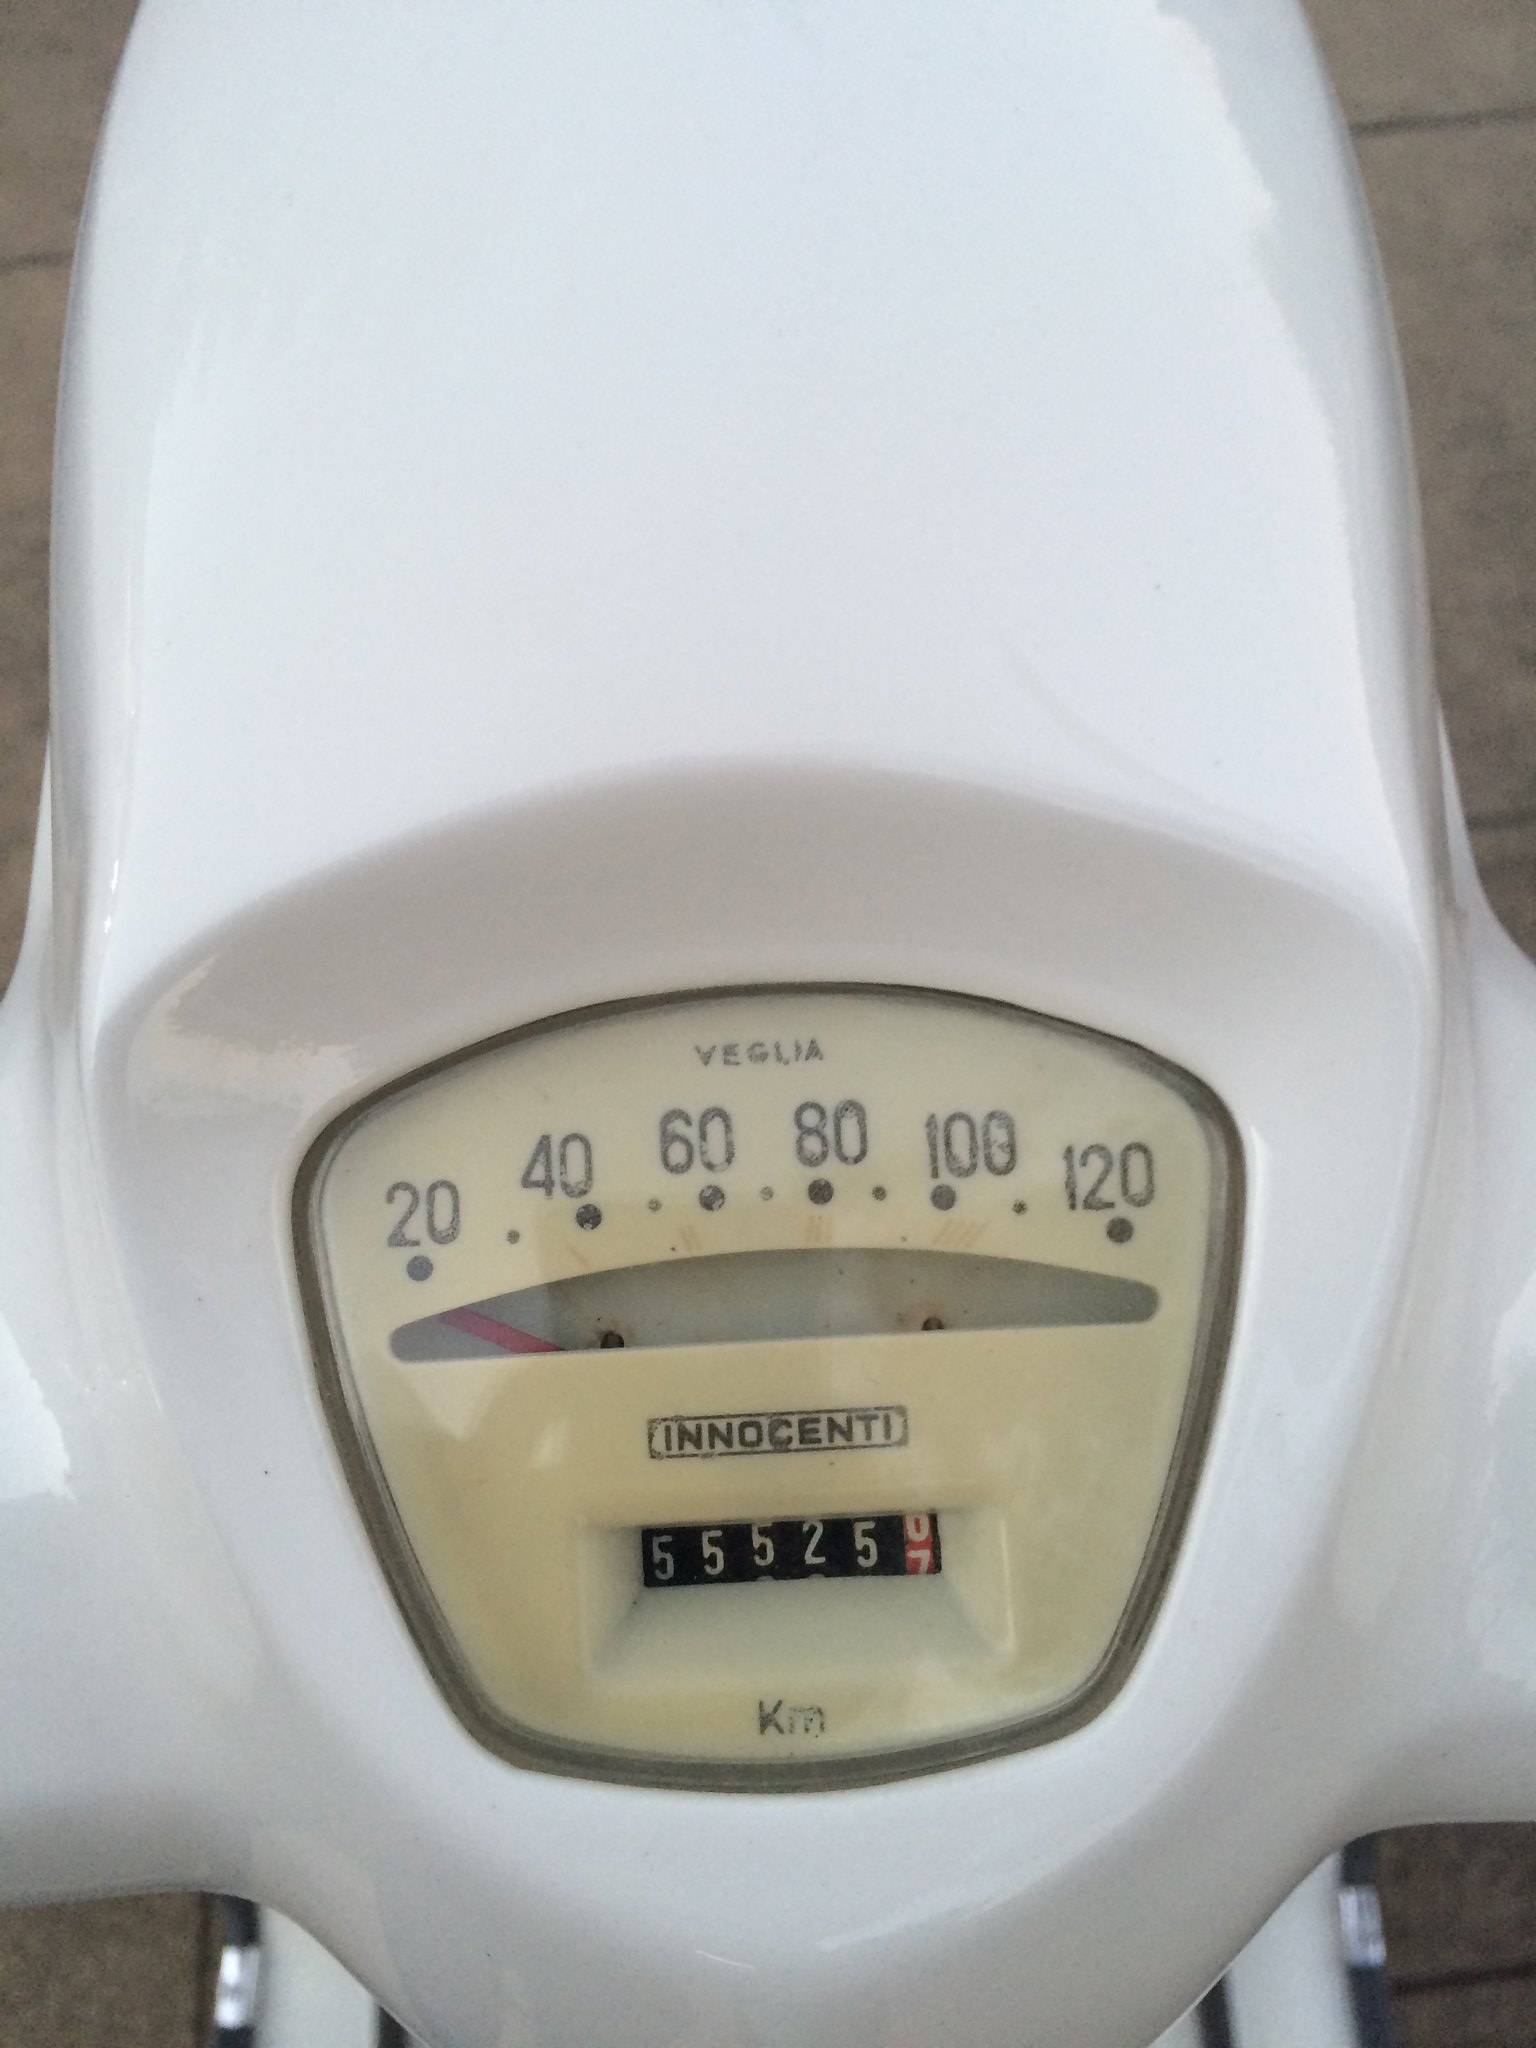 Untitled
 by
jeremyjsutton, on Flickr
 Untitled
 by
jeremyjsutton, on Flickr
A few hidden spots to call history of bike(s) lived. Many of you
members have provided parts on this bike. And now all of you are part
of soul of this bike. Maybe I am cheesy or Hallmark, but that's
important to me.
 Untitled
 by
jeremyjsutton, on Flickr
 Untitled
 by
jeremyjsutton, on Flickr
Untitled by
jeremyjsutton, on Flickr
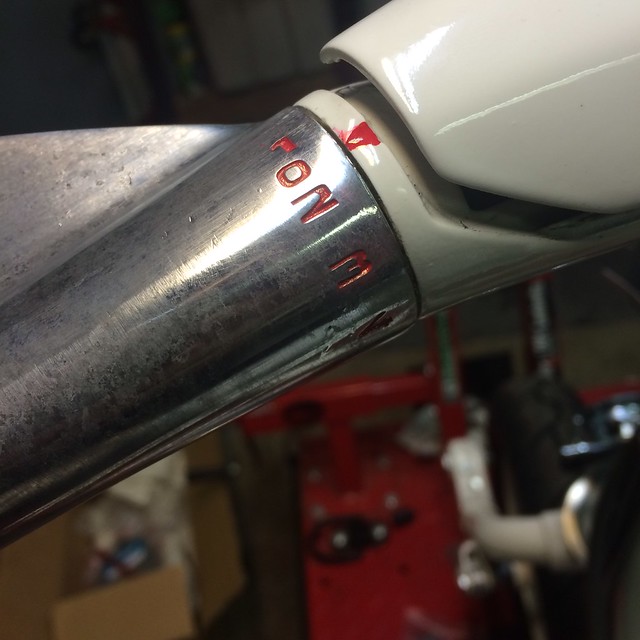
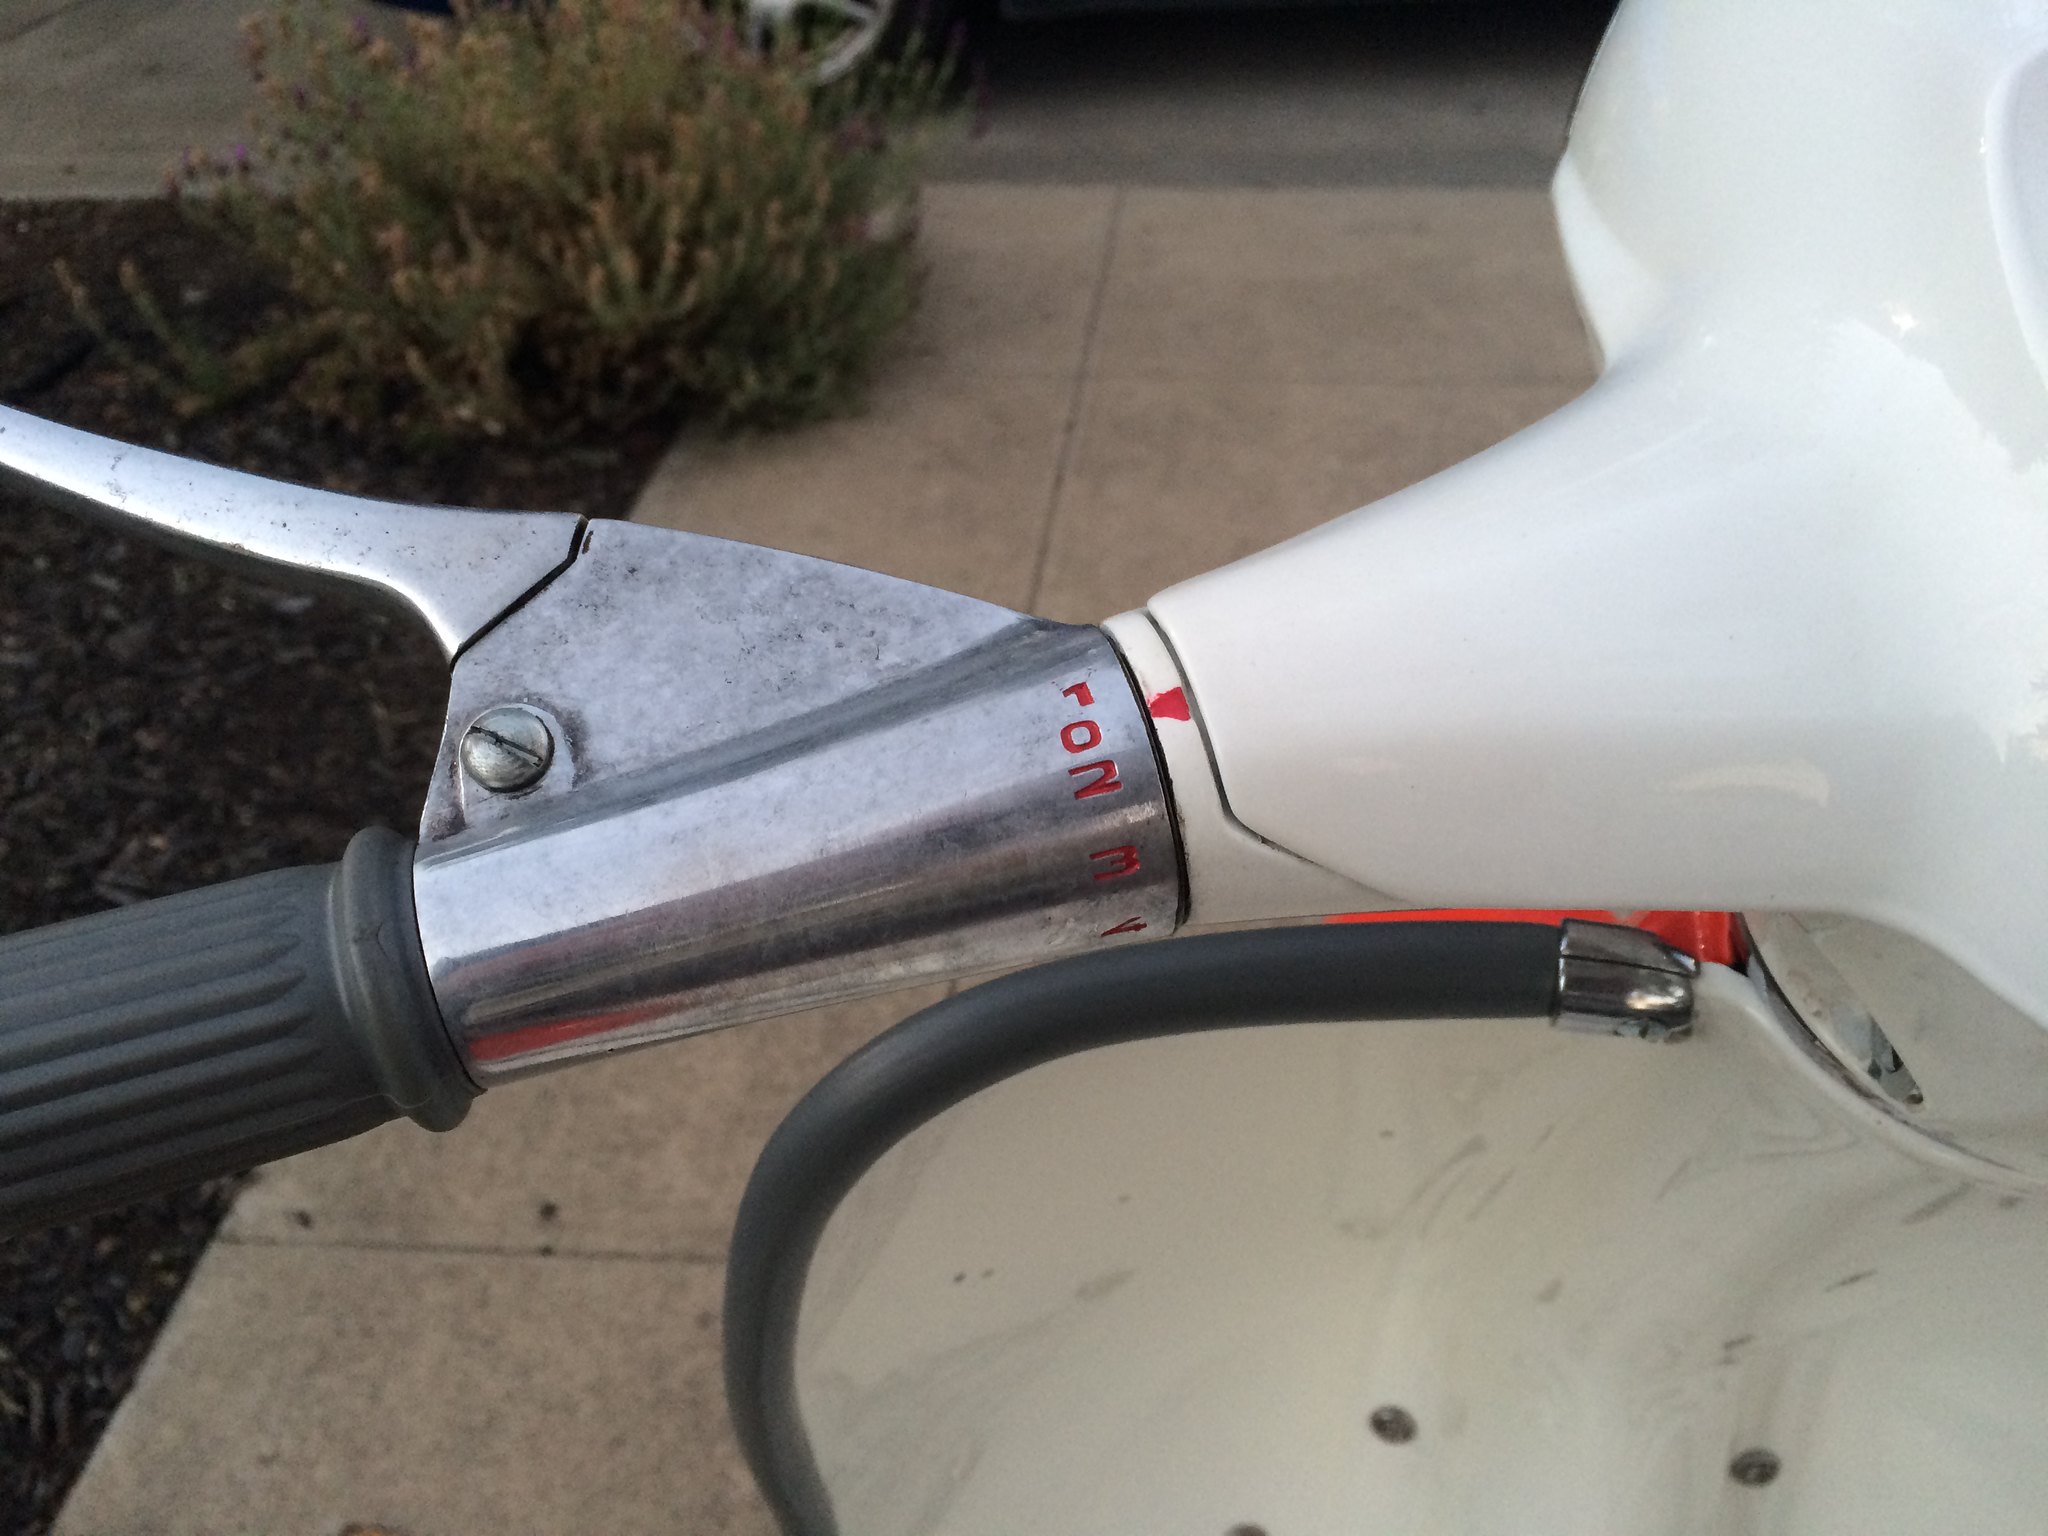
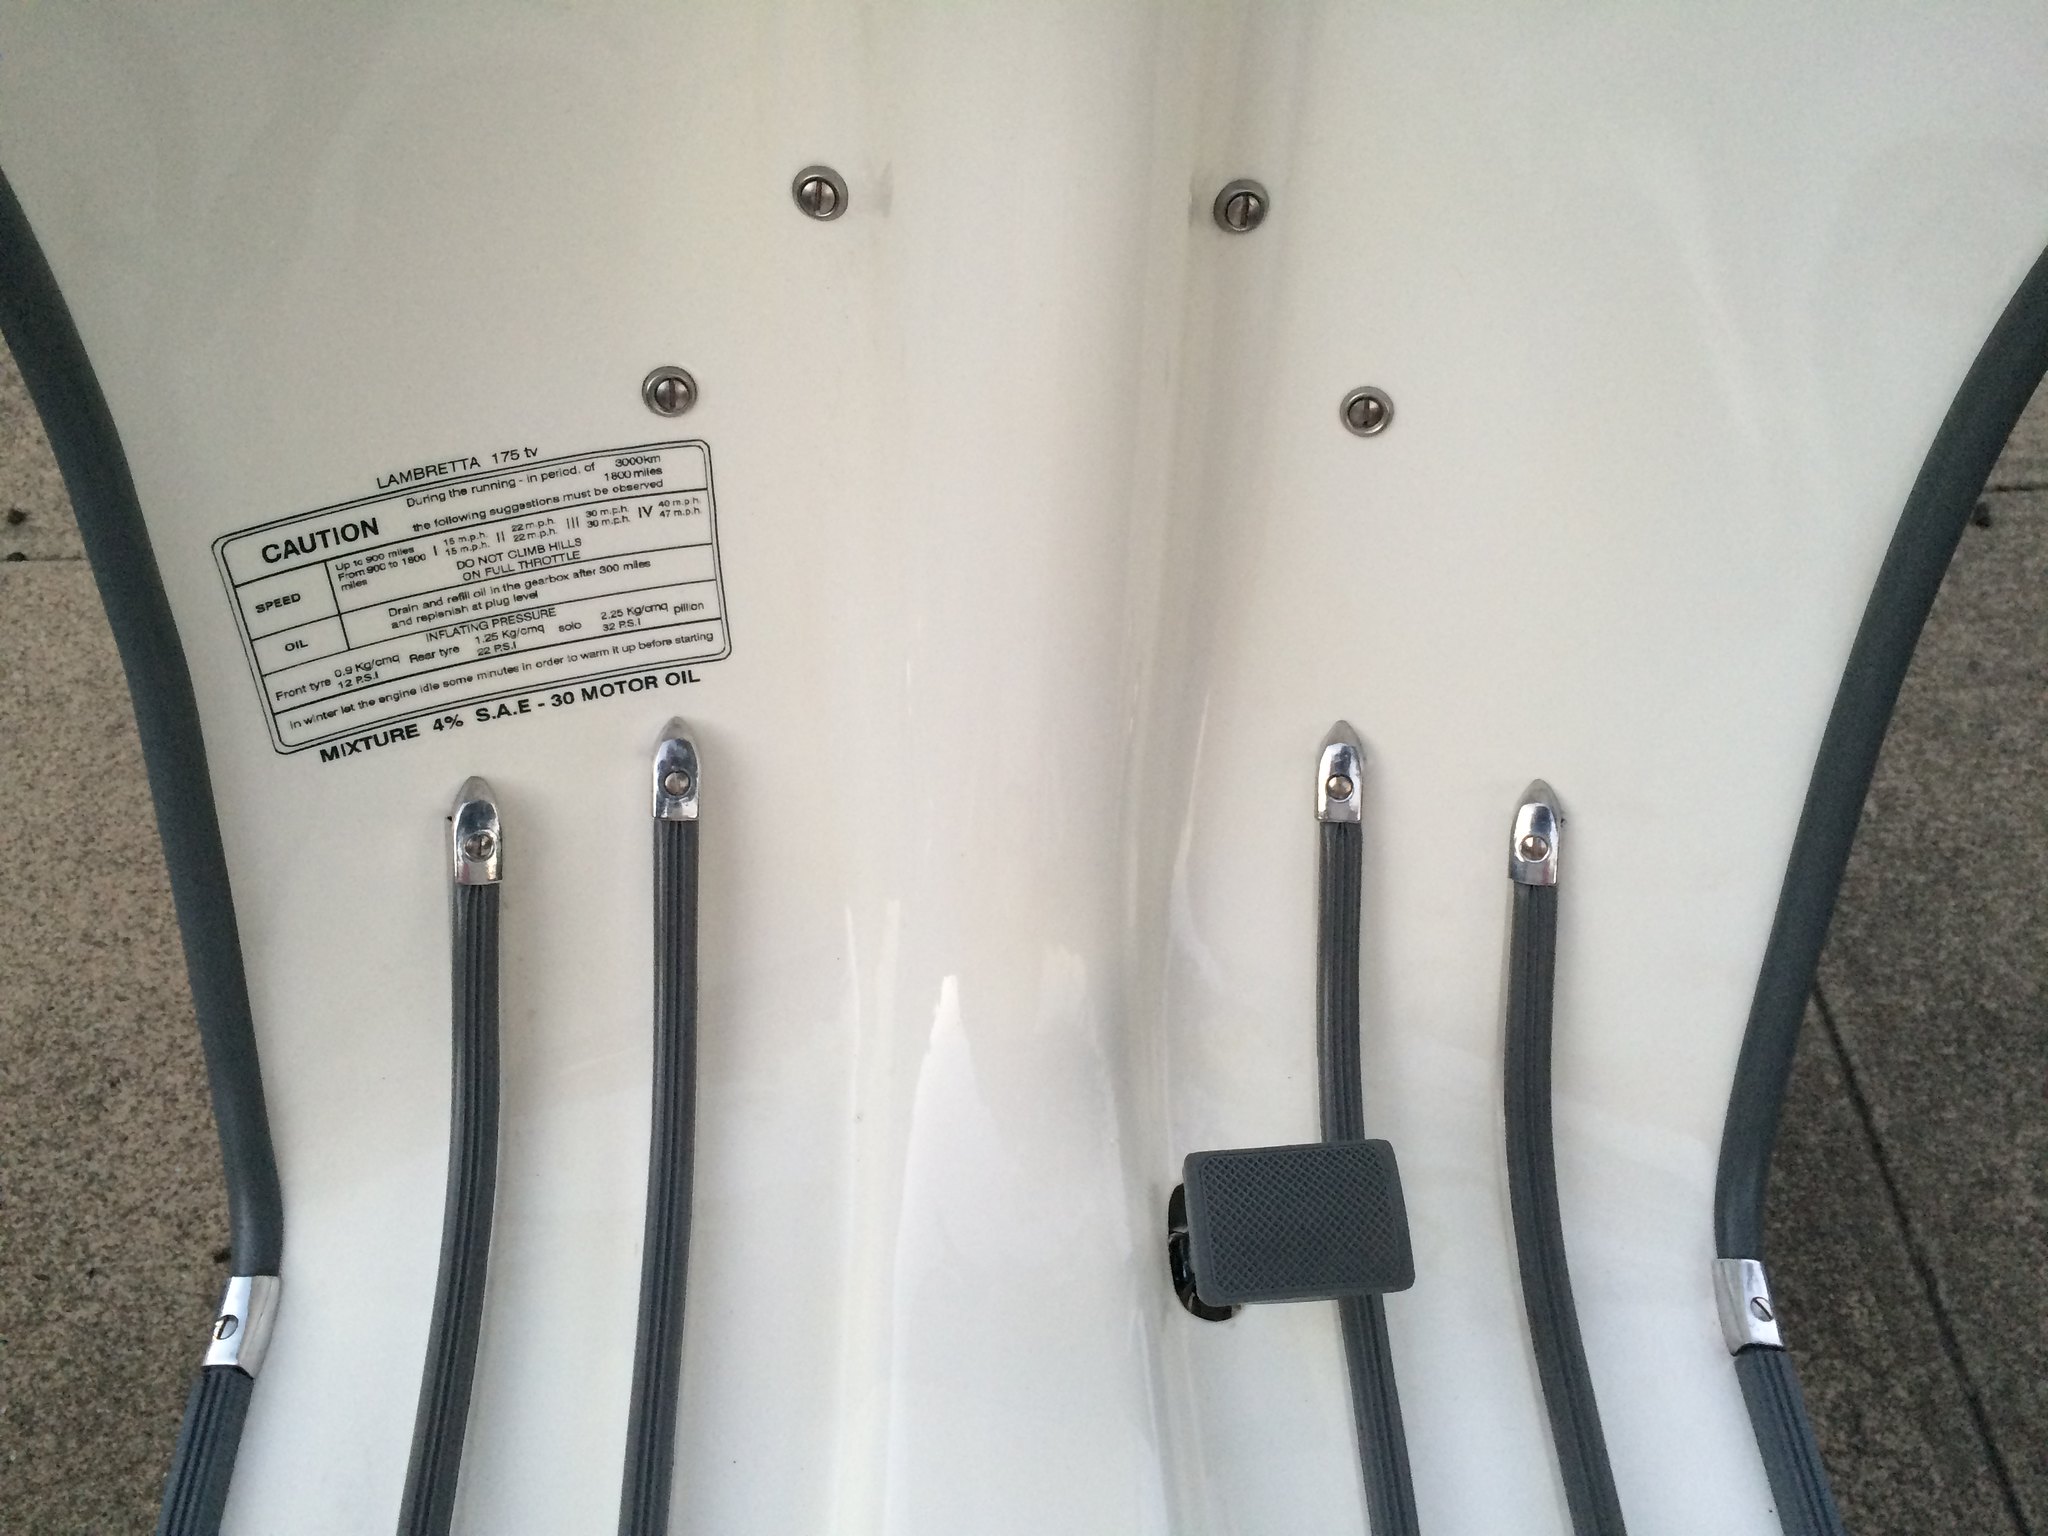
Some anorak details:
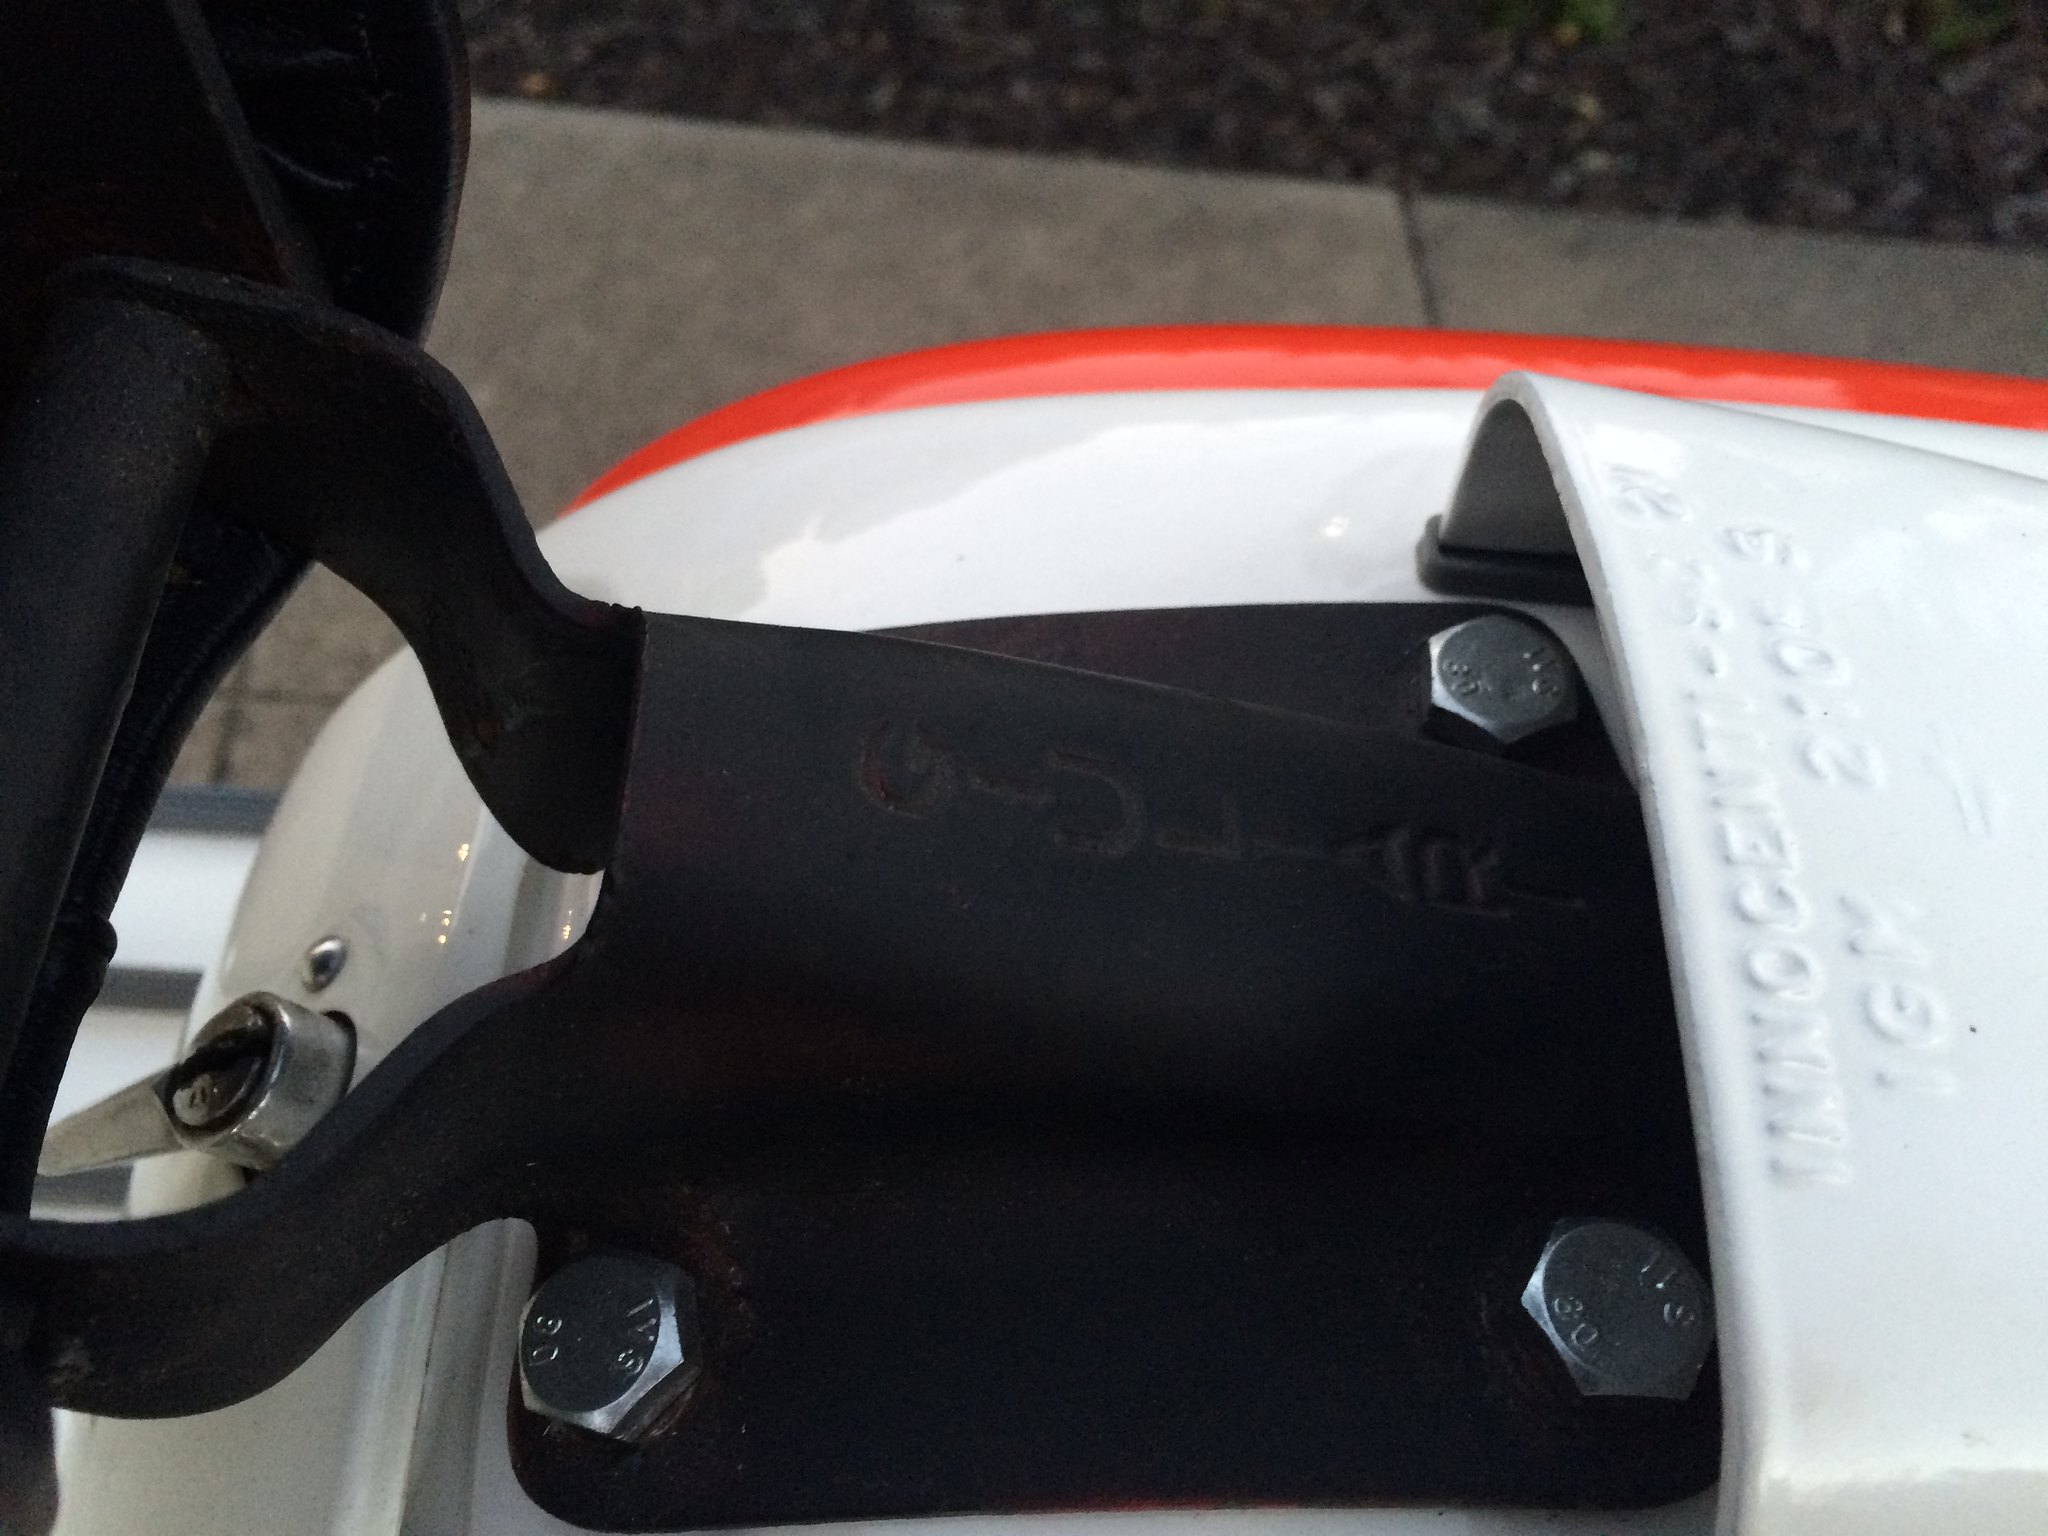 Untitled
 by
jeremyjsutton, on Flickr
 Untitled
 by
jeremyjsutton, on Flickr
 Untitled
 by
jeremyjsutton, on Flickr
 Untitled
 by
jeremyjsutton, on Flickr
Original:
 Untitled
 by
jeremyjsutton, on Flickr
I am just smitten:
Untitled by
jeremyjsutton, on Flickr
As Brandon replied to my statement, "damn this bike fought me every
step of the way" he said "that's Lambretta. You gotta be indoctrinated
into this." Indeed he was correct.
My P200 is named after my maternal grandmother and I am working on a name to incorporate my paternal grandmother for this Lammy.
Now, I need to ride . . .
More . . . follow-up post.
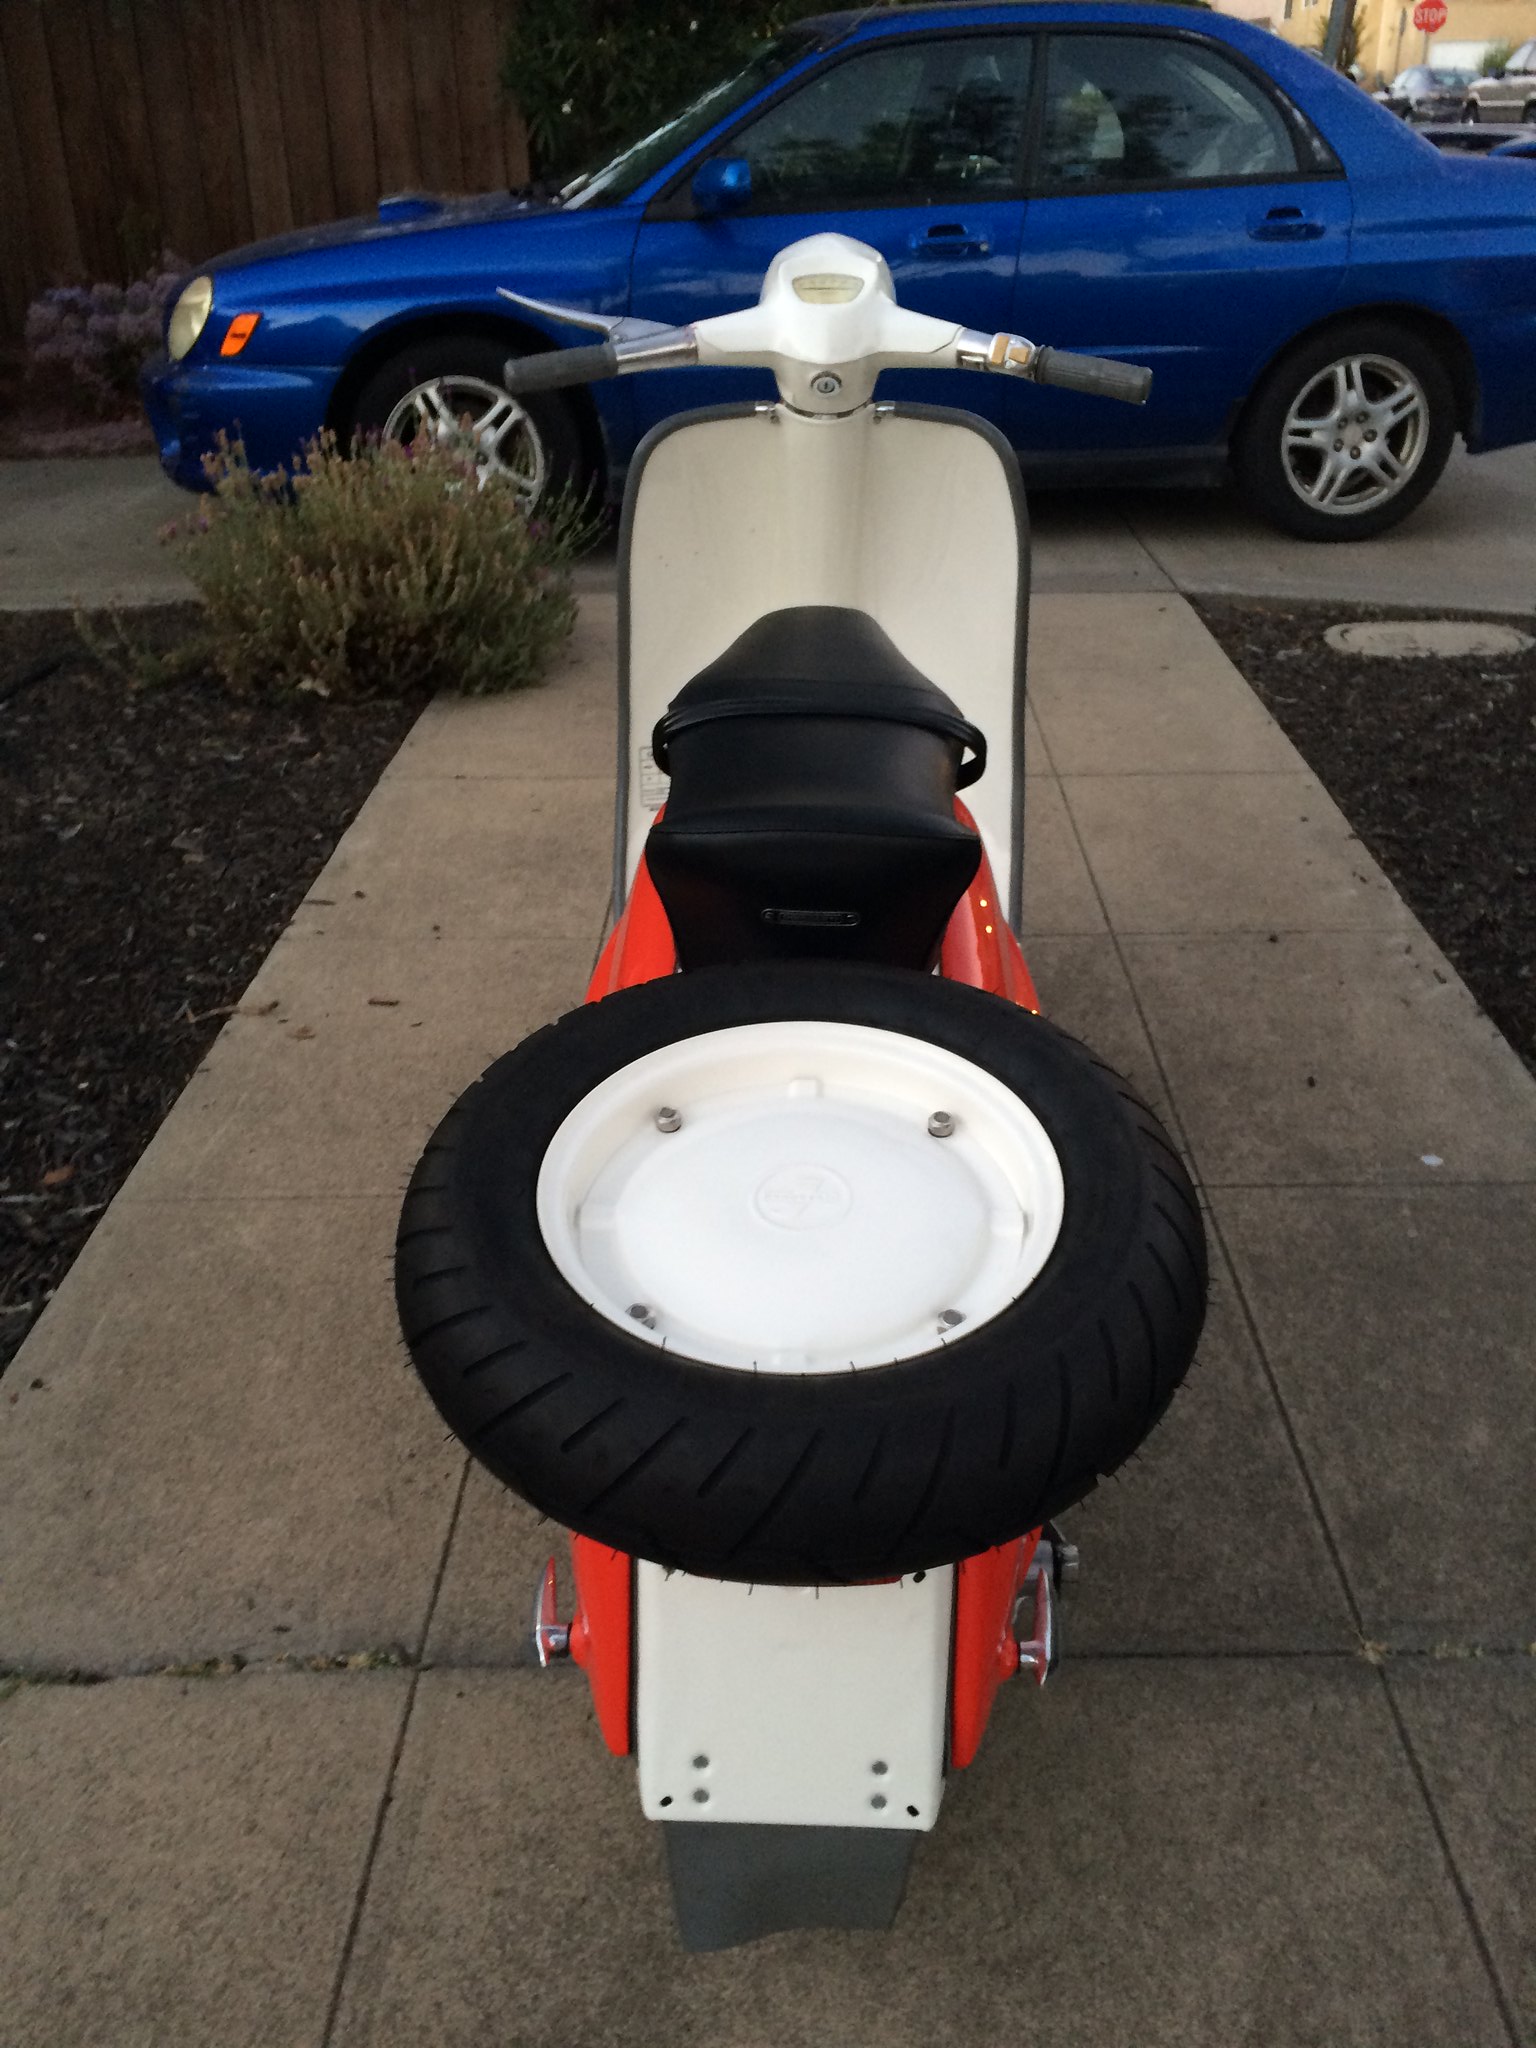
On the road and loving it!
 Finished
 by
jeremyjsutton, on Flickr
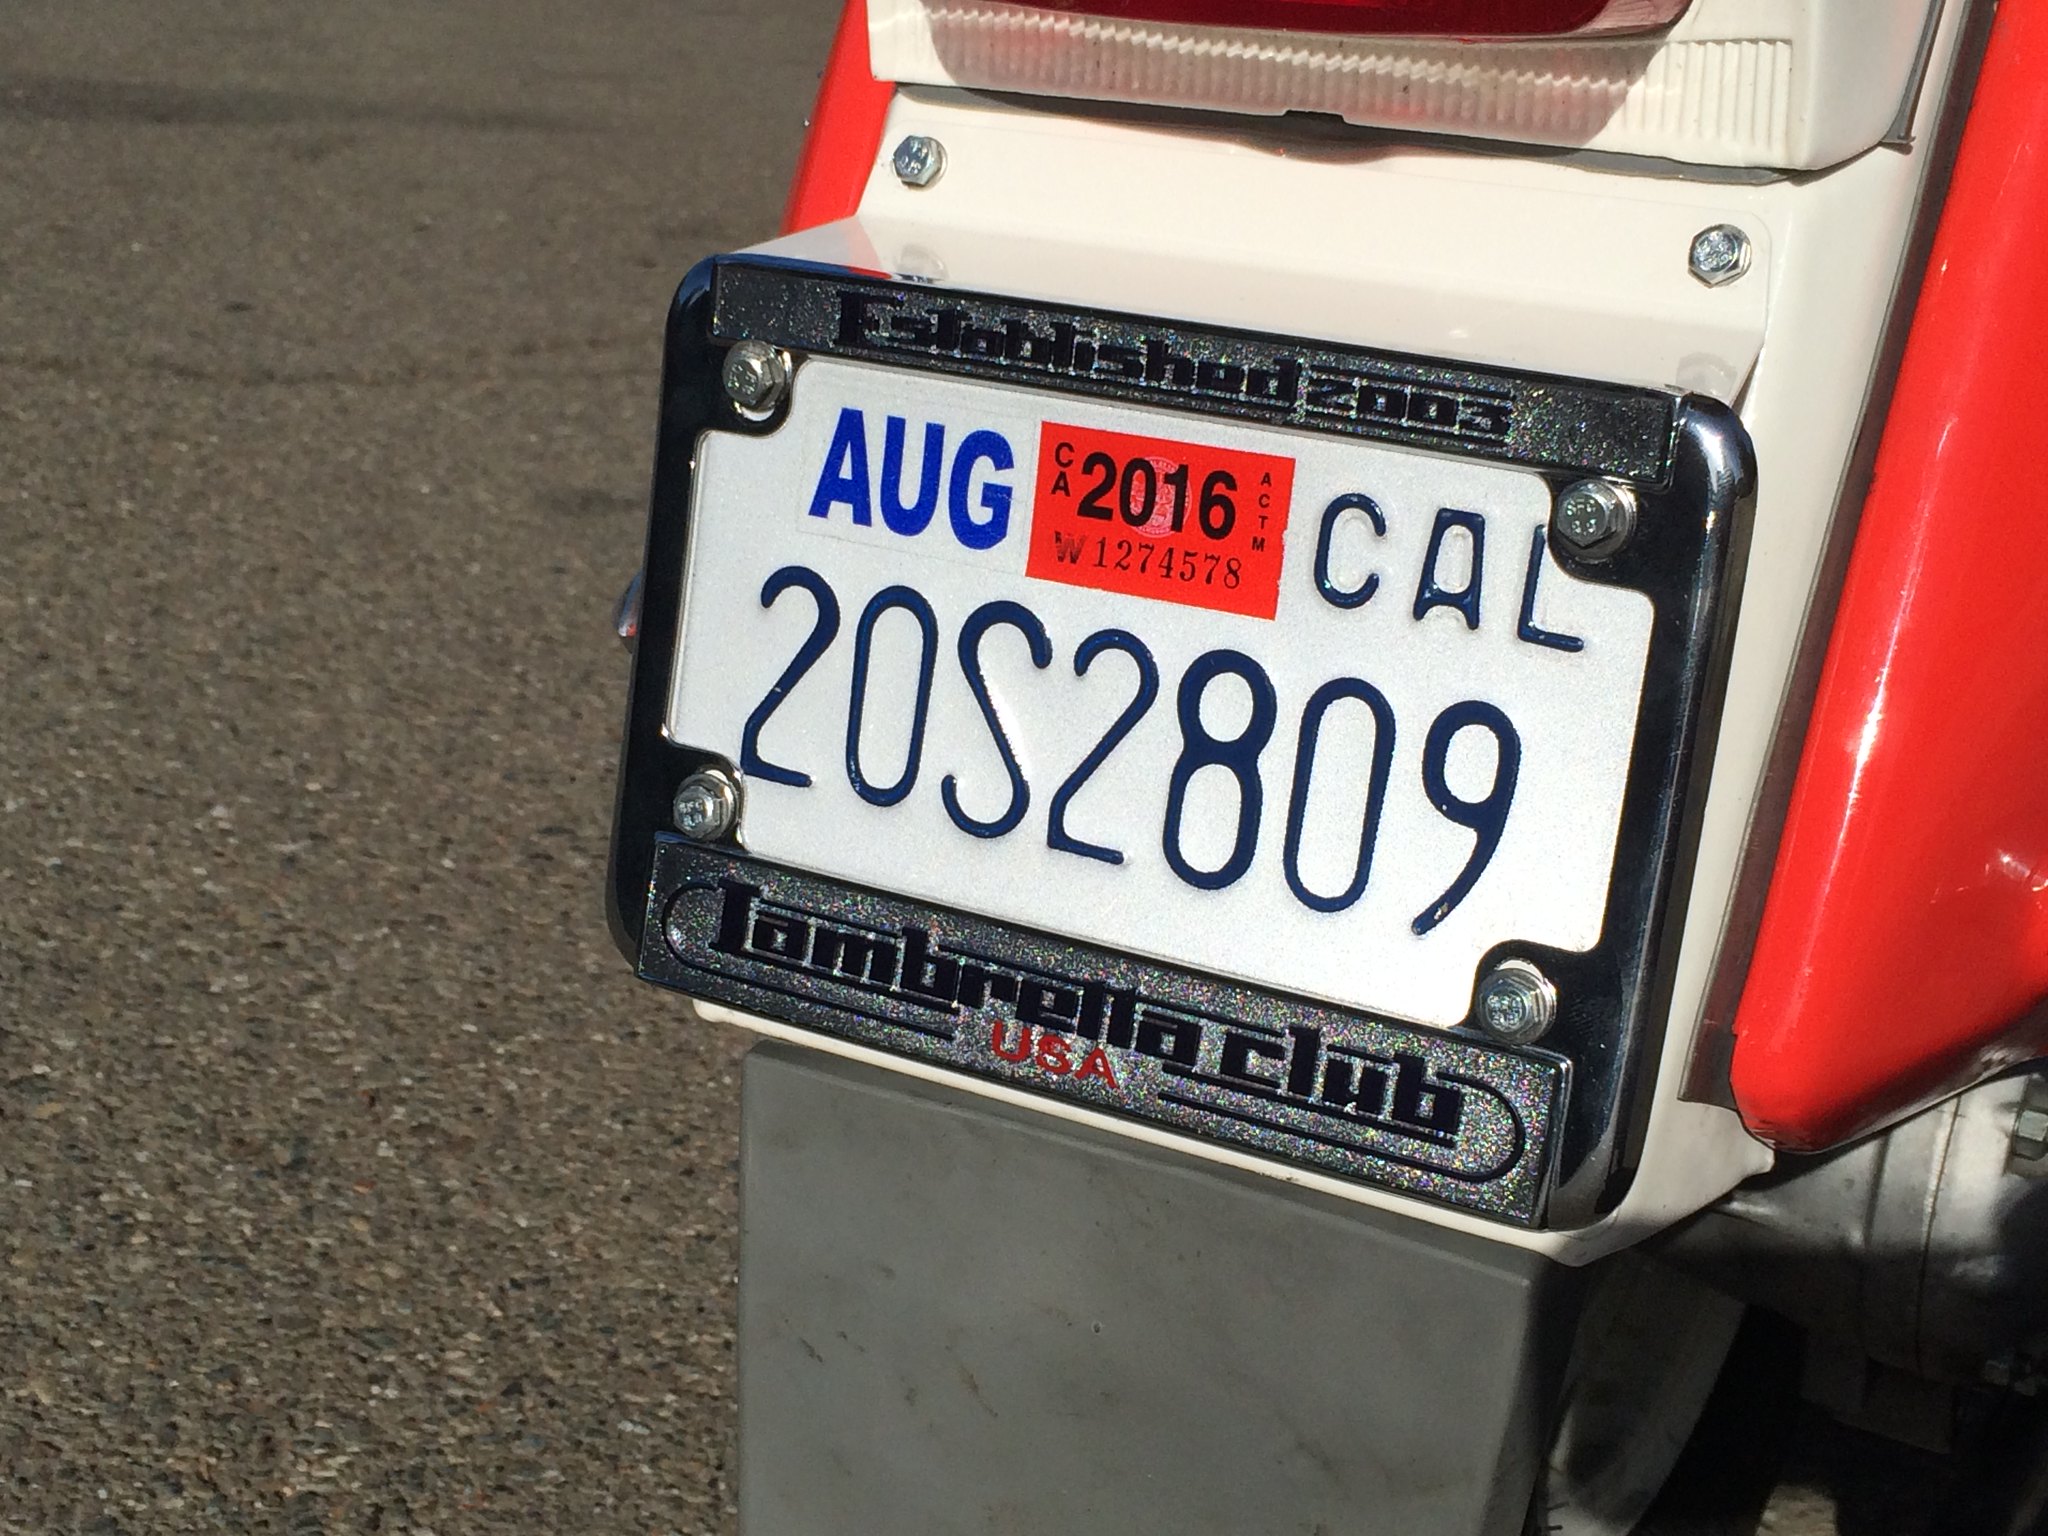
Titled, registered, and licensed. Waiving my LCUSA flag.
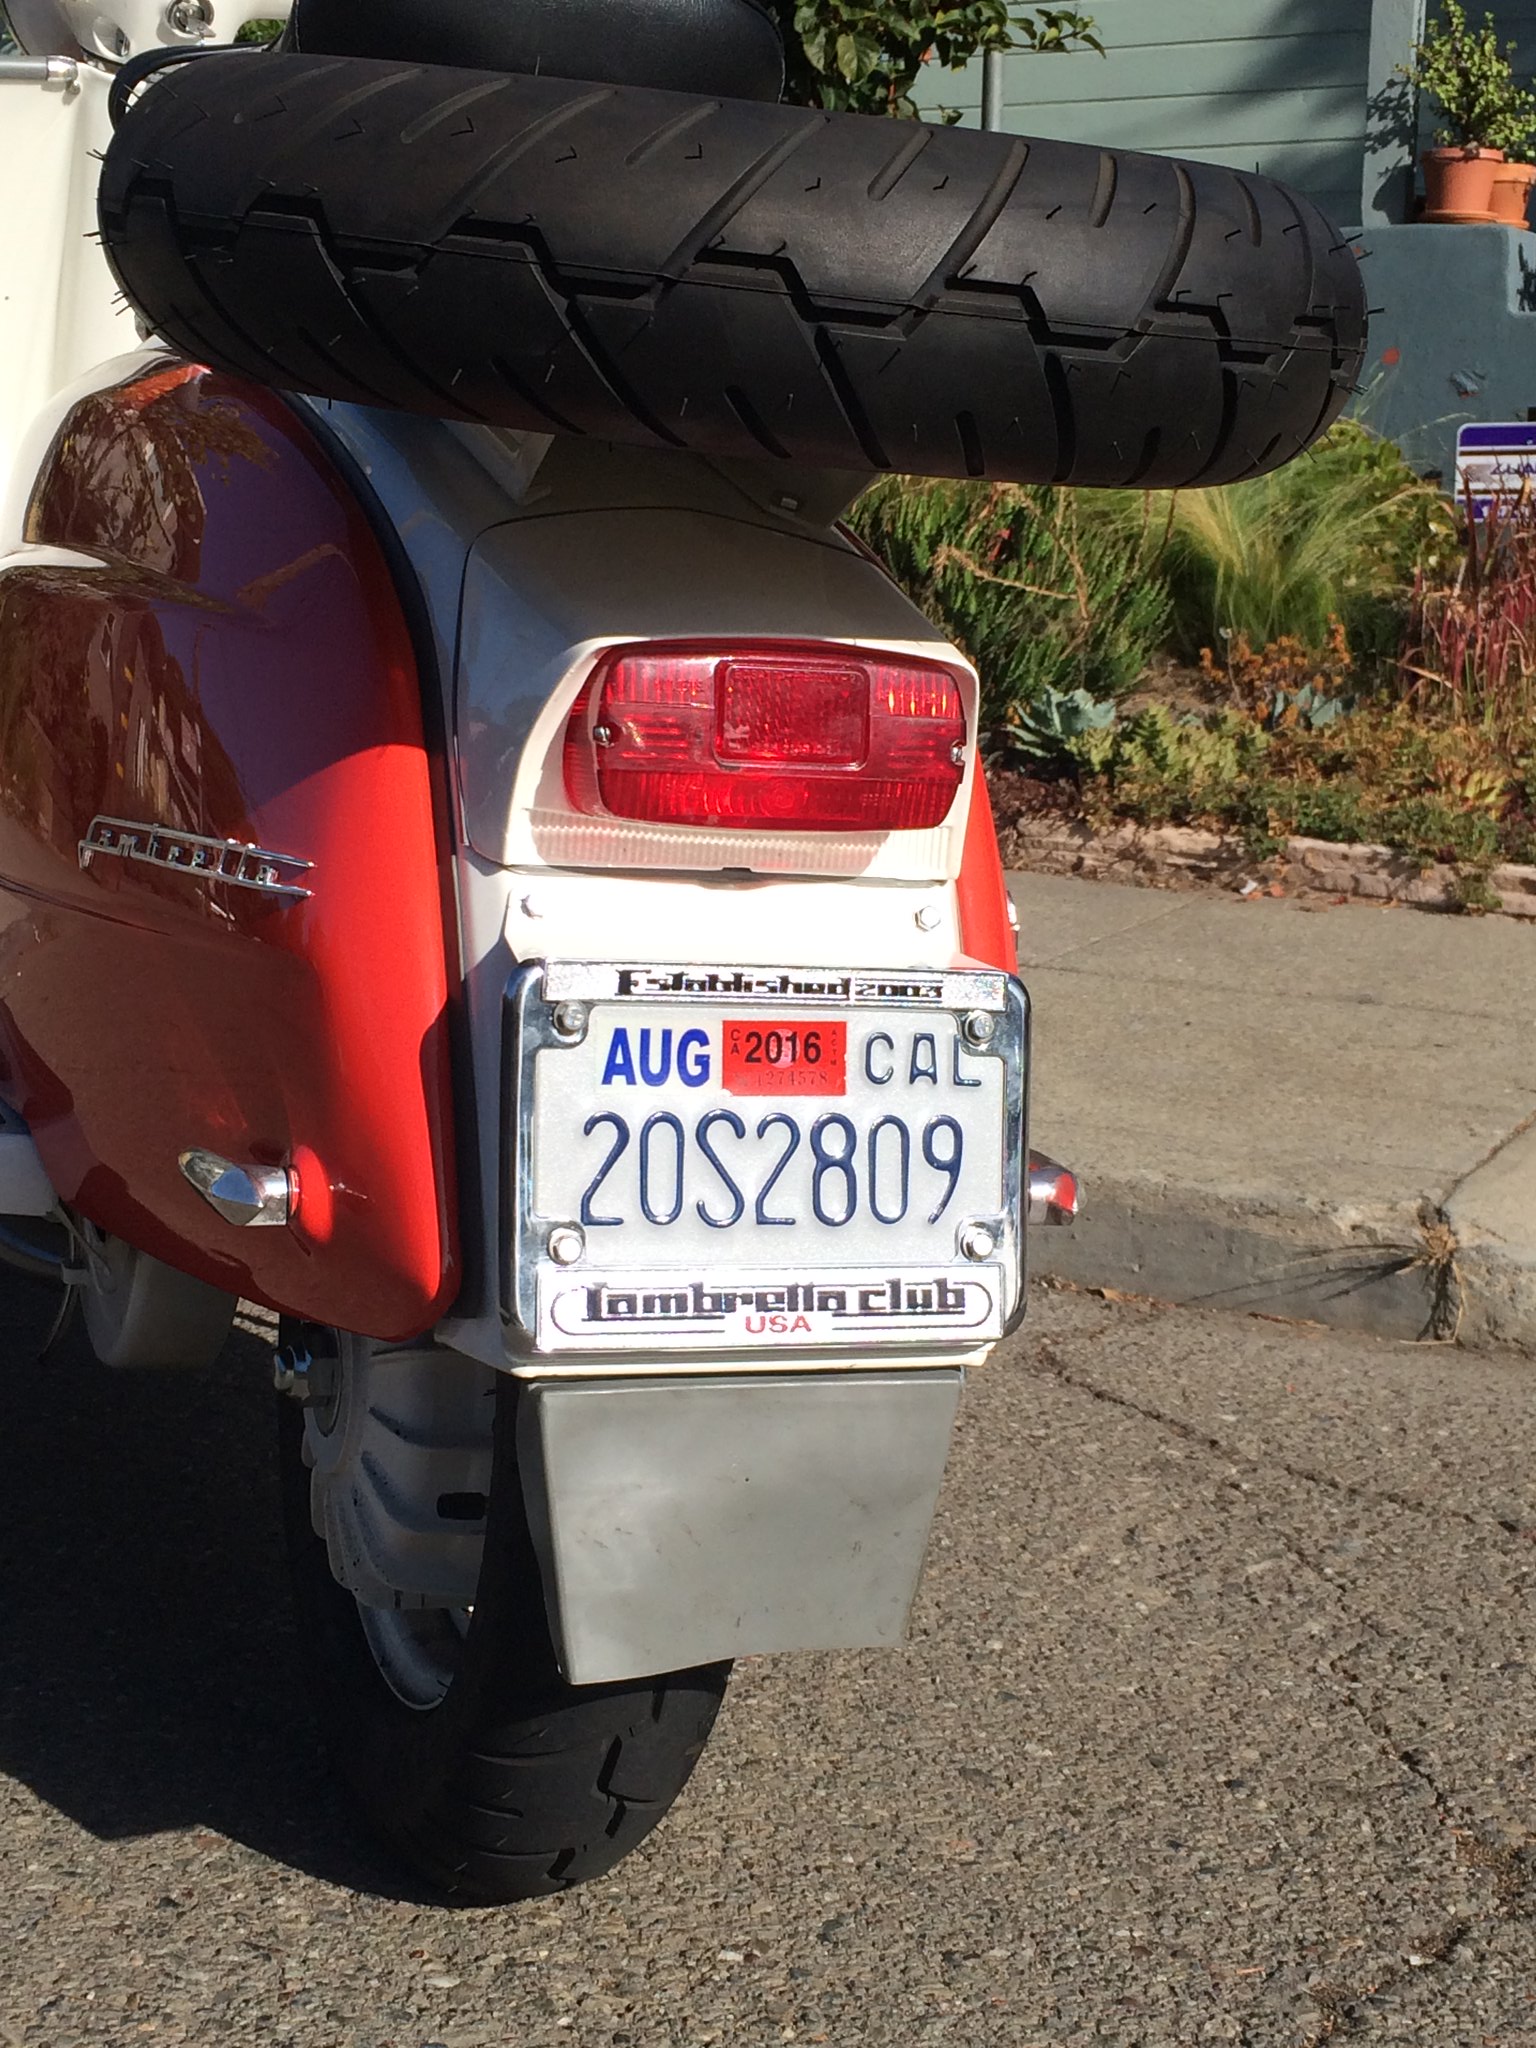 Untitled
 by
jeremyjsutton, on Flickr
Thanks to BrooklynPete for the Lucas style plate holder. Had it powder coated to match.
Posted
05 September 2015 - 09:08 AM
 Untitled
 by
jeremyjsutton, on Flickr

